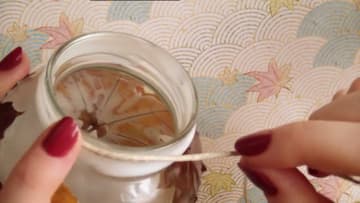
How to Make an Autumn Leaf Lantern
Source: makoccino • Full tutorial: www.craftingstepbystep.com/crafts/how-to-make-an-autumn-leaf-lantern
- Difficulty
- Easy
- Hands-on time
- About 30 minutes
- Wait time
- 8 hours
- Cost
- About $5 to $12
- Makes
- 1 lantern

Tools
- soft fluffy paint brush
- heavy book for pressing leaves
Materials
- empty glass jar
- autumn leaves, pressed flat
- Mod Podge
- white craft glue
- packaging string or twine
- tea light candle
- tape
Steps
1. Gather the Jar, Leaves and Glue
You need an empty glass jar, a handful of leaves, Mod Podge, ordinary white craft glue, some packaging string and a candle for the inside. A jar with straighter sides is easier to work on than a round one, though a round jar does work - it just fights you a bit more on the curve.
Tip: Press the leaves flat in a heavy book for a few days first. A curled dry leaf will not sit down against glass no matter how much glue you put under it.
2. Plan the Layout with Tape
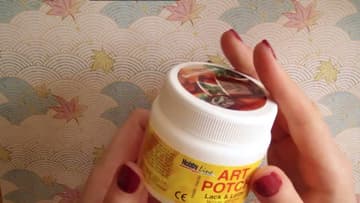
Hold each leaf against the jar and fix it with a small piece of tape. Do the whole arrangement this way before any glue comes out.
Tip: It is fine if a leaf is only just holding. You are marking positions, not building anything yet.
3. Brush On a Thick Layer of Mod Podge
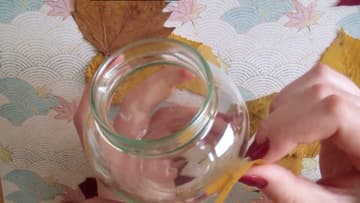
Load a soft, fluffy brush and paint a thick layer of Mod Podge onto the glass where the first leaf is going to sit. Thick is deliberate here.
Tip: Work one leaf at a time. Mod Podge skins over faster than you expect and a coat that has started to set will not grab.
4. Press the Leaf On and Coat It
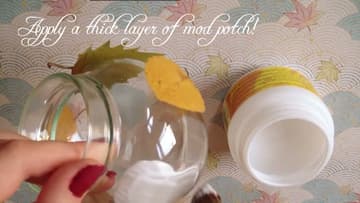
Lay the leaf onto the wet Mod Podge, then paint straight over the top of it with another thick layer. Cover every part of the leaf - right out to the edges and into the points.
Tip: The leaf will look ruined and cloudy while it is wet. Mod Podge dries clear, so ignore it.
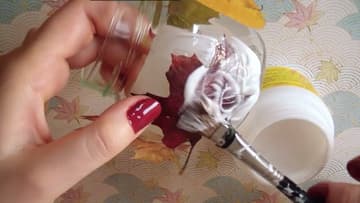
5. Work Around the Jar
Carry on leaf by leaf around the jar. The curve is the difficult part, especially low down near the base, and leaves will keep springing back off.
Tip: If a leaf simply will not sit, tear it rather than fight it. Overlapping torn pieces read as one leaf once the candle is lit.
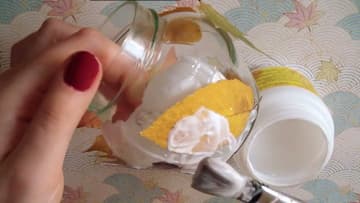
6. Add the Textured Glue Layer
Dab white craft glue over the remaining bare glass in irregular dots and streaks. Being messy is the entire point of this step.
Tip: Do not try to make this even. A smooth coat here just looks like a smeared jar.
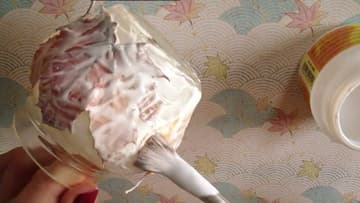
7. String the Rim and Light It
Let the whole thing dry completely. The glue is slow, so give it overnight rather than an hour.
Tip: Use a battery tea light if the jar is going somewhere with fabric nearby, or if it is going outside where a flame will not survive. The glow through the leaves looks the same.