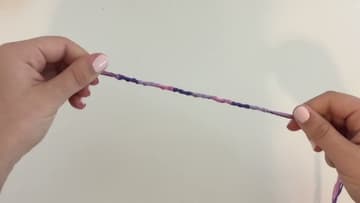
How to Make a Friendship Bracelet - 3 Easy Designs
Source: Audrey's Jar • Full tutorial: www.craftingstepbystep.com/crafts/how-to-make-a-friendship-bracelet
- Difficulty
- Easy
- Hands-on time
- About 1 hour 30 minutes
- Cost
- About $3 to $6
- Makes
- 1 friendship bracelet, spiral, striped or chevron design
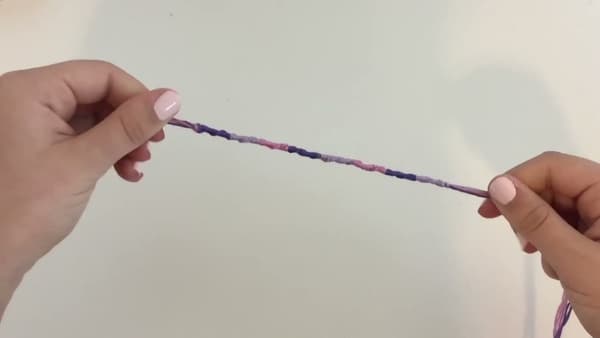
Tools
- Scissors
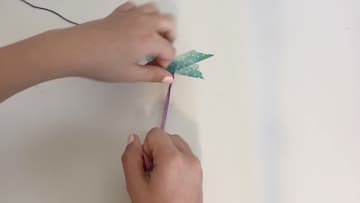
- Clipboard or masking tape
Materials
- Embroidery floss (6-strand, multiple colors)
Steps
1. Cut the Embroidery Floss and Tie the Loop
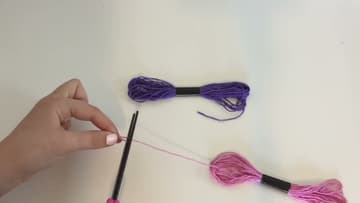
Pick three to six colors of six-strand embroidery floss. Cut each piece to about five feet long - that's longer than you think you need, because the knotting eats through string fast.
Tip: A safety pin pinned to your jeans or couch cushion also works as an anchor. You need something that holds the top still so both hands are free for knotting.
2. Knot a Spiral Friendship Bracelet
Pick any one string as your working string and let the rest hang straight down as fillers. Make a forward knot: lay the working string over the fillers in the shape of the number 4, tuck the tail behind the fillers, and pull it up through the loop.
Tip: If the bracelet isn't spiraling, you're probably alternating the knot direction. Every knot has to start with the 4 shape going the same way.
3. Knot a Striped Friendship Bracelet
Fold your strings and make the loop like before, then lay the strings out in the order you want the stripes. The leftmost string becomes the top stripe, the rightmost becomes the bottom.
Tip: Two knots per string is what keeps the stripe thick and straight. One knot looks thin and crooked.
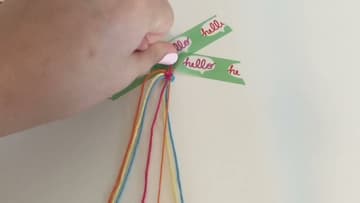
4. Knot a Chevron Friendship Bracelet
Split the strings into two even halves with matching colors mirrored - if the left side is red-pink-blue-yellow, the right side should be yellow-blue-pink-red. Take the far-left string and forward-knot it across each string working toward the middle.
Tip: Backward knots feel awkward at first. Think of it as making the same 4 shape but pointing the other way - left side goes forward, right side goes backward.
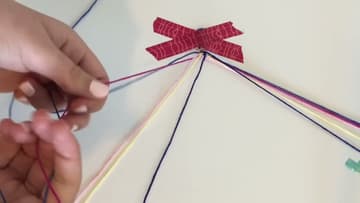
5. Finish the Bracelet and Tie It On
Keep knotting rows until the bracelet wraps around your wrist with a little slack. Tie a tight knot at the end so the pattern won't unravel, then braid or twist the loose strings together for a couple of inches to form a tie.
Tip: Give it as a gift with the wearer's matching bracelet on your own wrist. That's the tradition.