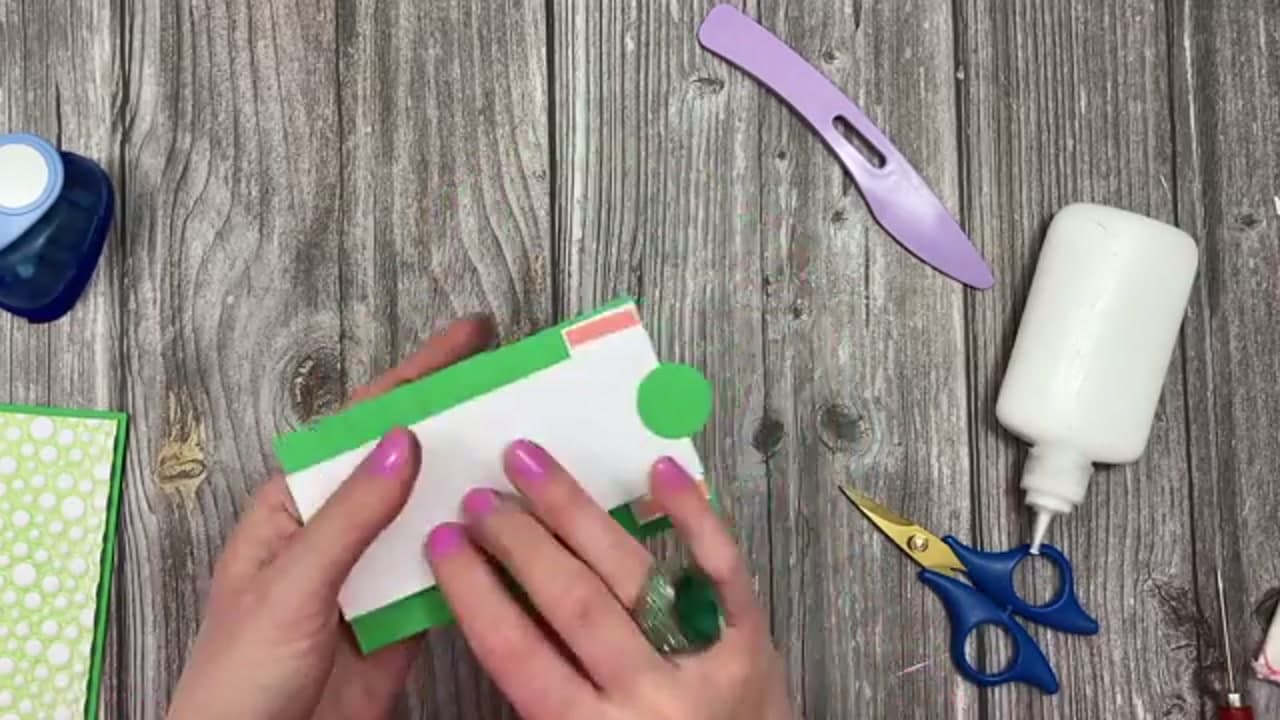
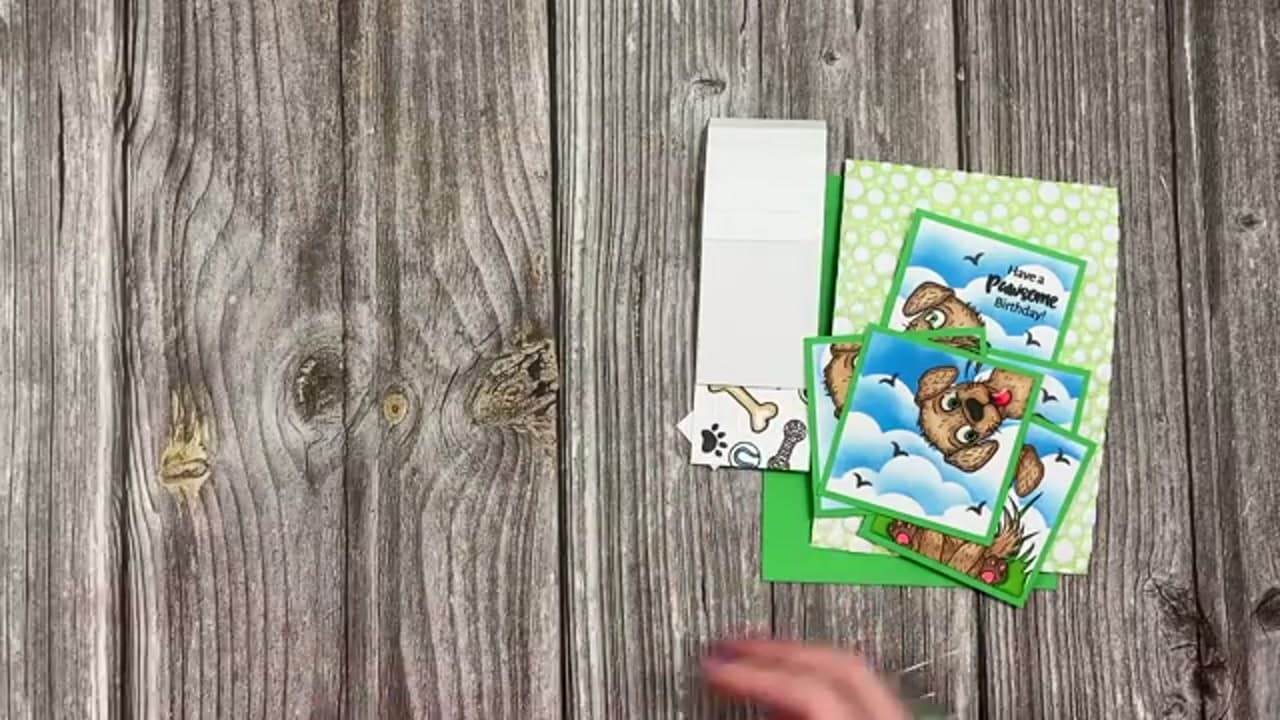
A waterfall card looks like a trick until you build one. Under the front panel sits a strip of cardstock scored into half-inch hinges, with a stamped panel taped to each one. Pull the tab and the panels let go in turn, dropping down the card front like water over a ledge, showing a new image each time.
Most crafters call it a pull tab card. Same mechanism, two names. Budget forty minutes for your first - the scoring takes five, lining up the panels takes the rest.
What you need
- A 5x7 card blank, or a 10x7 sheet scored at 5 inches and folded
- An 11 by 2 inch cardstock strip for the mechanism
- Five 3 inch colored squares and five 2.75 inch white squares
- A scoring board and a bone folder
- Half-inch double-sided tape and red liner tape
- A one-inch circle punch
What a pull tab card does when you pull it
Only one piece of the assembly is glued to the card: the small holding piece at the top of the strip. Everything else floats. Each panel hangs from its own hinge, tucked under the panel above it.
Pull the tab and the strip travels with it. As each hinge clears the panel above, that panel loses its perch and falls flat against the card front, uncovering the next image. Push the tab up and they stack again. Same appeal as a pop-up card, with less cutting.
Cardstock weight decides whether the tab slides
The strip does all the work, so weight matters more there than anywhere else on the card. Aim for 65 lb to 80 lb cover stock, roughly 175 to 216 gsm. Text weight scores crisply, then buckles as you pull and drags the panels sideways instead of releasing them. Go up to 110 lb and the folds spring back, the hinges never close, and panels drop in pairs.
Measuring the panels so they cascade evenly
The half-inch hinge spacing and the 3-inch panel height are a matched pair. Each panel hides all but a half inch of the one below, so the reveal stays even. Change one number and you have to change the other - 2 inch panels on the same hinges leave a gap that shows the mechanism, 4 inch panels bury the drop so deep nothing looks like it moved. Panel one sets the line for the whole run, so an eighth of an inch off and panel two catches its corner.
Where the adhesive goes, and where it must not
This is where most first attempts die. Tape belongs in two places: the top half inch of each hinge, and the holding piece that anchors the strip to the card. Not the back of a panel, not the card base under the stack, not the long edges of the strip. Anything sticky in the travel path locks the tab on the first pull.
Use half-inch tape on a half-inch hinge so nothing squeezes past the panel edge - exposed tack is what makes two panels drop as one. Red liner tape is worth buying for the holding piece, which takes the load on every pull.
When the mechanism misbehaves
The tab will not move. Hunt the strip edges for tape that crept past a panel, then check the big fold at the 6-inch score. Left unburnished, it binds against the card front.
Panels flip up instead of dropping. A hinge is creased the wrong way. Every hinge folds toward the front of the card so the panel swings down and forward. Re-crease it.
Panels drop two at a time. Static, most often - a dusting of anti-static powder ends it.
The tab tears. Tears start where the tab meets the last score line, because people pull at an angle. Pull straight down, and glue the punched circle to both faces of the tab to double the paper there.
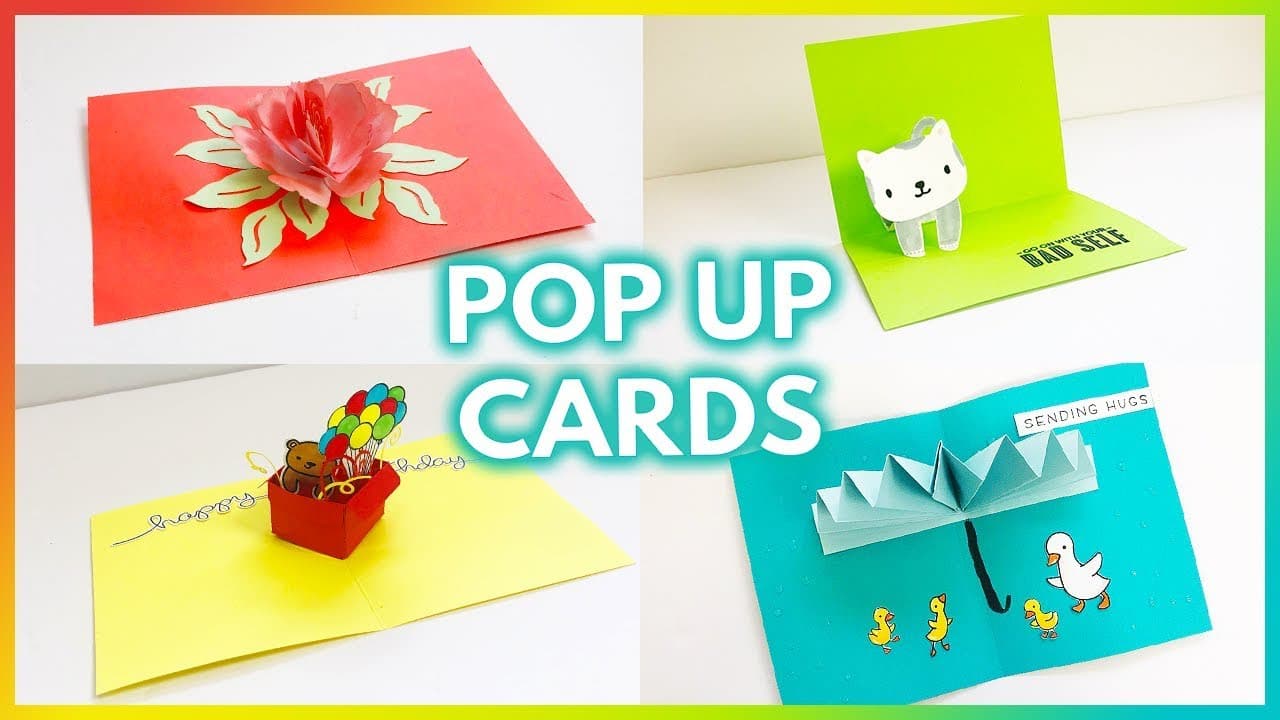
A shaker card runs on the same fussy-adhesive logic, the spinning kirigami card is the next step up in moving parts, and how to make a card covers building the base from flat stock. A die cutting machine makes short work of five identical panels.