How to Make a Thank You Card by Hand

By CraftingStepByStepPublished Updated

Based on a video by AltenewㅣPapercrafting & Coloring Essentials.

Handmade cards stand out. This tutorial from Rebecca Keppel at Altenew shows you how to take a blank piece of white card stock and turn it into a vibrant, dimensional thank you card in about 30 minutes. The technique uses stamping, stenciling, and die-cutting together - and it's more forgiving than it looks.

The key to getting good results here is in the coloring stage. Take your time blending the inks through the stencil, and don't worry about keeping colors perfectly contained. A little bleed outside the lines adds to the handmade look.

Step-by-Step Guide

1

Step 1: Stamp the Floral Image

0:34
Step 1: Step 1: Stamp the Floral Image

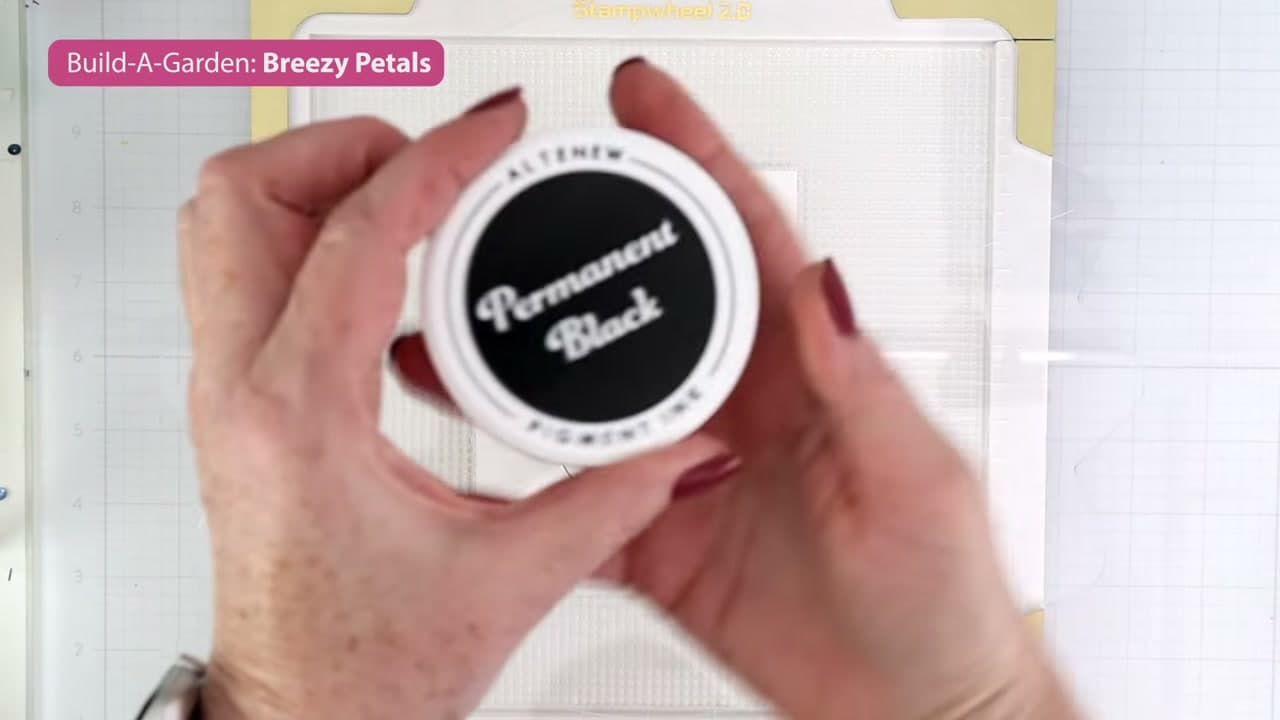
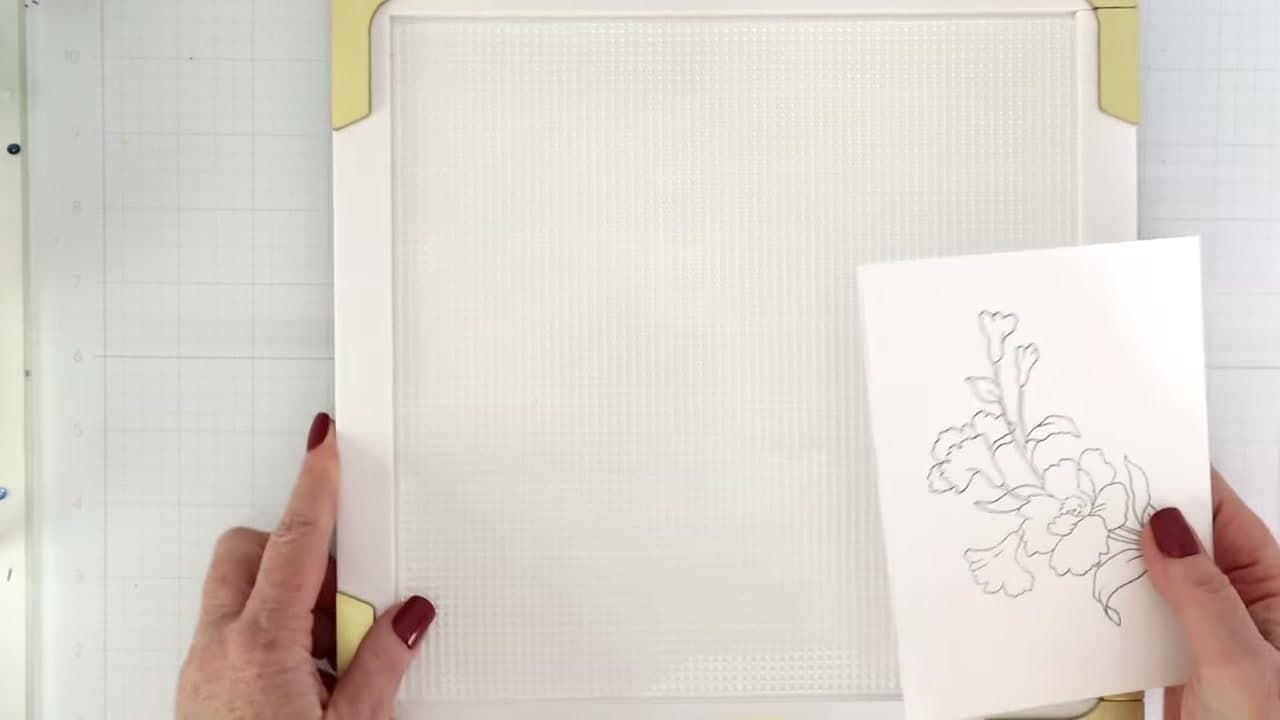
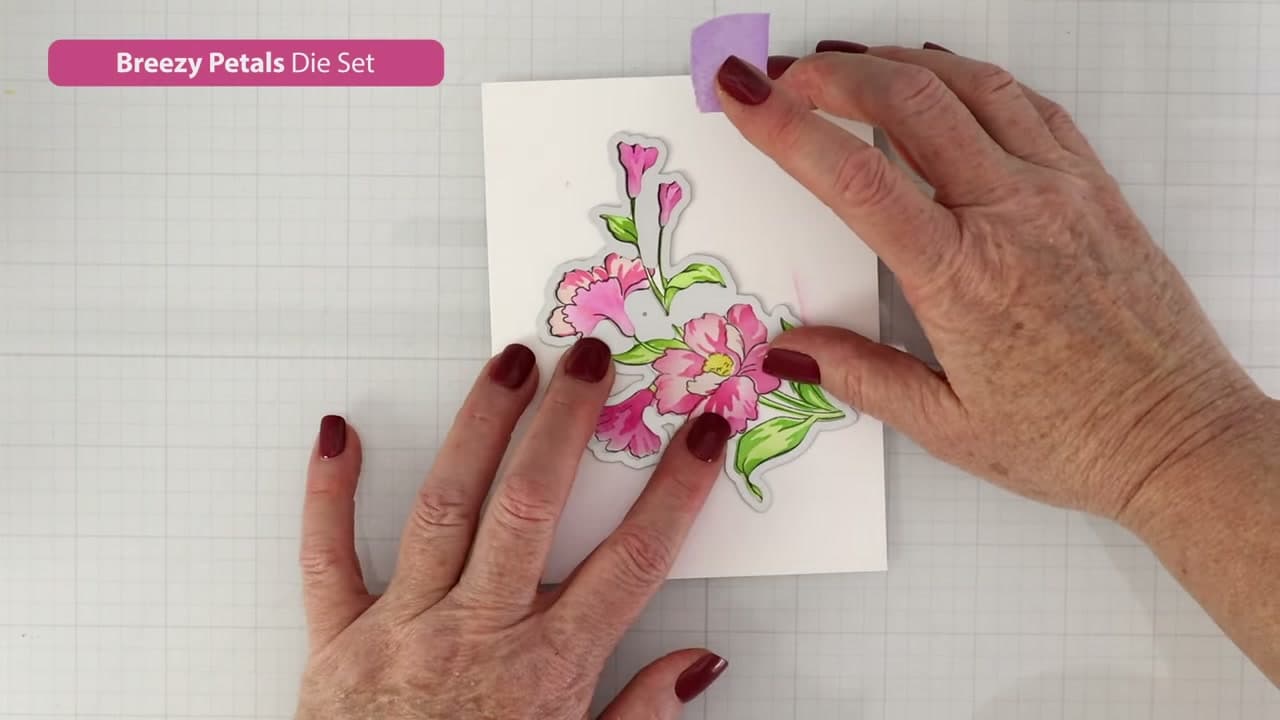
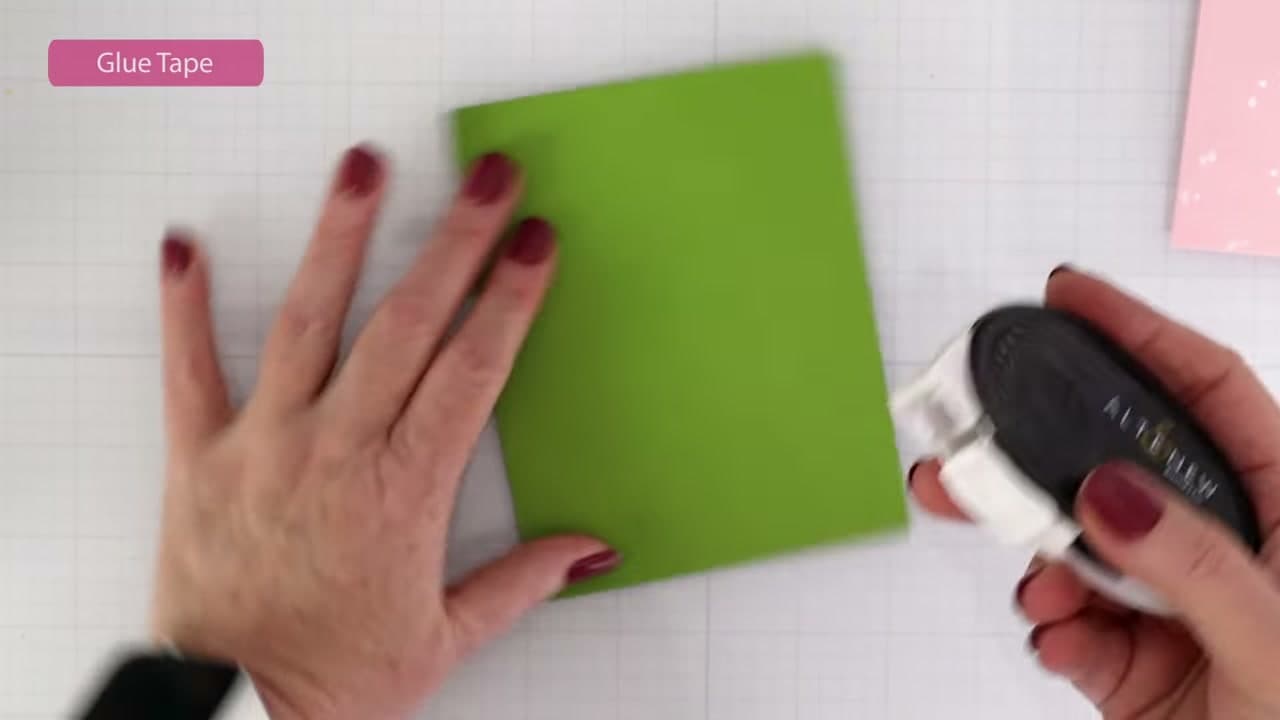
Load the Breezy Petals Stamp Set into the Stampwheel 2.0 and ink it with Altenew Permanent Black Pigment Ink. Press it firmly onto white card stock to get a clean, crisp outline of the floral design. Run a heat tool over the stamped image for about 30 seconds to set the ink fast - this prevents smearing when you start coloring.

Tip

Ink the stamp pad evenly before pressing - rock it gently across the stamp surface in small circles to avoid patchy coverage.

2

Step 2: Color the Flowers with Stencils

1:11
Step 2: Step 2: Color the Flowers with Stencils

Grab the coordinating Breezy Petals stencils and line them up over the stamped image. Use blending brushes and your choice of Altenew inks to fill in each section of the design. Work one color at a time, starting with lighter shades and building up darker tones where you want depth - usually toward the center of petals and along leaf edges. The coloring takes the longest part of the process, roughly 2-3 minutes per color layer.

Tip

Use a circular buffing motion with the blending brush rather than back-and-forth strokes - it gives more even coverage and blends colors together naturally at the edges.

3

Step 3: Die-Cut the Floral Panel

3:42
Step 3: Step 3: Die-Cut the Floral Panel

Once the coloring is complete and the ink is fully dry, lay the coordinating die over the floral image and position it carefully so the die covers the design the way you want. Secure the die to the card stock with a few small pieces of Altenew satin tape so it can't shift while running through the machine. Feed the sandwich through your die-cut machine to cut out the shaped floral panel.

Tip

The satin tape trick is worth doing every time - even a small slip means the die cuts through the wrong part of your colored image and you lose the work.

4

Step 4: Stamp and Cut the Sentiment

4:14
Step 4: Step 4: Stamp and Cut the Sentiment

Use the leftover white card stock from around your floral panel - no need for a fresh sheet. Find the 'thank you' sentiment stamp in the same Breezy Petals set and ink it with black pigment ink, then stamp it cleanly. Heat set it the same way as the floral. Line up the coordinating die over the stamped sentiment and secure it with a bit of satin tape, then run it through the die-cut machine.

Tip

Stamp on a scrap piece first to check ink coverage before committing to your card stock - sentiment stamps with thin script lettering can look patchy if the pad is low on ink.

5

Step 5: Prepare the Pink Background Panel

5:08
Step 5: Step 5: Prepare the Pink Background Panel

Cut a piece of Altenew frosty pink card stock to 4 by 5.25 inches. Remove the nozzle from the Altenew pure white ink spray bottle and flick it toward the card stock to create scattered white dot splatters across the surface. Hold the bottle about 8-10 inches away and use quick wrist snaps for natural-looking droplets. The white on pink gives the card texture without adding bulk.

Tip

Do the ink splatters over a piece of scrap paper to protect your work surface - the white ink sprays wider than you expect and the droplets scatter a foot or more.

6

Step 6: Layer the Background onto the Card Base

5:35
Step 6: Step 6: Layer the Background onto the Card Base

Take an A2-sized piece of Altenew grass field card stock as your card base - this is the green layer that becomes the outer border of the card. Apply Make It Sticky glue tape to the back of the pink panel and press it centered onto the green card base, leaving a narrow green border showing on all sides. The contrast between the pink and green sets the color palette for the whole design.

Tip

Use a bone folder to burnish the glue tape down firmly before peeling the backing strip - it helps the tape stick fully on the first press and prevents lifting corners later.

7

Step 7: Add Dimension with Foam Tape

5:54
Step 7: Step 7: Add Dimension with Foam Tape

Cut small pieces of Altenew Instant Dimension foam tape and apply them to the back of the colored floral die-cut panel - a few pieces distributed across the panel is enough. Do the same on the back of the sentiment die-cut. Peel the backing from the foam tape and press the floral panel onto the card, positioning it toward the upper portion. Place the sentiment in the lower right area. The foam tape lifts both pieces off the surface, creating real depth that looks great in photos.

Tip

Press firmly from the center outward when attaching the die-cut pieces to avoid air pockets under the foam tape - air pockets let the edges curl up over time.

8

Step 8: Finish with Gem Sparkles

6:26
Step 8: Step 8: Finish with Gem Sparkles

Pick up individual metallic gold gem sparkles with the tip of a wax pencil or tweezers and place them across the card face - a few scattered near the flowers and one or two on the plain pink background area. They catch the light and give the card that finished, professional look without any additional stamping. The card is done at this point.

Tip

A wax pickup pencil (also called a wax pencil or rhinestone picker) makes placing small gems much easier than tweezers - the gem sticks to the waxy tip and releases cleanly when pressed onto the card surface.

Products Used

☐ The Checklist

How to Make a Thank You Card by Hand

Tools
6
Materials
14
Steps
8
Video
7 min

Your Guide

AltenewㅣPapercrafting & Coloring Essentials

As an Amazon Associate we earn from qualifying purchases. Links on this page may be affiliate links - clicking them and buying doesn't change your price, but helps support ShowMeStepByStep.

Tags

What's next

Related collections

Curated theme pages that include this tutorial.

Weekly Digest

Liked this card making tutorial?

Pick the categories you want to hear about. Weekly digest of new step-by-step tutorials. No spam, easy unsubscribe.

Send me tutorials about

We only email about new tutorials. Easy unsubscribe anytime.