How to Make a 3D Card (Paper Spring Pop-Up Birthday Card)

Also in:Paper Crafts

By CraftingStepByStepPublished Updated

Based on a video by Natalia's Toolbox.

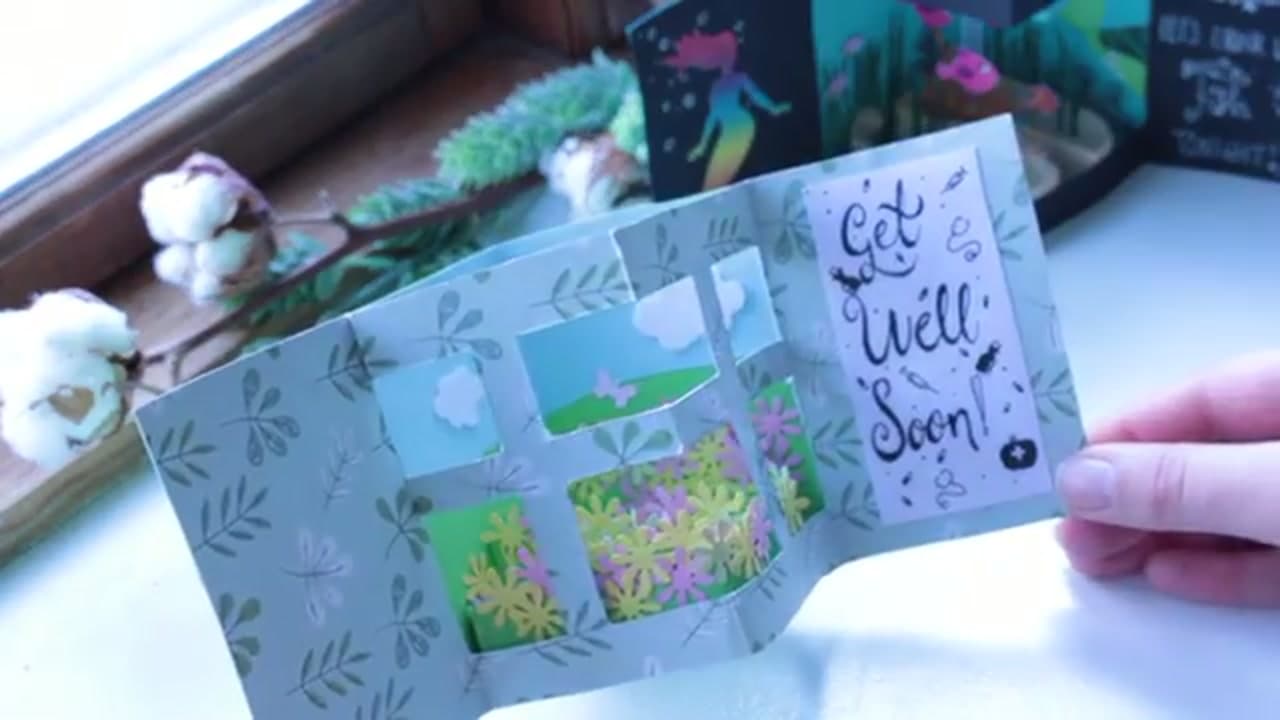
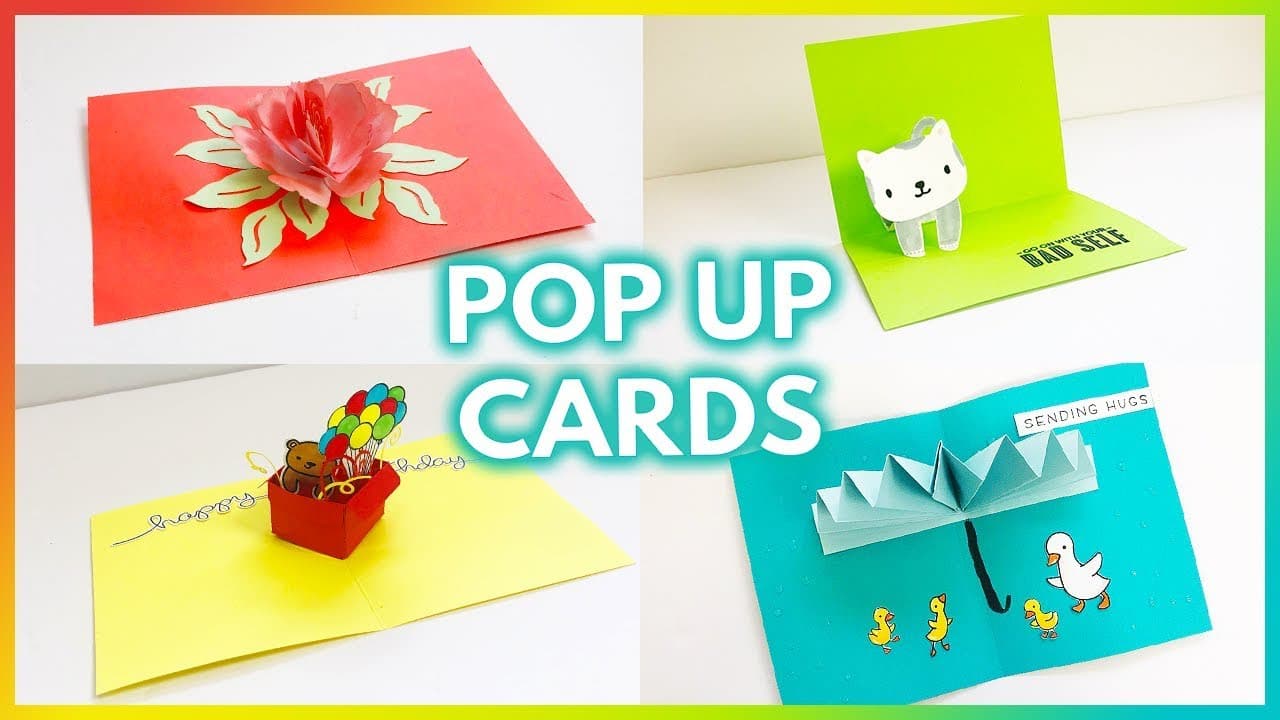
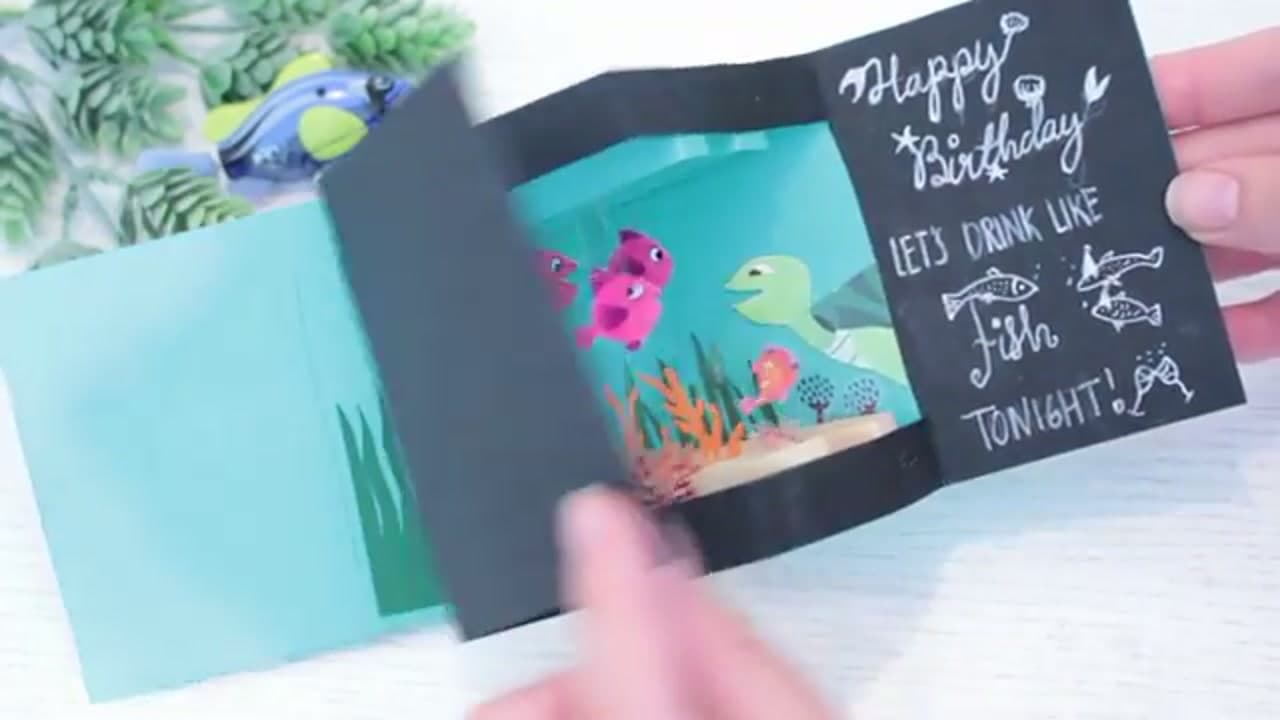
This card looks like magic and it costs about a dollar in supplies. The pop-up effect comes from two accordion-folded paper strips tucked behind a window in the front of the card. Cut-out figures glue onto small acetate rectangles, then onto the strips, so they appear to hover in midair when you open the card.

Natalia from Natalia's Toolbox walks through the measuring, scoring, and gluing in about six minutes. You can finish a card in an afternoon, and once you have the technique down you can riff on it for any occasion. Pick contrasting cardstock, grab a ruler and a craft knife, and follow along.

Step-by-Step Guide

1

Step 1: Gather Your Supplies

0:13
Step 1: Step 1: Gather Your Supplies

Lay out two pieces of cardstock in contrasting colors, a ruler, a pencil, scissors, a craft knife, and a glue stick. Grab a sheet of acetate if you want figures that look like they float inside the card. Pick paper that bends without cracking, since this card lives or dies on clean folds.

A self-healing cutting mat keeps your craft knife from scoring the table. Have your decorations or stamped images ready before you start so you can move straight from cutting into assembly without hunting for supplies.

Tip

Heavyweight 80lb cardstock holds the accordion folds better than thin construction paper.
2

Step 2: Score the Card Base

0:22
Step 2: Step 2: Score the Card Base

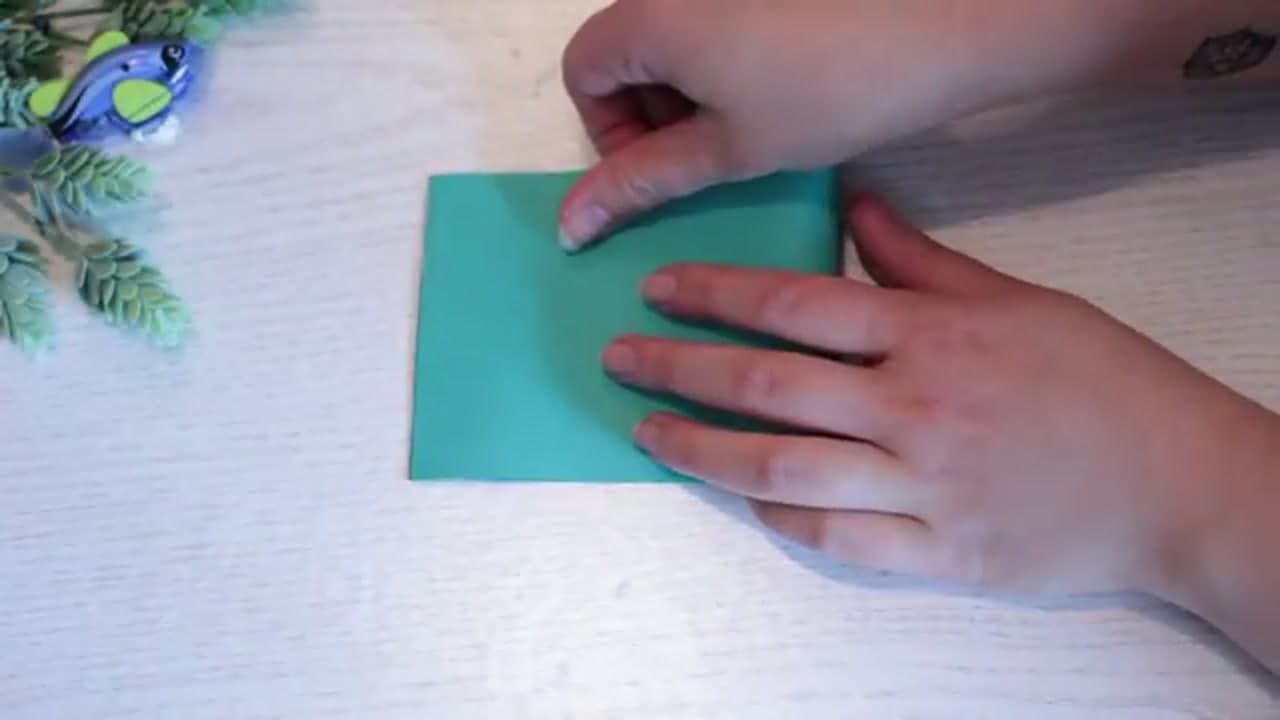
Fold both pieces of cardstock in half. Take the darker sheet and measure seven centimeters out from the center fold on each side, then mark the same points on the opposite edge. Lay your ruler on the markings and bend the paper over it to create two fresh score lines.

Push your fingers into the middle fold and pop the paper into a W shape so the card collapses cleanly. That gatefold geometry is what lets the pop-up springs sit hidden inside. Keep the card folded flat for the next round of measuring.

Tip

A bone folder makes crisper score lines than a ruler and pencil if you have one on hand.

3

Step 3: Cut the Window Opening

1:00
Step 3: Step 3: Cut the Window Opening

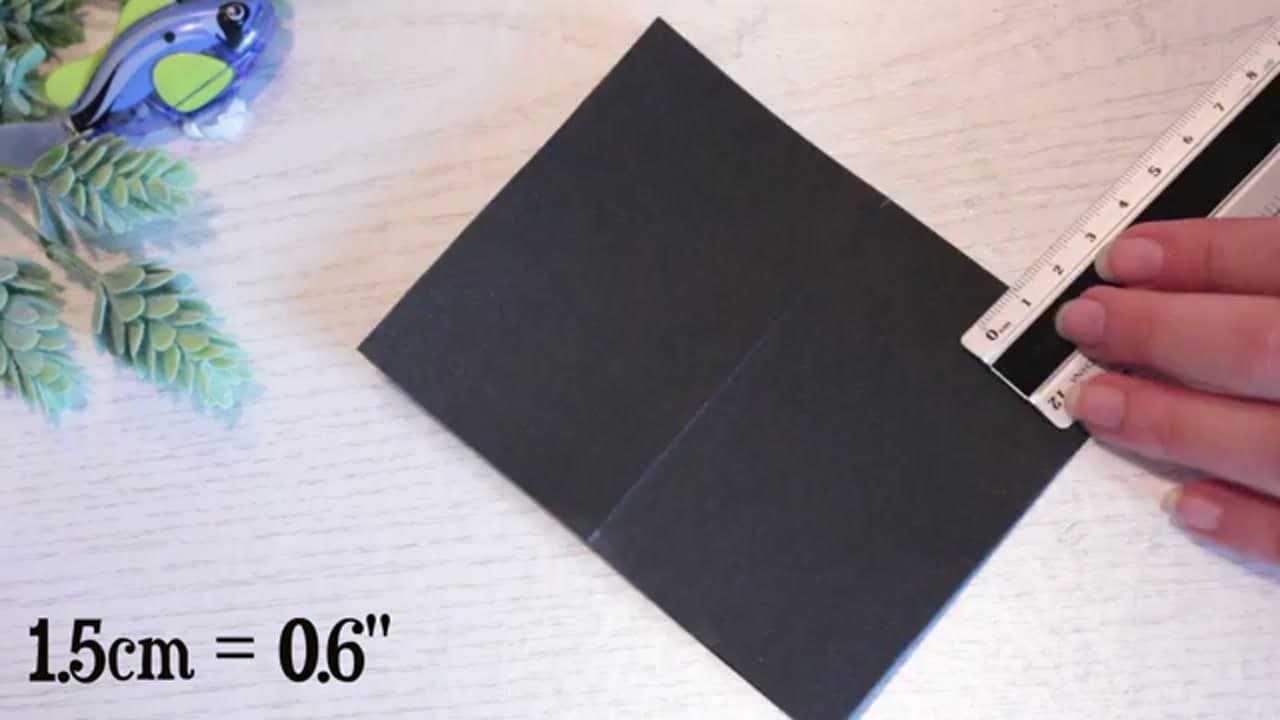
With the card still folded, measure one and a half centimeters in from the top and bottom edges on each side. Mark the points, then draw lines from the center fold straight out to the edge. Cut along those lines with scissors to open up the flap slots.

Switch to a craft knife and ruler to slice the center fold between the cuts. That carves out the rectangular window where the accordion strips will sit. Go slow on this part. Crooked edges show through the finished card more than you would expect.

Tip

Make several light passes with the craft knife instead of one hard pass. Cleaner edges, no torn fibers.

4

Step 4: Fold the Accordion Paper Springs

1:25
Step 4: Step 4: Fold the Accordion Paper Springs

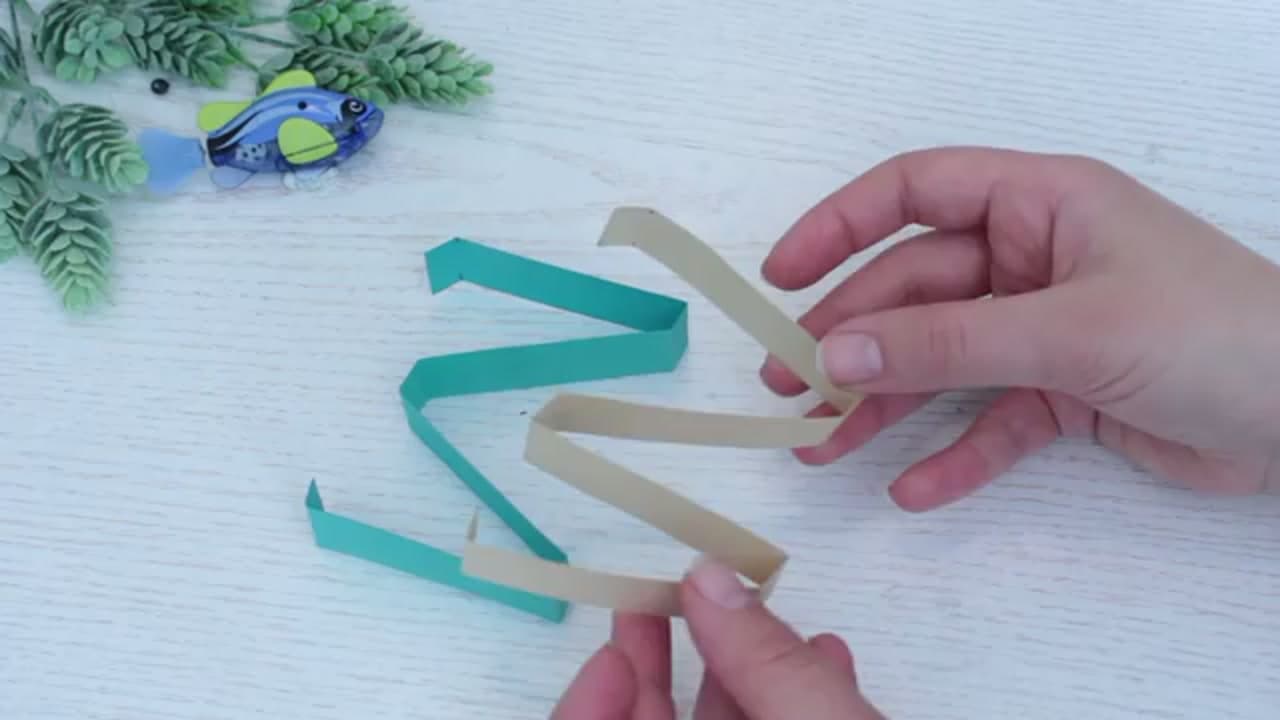
Cut a strip of contrasting cardstock for the first spring. Starting from one end, mark at 1, 8, 9, 16, 17, 24, 25, and 32 centimeters, then repeat the marks along the opposite edge. Lay your ruler across each pair and bend the paper firmly over it.

Fold the small flap inward, the next gap inward, then reverse the next fold backward and bend the small tab backward too. You end up with a stretchy W-shaped paper spring. Repeat for a second strip in the same color so the two pop-up arms match.

Tip

Alternating mountain and valley folds is what gives the spring its stretch. Reverse every other fold direction.

5

Step 5: Cut Figures and Mount Them on Acetate

2:18
Step 5: Step 5: Cut Figures and Mount Them on Acetate

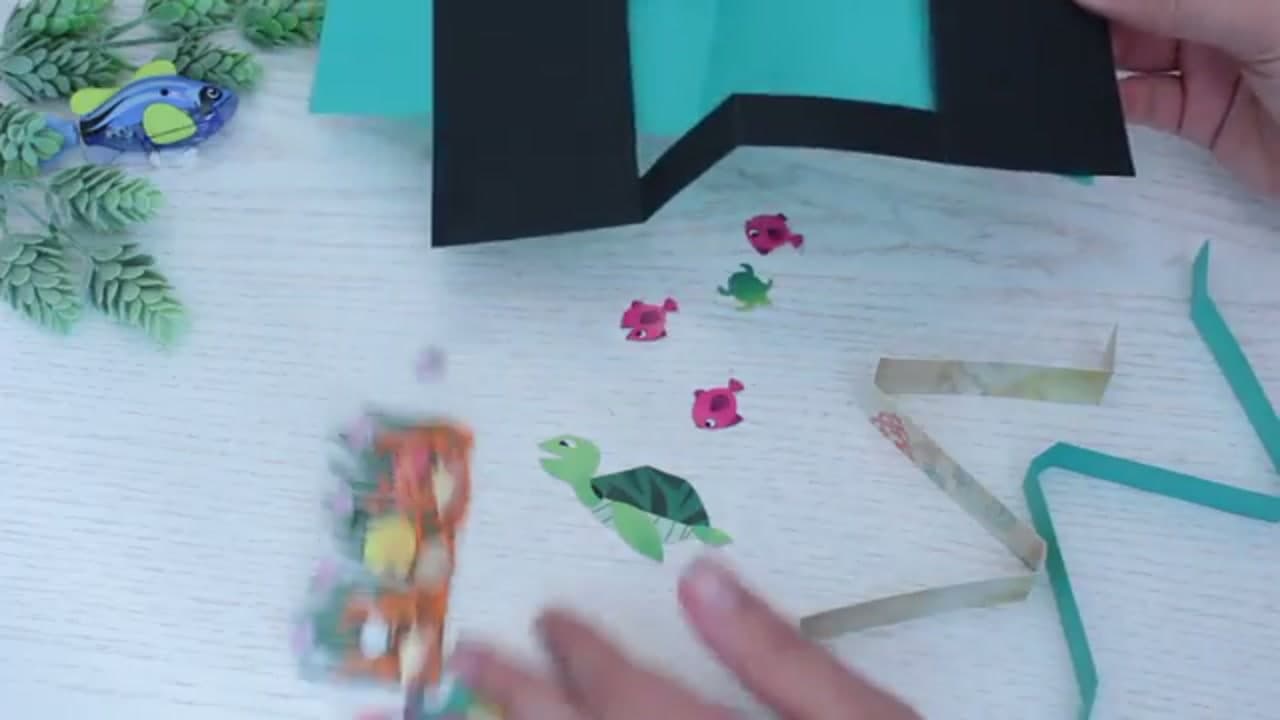
Now make the figures that will float on your springs. Cut small shapes from leftover cardstock such as balloons, stars, or birthday hats. To get the floating look, cut tiny rectangles of clear acetate and glue each figure to one end of an acetate piece.

The clear plastic vanishes against the card so the figure looks suspended in midair. Make a handful in different sizes so the finished card has depth. Set them aside for the next step when you glue everything in place.

Tip

Use a clear-drying liquid glue on the acetate. Glue stick residue stays cloudy and ruins the floating effect.

6

Step 6: Glue the Springs Behind the Window

2:38
Step 6: Step 6: Glue the Springs Behind the Window

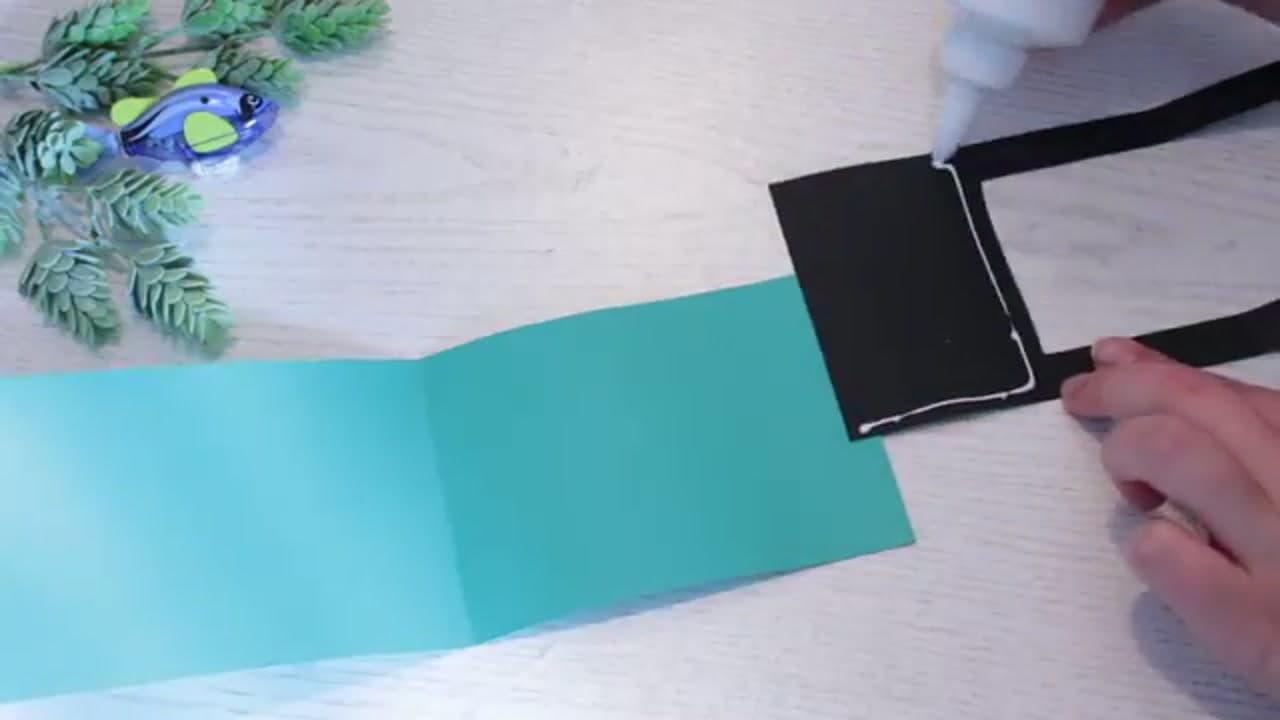
Glue one end of the front piece to one end of the back piece and press firmly. Position an accordion spring behind the window opening, check that every fold lines up straight, and mark where you want the ends to land.

Apply glue to the strip ends and stick them to the back panel, keeping the strip below the top edge so it stays hidden when the card opens. Repeat with the second spring. Then glue your acetate figures along the strips so they pop forward in layers when the card opens.

Tip

Dry-fit the springs before any glue touches paper. Once it sticks, repositioning tears the cardstock.

7

Step 7: Close the Card and Add a Sentiment

3:37
Step 7: Step 7: Close the Card and Add a Sentiment

Close the card to finish assembly. Apply glue to the free ends of the accordion springs and to the back of the front piece. Press the springs onto the back panel one at a time, then bring the front piece down and press the edges together firmly.

Hold for a few seconds so everything sticks. Open the card slowly and watch the figures spring forward in 3D. Add a sentiment on the inside, sign your name, and slide it into an envelope before gifting it.

Tip

A small Happy Birthday stamp or sticker on the inside fold finishes the card without crowding the pop-up.

Products Used

☐ The Checklist

How to Make a 3D Card (Paper Spring Pop-Up Birthday Card)

Tools
4
Materials
5
Steps
7
Video
6 min

Your Guide

Natalia's Toolbox

As an Amazon Associate we earn from qualifying purchases. Links on this page may be affiliate links - clicking them and buying doesn't change your price, but helps support ShowMeStepByStep.

Tags

What's next

Related collections

Curated theme pages that include this tutorial.

Weekly Digest

Liked this card making tutorial?

Pick the categories you want to hear about. Weekly digest of new step-by-step tutorials. No spam, easy unsubscribe.

Send me tutorials about

We only email about new tutorials. Easy unsubscribe anytime.