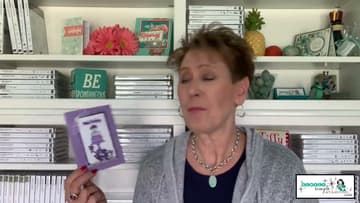
How to Make a Shaker Card: 7 Step Easy Tutorial With a Clear Envelope
Source: Simply Simple Stamping | Connie Stewart • Full tutorial: www.craftingstepbystep.com/card-making/how-to-make-shaker-card
- Difficulty
- Easy
- Hands-on time
- About 30 minutes
- Cost
- About $5 to $10
- Makes
- 1 shaker card
Tools
- Stamps
- Stamp blends or markers
- Die-cutting machine (optional)
- Scissors
- Scotch tape
Materials
- Clear envelopes (small)
- Cardstock (white and colored)
- Embellishments (sequins, glitter, small die-cuts)
- Card base
Steps
1. Stamp Your Focal Image
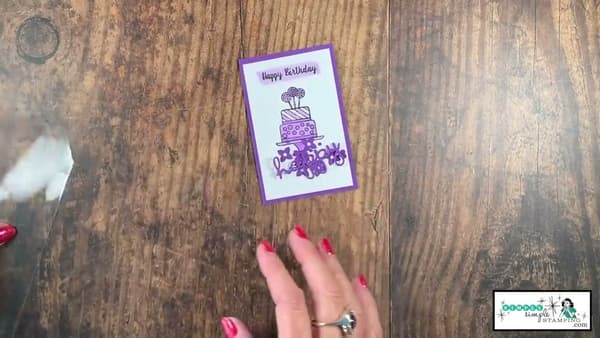
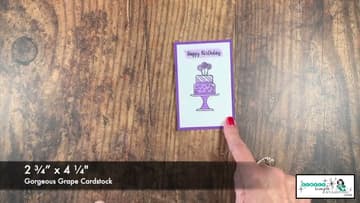
Stamp a small design (about 2.5 by 4 inches) on white cardstock. The example uses a cake stamp colored in with stamp blends, then trimmed and matted on a slightly larger piece of colored cardstock for a clean border.
2. Cut Small Embellishments
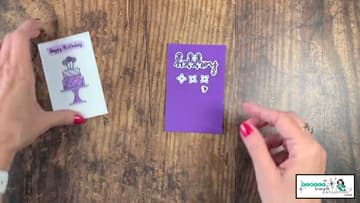
Cut small embellishments from contrasting cardstock - die-cut letters, flowers, hearts, dots. The example uses 'happy' as a die-cut word plus tiny flowers and hearts.
3. Arrange Embellishments on the Focal Image
Lay your focal image flat. Place the die-cut embellishments and any other small items face-up on top of the focal image to preview the layout.
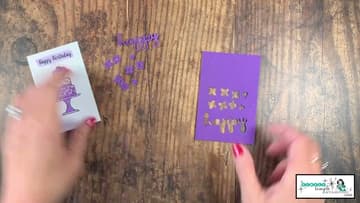
4. Slide a Clear Envelope Over the Focal Image
Get a small clear envelope (the kind sold in cardmaking stores for shaker projects, sized about 3 x 4 inches). Slide it over your focal image and arranged embellishments.
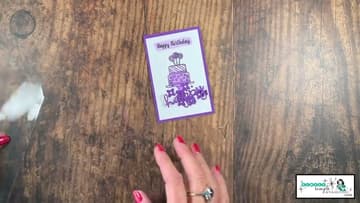
5. Add Loose Shaker Bits
Sprinkle in the loose shaker bits - sequins, microbeads, glitter, or extra tiny die-cuts. About 1/8 teaspoon total.
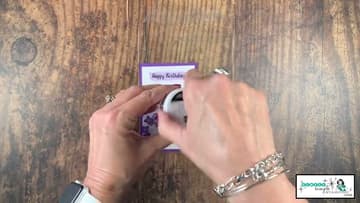
6. Seal the Envelope
Most clear envelopes have an adhesive flap on the open end. Peel and seal it.
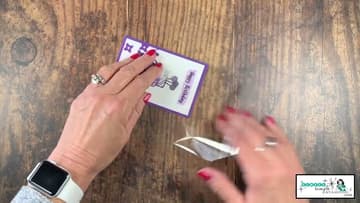
7. Mount the Shaker on a Card Base
Cut a card base from cardstock - 8.5 x 5.5 inches, folded in half, gives a standard A2-size card. Run the front of the card through an embossing folder for texture if you have one.
Tip: Save unused shaker materials in labeled bags - sequin mixes, glitter, micro-beads.