How to Carve a Wooden Spoon With a Knife

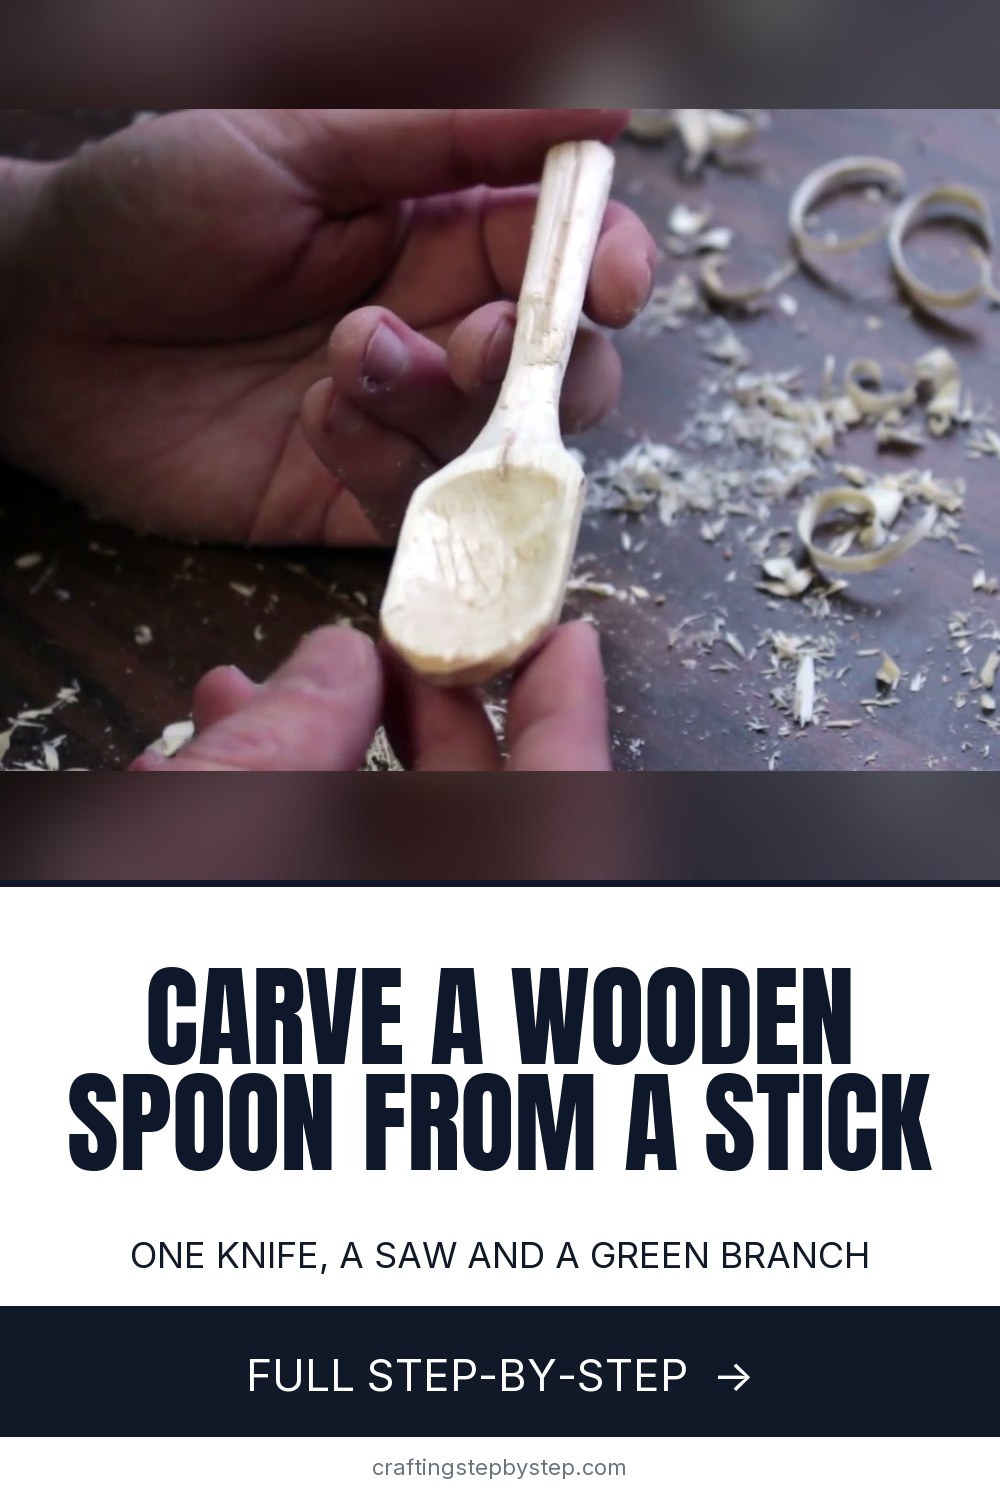
The finished result: How to Carve a Wooden Spoon With a Knife
  • Difficulty: Medium
  • About 1 hour 30 minutes
  • 10 steps

You tapped Save

Save this project for later

We'll email you a link, no password.

How to Carve a Wooden Spoon With a Knife

  • Your saved projects in one list
  • Your ticked steps on any device

Check your inbox for an email from us. Not there? Look in your spam folder.

Print

Steps written out by Crafting Step by Step from David's Passage's video (opens YouTube) (6:18). Published .

A carved wooden spoon starts as a plain stick and ends as something you can stir soup with. You do not need a shop full of tools. This tutorial follows Dave from David's Passage, who carves a simple spoon with one fixed blade knife and a folding saw, then smooths it with a rock. It is a rough, rustic spoon, the kind you could make at a campsite, and it teaches every basic move you need for finer spoons later.

How to carve a wooden spoon: the short version

  • Cut a green stick a little longer than the spoon you want.
  • Split it so the center of the wood sits above the bowl.
  • Taper the blank and take the corners off.
  • Score the bowl outline and hollow it with the knife tip.
  • Carve the handle down to shape.
  • Smooth with light cuts, then sand or rub with a stone.

Choosing the wood

Fresh, green wood carves far more easily than dry wood. Look for a straight branch about as thick as your wrist with no knots where the bowl will go. Birch, cherry, maple, alder and basswood are all good choices. Avoid anything toxic, such as yew, and anything very resinous like pine for a spoon you will eat from. Carve the spoon within a few days of cutting the branch, or keep it in a plastic bag so it does not dry out.

Carving safely

A sharp knife is safer than a dull one, because it goes where you aim instead of skidding. Carve away from your body whenever you can. Keep the hand holding the wood behind the blade, never in front of it. A cut resistant glove on the holding hand is cheap insurance for a beginner. Sit down, brace your elbows on your knees and take small cuts. If the knife starts to bind, stop and cut from a different direction instead of forcing it.

Knife only or a hook knife

Dave hollows the bowl with the tip of a straight knife, which works but is slow. A hook knife, a curved blade made for spoon bowls, scoops out the hollow much faster and leaves a smoother surface. Try your first spoon with what you have. If you enjoy it, a hook knife is the one tool worth adding.

Finishing your spoon

Let the spoon dry slowly for a few days away from heat, so it does not crack. Then sand it smooth, wet it to raise the grain, let it dry and sand once more. Rub in food grade mineral oil or a beeswax and oil blend. Wash by hand, never in the dishwasher, and re-oil it when it looks dry.

Common problems

  • The wood tears instead of cutting. You are cutting against the grain. Turn the spoon and cut from the other direction.
  • The spoon cracked while drying. It dried too fast. Dry the next one in a paper bag.
  • The handle snapped. Leave the handle thick until the bowl is done.

More woodworking to try

Practice the basic knife cuts in how to whittle, then try carving a gnome. Decorate a finished spoon handle with wood burning, or pair it with a homemade cutting board for a gift.

Free printable

Print the steps and supply list for this project

One page you can take to the table. Free with a free account, no password.

Get the free printable

What you'll need

Free, for this project

Get this checklist by email

  • All 7 tools and materials, with tick boxes
  • A link to print all 10 steps on paper, to keep by you while you craft

No password. The whole tutorial stays free on this page.

Quick answer

Learn how to carve a wooden spoon from a green stick with one knife and a saw. A medium project: about 1 hour 30 minutes. You need 7 things, including fresh green branch, sandpaper and food grade mineral oil. The 10 steps start with saw a Green Stick to Wooden Spoon Length, split the Stick for the Wooden Spoon Blank, taper the Wooden Spoon Blank With the Knife and chamfer the Corners of the Wooden Spoon Blank.

Step-by-step guide

10 steps, about 6 minutes. Tap a picture to jump to that step. Your progress saves automatically.

Tick each step off as you go.

  1. Step 1: Saw a Green Stick to Wooden Spoon Length

    Watch this step · 1:00

    Find a straight, fresh branch. Grip it in your fist to judge the size, then leave a little extra beyond where you want the spoon to end. Saw it to length with a folding saw. Dave uses a Bahco Laplander, but any small saw works. A blank a few inches longer than the finished spoon gives you room to fix mistakes.

    Tip:

    Green wood carves much more easily than dry wood, so use a branch cut in the last few days.

    Back to all steps

  2. Step 2: Split the Stick for the Wooden Spoon Blank

    Watch this step · 1:28

    Look at the end of the stick and find the pith, the dark center. You want it on the top face of the spoon, and a natural curve in the stick helps. Set the knife blade across the end, a little off center, and tap the spine with a piece of wood to split it. This is called batoning. Keep the half with the curve you like.

    Tip:

    Tap gently. A few light strikes split the wood more cleanly than one hard blow.

    Back to all steps

  3. Step 3: Taper the Wooden Spoon Blank With the Knife

    Watch this step · 1:44

    If you do not have a pencil, score a line with the knife to mark where the spoon will stop. Then start removing wood. Carve long strokes away from you to taper the blank toward the handle end. Leave the handle area thick for now. You will need something solid to hold while you work on the bowl.

    Tip:

    Cut downhill along the grain. If the wood tears, turn the blank around and cut the other way.

    Back to all steps

  4. Step 4: Chamfer the Corners of the Wooden Spoon Blank

    Watch this step · 2:12

    Take the sharp corners off so the blank starts to look round. Put your thumb against the spine of the knife and push the blade with it, like peeling a potato. This gives you short, controlled cuts. Work along every corner until the blank looks octagonal when you look at the end.

    Tip:

    Push with your thumb on the spine, not your palm. Small cuts keep the knife in control.

    Back to all steps

  5. Step 5: Score the Outline of the Wooden Spoon Bowl

    Watch this step · 2:36

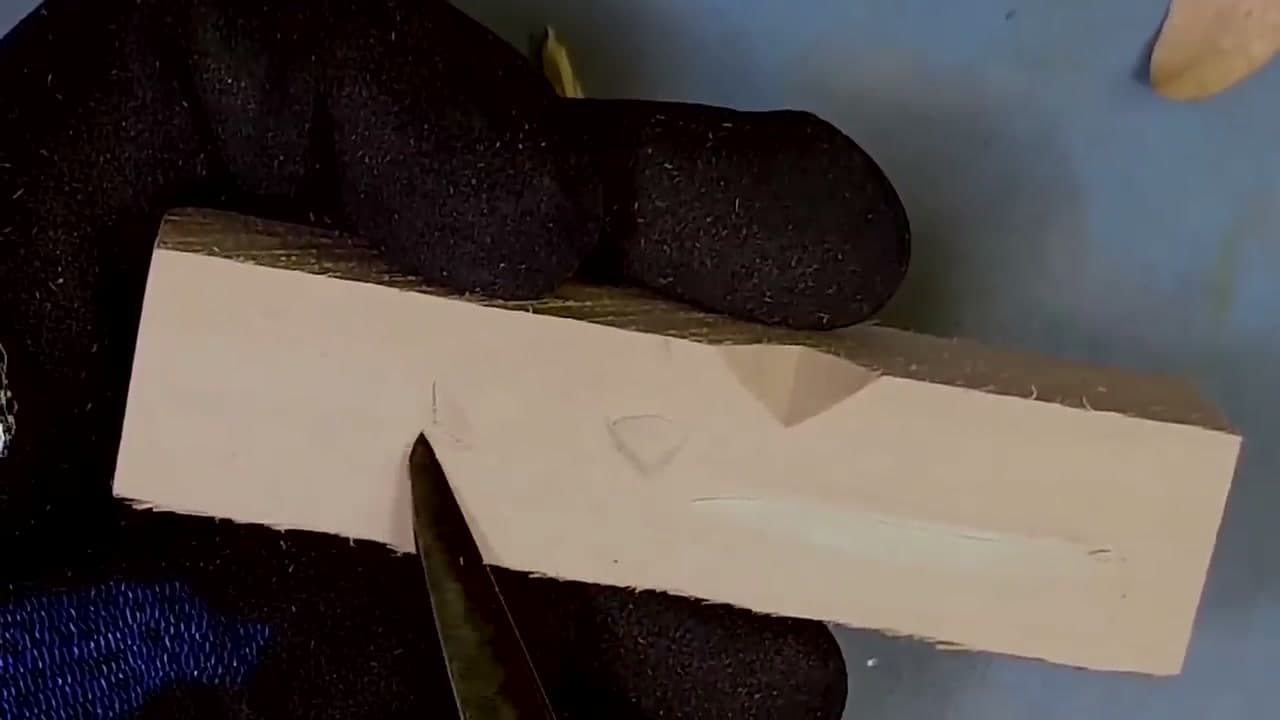
    On the flat top face, lightly draw the shape of the bowl with the knife tip. A pencil works, or a piece of charcoal from the fire if you are outdoors. Go lightly until you like the shape. This line is your guide for hollowing, so give the bowl a nice oval with a little wood left around the edge.

    Tip:

    Keep the bowl outline a few millimetres in from the edge so the rim will not be too thin.

    Back to all steps

  6. Step 6: Start the Hollow in the Wooden Spoon Bowl

    Watch this step · 2:52

    Put the knife tip in the middle of the bowl and push down. Then sweep it around toward one edge, like drawing a quarter of a circle. Repeat from the middle toward each quarter of the outline. These sweeping cuts lift out small chips and form a little dimple you can keep working deeper.

    Tip:

    Keep your free hand behind the blade at all times while you use the tip.

    Back to all steps

  7. Step 7: Hollow Out the Wooden Spoon Bowl With the Knife Tip

    Watch this step · 3:28

    Keep whittling away the inside of the bowl with the knife tip. Work from the edges toward the center, and from both ends, so you always cut with the grain. This is the slowest part. Take your time and check the depth often. A hook knife makes this step much quicker if you have one.

    Tip:

    Hold the bowl to the light. Thin spots glow, which tells you to stop cutting there.

    Back to all steps

  8. Step 8: Carve the Wooden Spoon Handle to Shape

    Watch this step · 4:16

    With the bowl roughed out, shape the rest of the spoon. Carve the handle down from the thick blank into a slim, comfortable stem, and round the back of the bowl to match the inside. Take long, steady cuts along the handle and shorter ones around the curve of the bowl. Now it starts to look like a spoon.

    Tip:

    Hold the spoon the way you will use it as you go. Your hand will tell you if the handle is right.

    Back to all steps

  9. Step 9: Smooth the Rough Edges of the Wooden Spoon

    Watch this step · 4:44

    The spoon will have lots of ridges and rough tips. Take very light cuts with no pressure and let the blade shave off the high spots. If your knife has a square 90 degree spine, you can scrape with it to smooth the surface further. Go over the whole spoon until the facets are small and even.

    Tip:

    Let the edge do the work. Pressing hard is how slips happen.

    Back to all steps

  10. Step 10: Sand the Wooden Spoon With a Stone or Sandpaper

    Watch this step · 5:00

    On the trail, Dave finds a clean, rough rock and rubs it over the spoon like sandpaper. At home, sandpaper does the same job faster. Work over the bowl and handle until the surface feels smooth. Let the spoon dry slowly, then rub in food grade oil before you use it.

    Tip:

    Start with a coarse grit and work up to a fine one for a silky finish.

    Back to all steps

How to Wood Burn

Keep going

How to Wood Burn

Keep going with woodworking crafts

More on this topic, picked for this wooden spoon with a knife.

You reached the last step

Save this project to come back to it

Your ticked steps, the free printable and your other saved makes, together in My Projects. Free, no password.

You tapped Save

Save this project for later

We'll email you a link, no password.

How to Carve a Wooden Spoon With a Knife

  • Your saved projects in one list
  • Your ticked steps on any device

Check your inbox for an email from us. Not there? Look in your spam folder.

Free printable

Printable sheet and shopping list for this project

The bonus is hidden until you sign up.

Free with a free account, no password. Every step above stays open to everyone.

Products Used

The Checklist

How to Carve a Wooden Spoon With a Knife

Tools
4
Materials
3
Steps
10
Video
6 min

Tools we recommend

As an Amazon Associate we earn from qualifying purchases. Links on this page may be affiliate links - clicking them and buying doesn't change your price, but helps support Crafting Step by Step.

Tags

The Crafter's Weekly

New woodworking crafts tutorials, every Sunday

One short email with the week's best step-by-step guides. Free, no spam, unsubscribe anytime.

Did this work for you?

What's next

Related collections

Curated theme pages that include this tutorial.

Similar tutorials

Hand-picked next reads based on the one you just finished.

Liked this woodworking crafts tutorial?

Pick the crafts you want to hear about. One email every Sunday with new step-by-step tutorials. No spam, easy to unsubscribe.

Get more like this in your inbox

Weekly digest. Pick the categories you want. Unsubscribe anytime.

Send me tutorials about

We only email about new tutorials. Easy unsubscribe anytime.