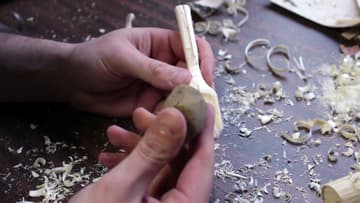
How to Carve a Wooden Spoon With a Knife
Source: David's Passage • Full tutorial: www.craftingstepbystep.com/woodworking-crafts/how-to-carve-a-wooden-spoon
- Difficulty
- Medium
- Hands-on time
- About 1 hour 30 minutes
- Makes
- 1 wooden spoon

Tools
- fixed blade carving knife
- folding saw
- cut resistant glove
- hook knife (optional)
Materials
- fresh green branch (birch, cherry, maple or alder)
- sandpaper
- food grade mineral oil
Steps
1. Saw a Green Stick to Wooden Spoon Length
Find a straight, fresh branch. Grip it in your fist to judge the size, then leave a little extra beyond where you want the spoon to end.
Tip: Green wood carves much more easily than dry wood, so use a branch cut in the last few days.
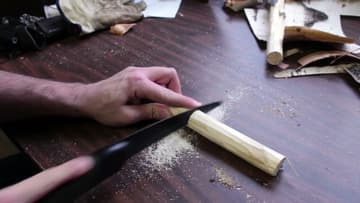
2. Split the Stick for the Wooden Spoon Blank
Look at the end of the stick and find the pith, the dark center. You want it on the top face of the spoon, and a natural curve in the stick helps.
Tip: Tap gently. A few light strikes split the wood more cleanly than one hard blow.
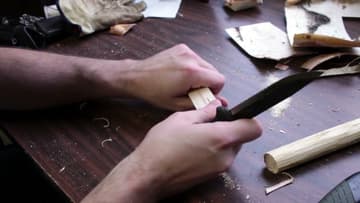
3. Taper the Wooden Spoon Blank With the Knife
If you do not have a pencil, score a line with the knife to mark where the spoon will stop. Then start removing wood.
Tip: Cut downhill along the grain. If the wood tears, turn the blank around and cut the other way.
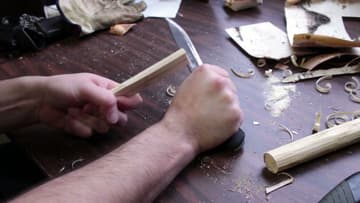
4. Chamfer the Corners of the Wooden Spoon Blank
Take the sharp corners off so the blank starts to look round. Put your thumb against the spine of the knife and push the blade with it, like peeling a potato.
Tip: Push with your thumb on the spine, not your palm. Small cuts keep the knife in control.
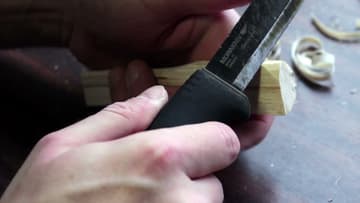
5. Score the Outline of the Wooden Spoon Bowl
On the flat top face, lightly draw the shape of the bowl with the knife tip. A pencil works, or a piece of charcoal from the fire if you are outdoors.
Tip: Keep the bowl outline a few millimetres in from the edge so the rim will not be too thin.
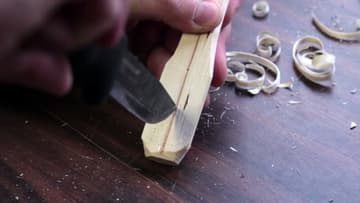
6. Start the Hollow in the Wooden Spoon Bowl
Put the knife tip in the middle of the bowl and push down. Then sweep it around toward one edge, like drawing a quarter of a circle.
Tip: Keep your free hand behind the blade at all times while you use the tip.
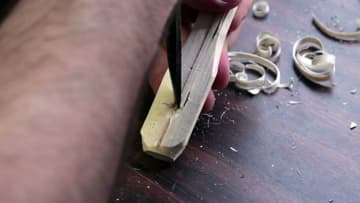
7. Hollow Out the Wooden Spoon Bowl With the Knife Tip
Keep whittling away the inside of the bowl with the knife tip. Work from the edges toward the center, and from both ends, so you always cut with the grain.
Tip: Hold the bowl to the light. Thin spots glow, which tells you to stop cutting there.
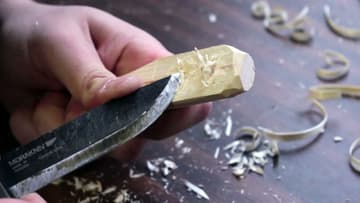
8. Carve the Wooden Spoon Handle to Shape
With the bowl roughed out, shape the rest of the spoon. Carve the handle down from the thick blank into a slim, comfortable stem, and round the back of the bowl to match the inside.
Tip: Hold the spoon the way you will use it as you go. Your hand will tell you if the handle is right.
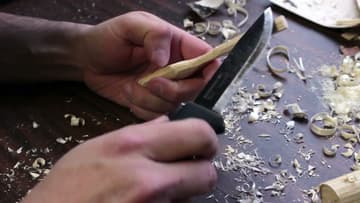
9. Smooth the Rough Edges of the Wooden Spoon
The spoon will have lots of ridges and rough tips. Take very light cuts with no pressure and let the blade shave off the high spots.
Tip: Let the edge do the work. Pressing hard is how slips happen.
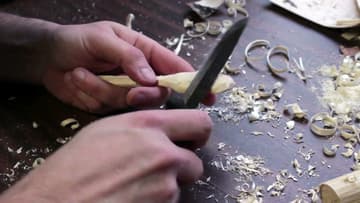
10. Sand the Wooden Spoon With a Stone or Sandpaper
On the trail, Dave finds a clean, rough rock and rubs it over the spoon like sandpaper. At home, sandpaper does the same job faster.
Tip: Start with a coarse grit and work up to a fine one for a silky finish.