How to Fix a Hole in a Sweater

SewingMedium5:417 stepsPart of DIY Crafts for BeginnersBrowse more →
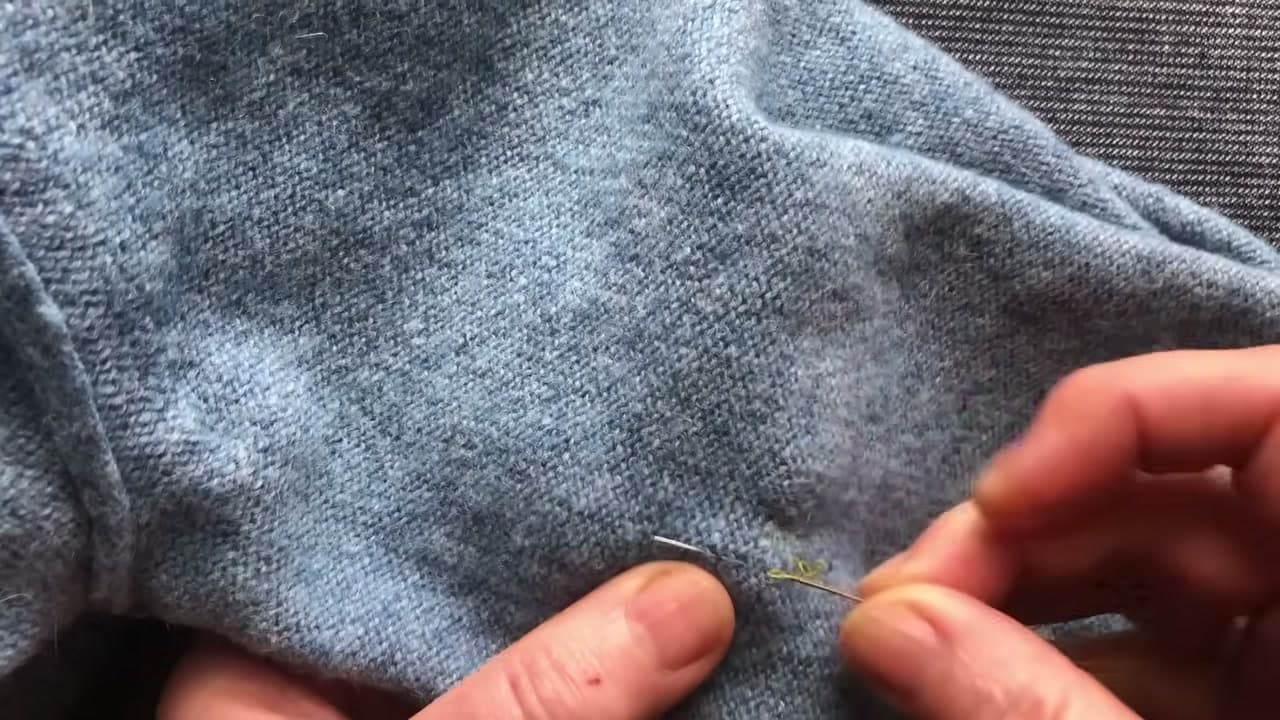
The finished result: How to Fix a Hole in a Sweater
Also in:Adulting

By CraftingStepByStepPublished

Based on a video by Repair What You Wear.

A hole in a wool sweater starts small and gets bigger every time you pull it over your head. The fix is hand sewing, no machine, and it takes about ten minutes. This walkthrough follows Repair What You Wear mending a lambswool jumper by catching the broken knit loops around the hole and drawing them back together.

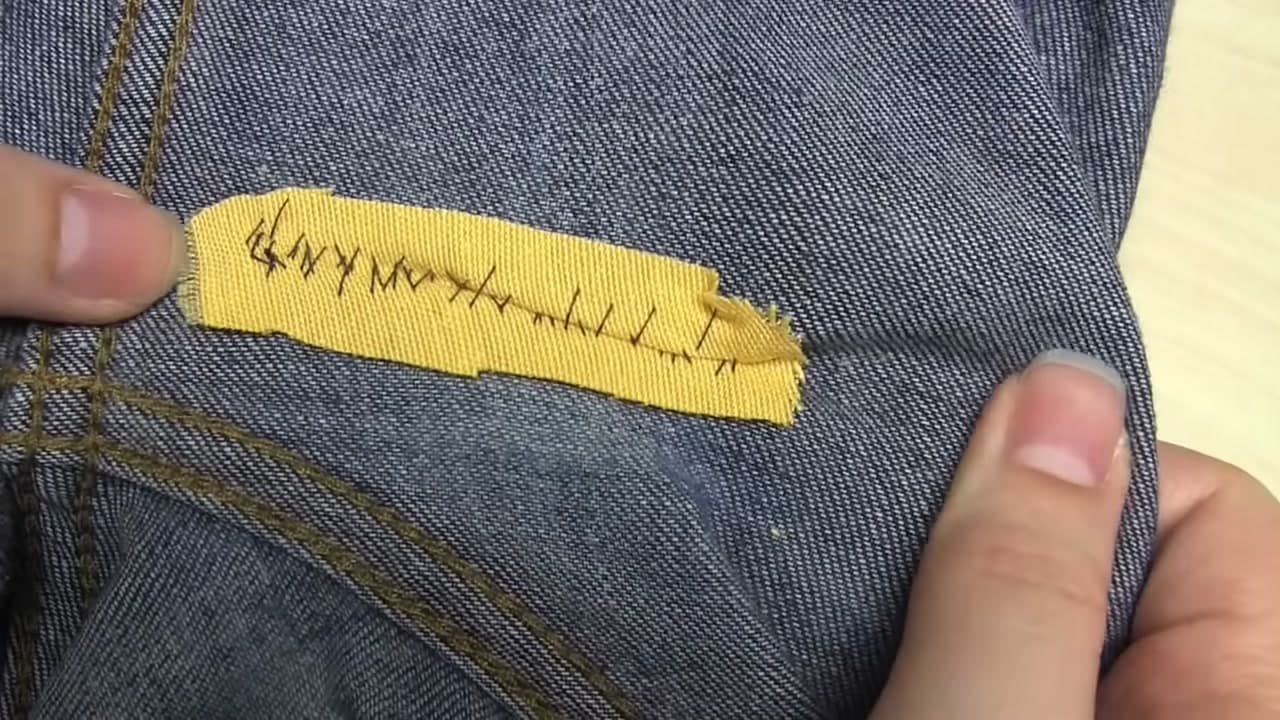
Two things make her method work. She stitches from the inside of the garment, on the purl side, where the thread travels through the thickness of the wool and never shows on the front. And she uses bright yellow thread on purpose. Repair What You Wear mended in a matching color in an earlier video and viewers said the stitches were impossible to follow, so the yellow here is a teaching choice. Your own thread should sit as close to the sweater color as you can get it.

The same move fixes a snag. A snag that has pulled through leaves a long loop on one side and a tight line either side of it, which is the same broken structure seen from a different angle. You anchor behind sound loops and ease the slack back in the way shown here. Catch a snag early and it never becomes a hole at all.

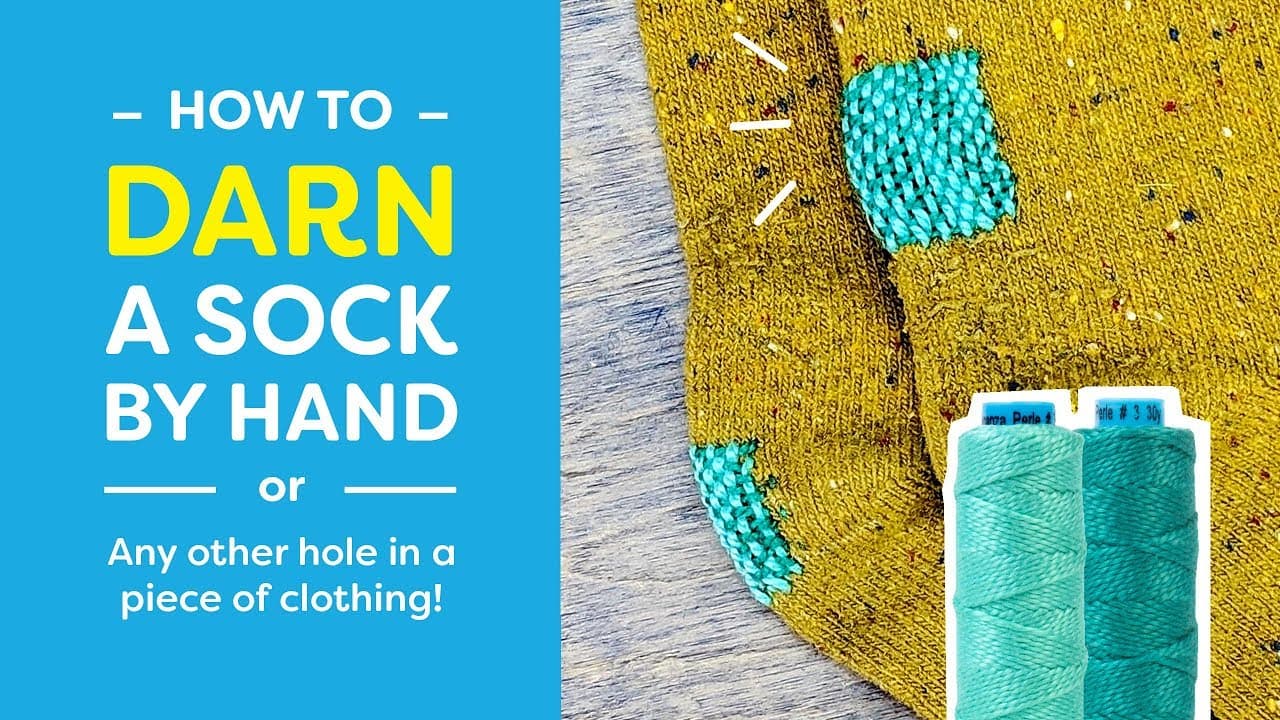
If the gap is wider than a fingernail, or the wool around it has gone thin and fuzzy, darning is the better repair, since it weaves a whole new patch of fabric across the space. Closing a hole in woven fabric works differently again, and a patch is the answer for a worn elbow. Knitters who spot a ladder running down the knit should pick the dropped stitch back up before reaching for a needle and thread.

What you'll need

Step-by-Step Guide

7 steps · about 6 minutes.Check off each step as you go and your progress saves automatically.

1

Find the Hole and Look at the Broken Knit Loops

0:20
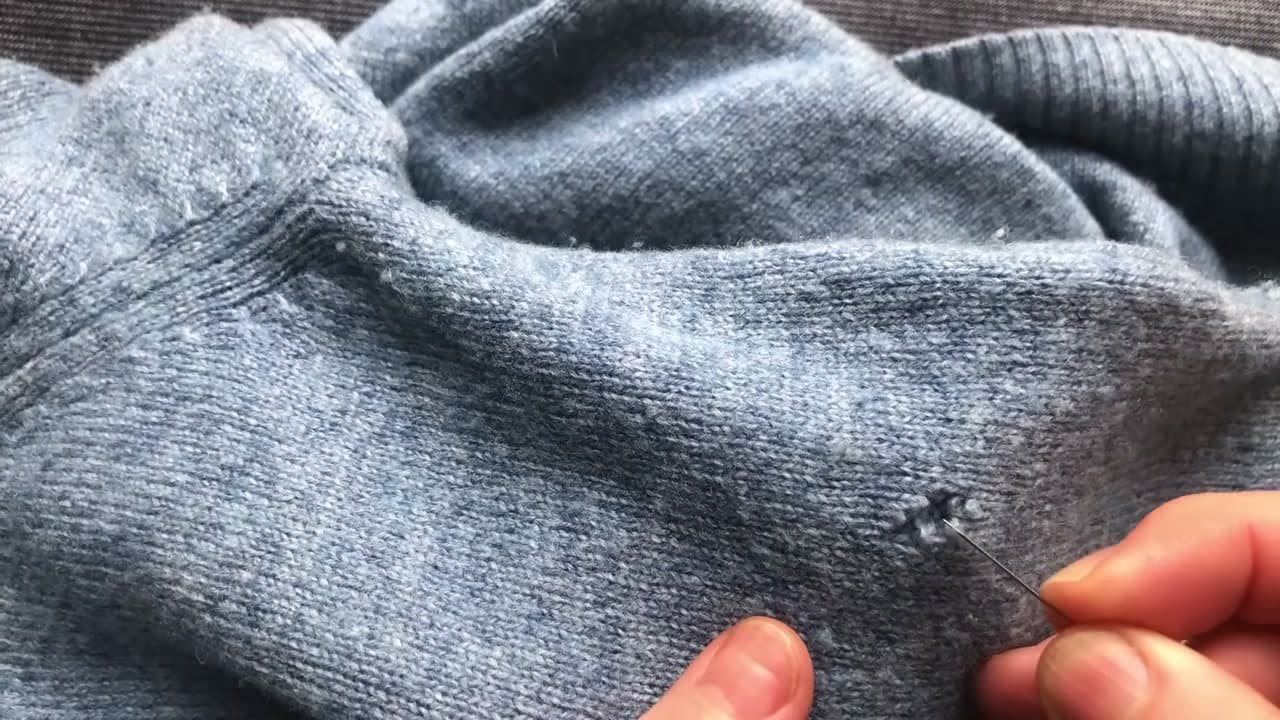
Step 1: Find the Hole and Look at the Broken Knit Loops - How to Fix a Hole in a Sweater

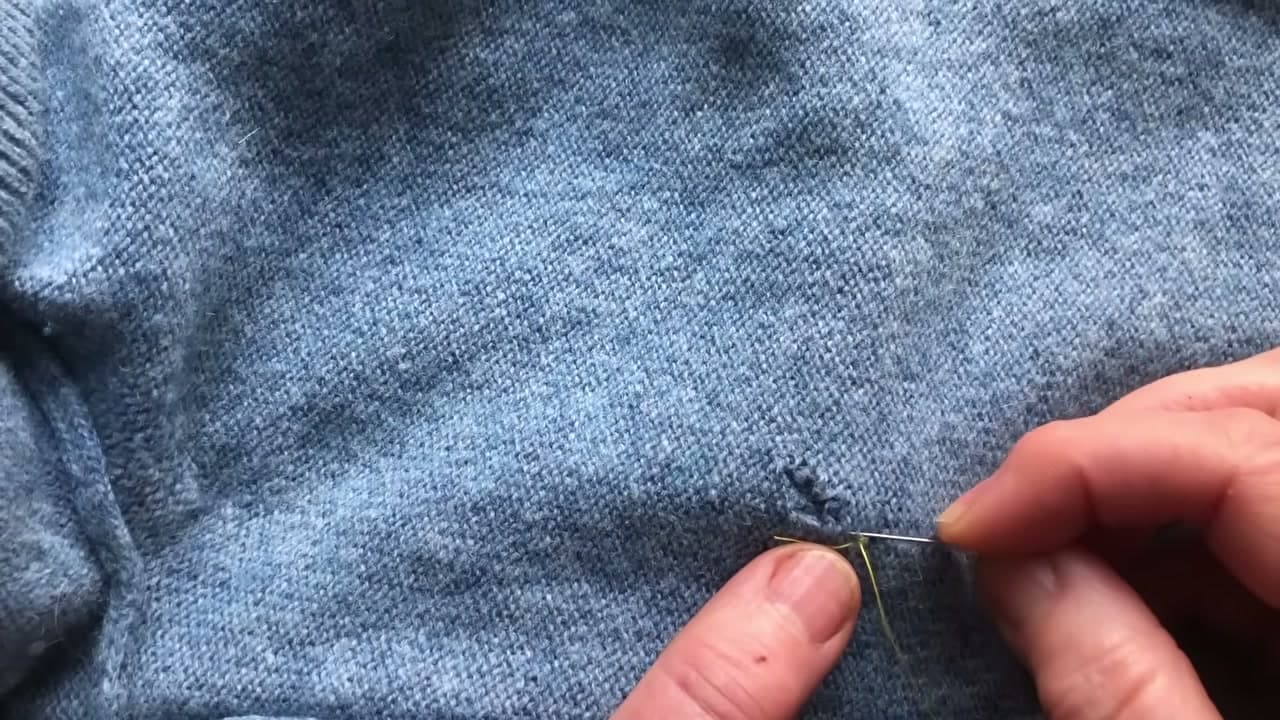
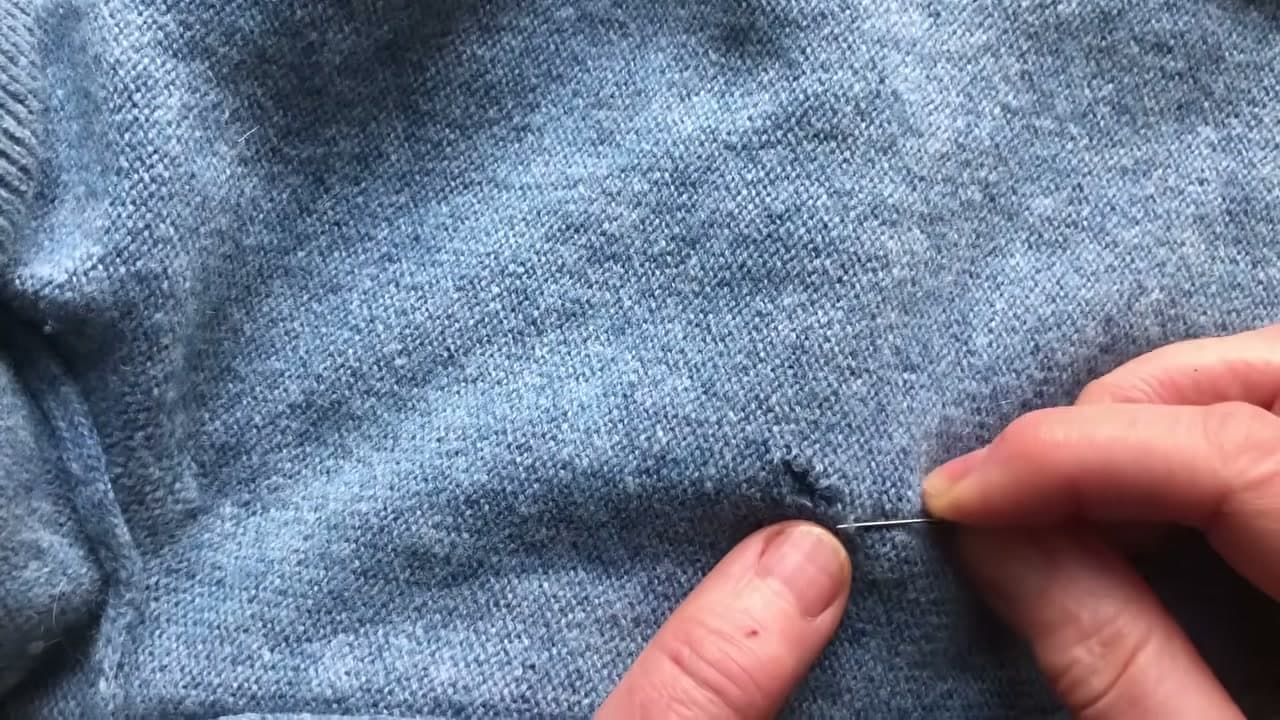
Spread the sweater out flat with the damage in the middle and good light falling on it. Run a needle tip around the edge of the hole. Knit fabric is one long strand looped through itself, so a hole means a few of those loops have snapped and the rest are pulling away from the gap.

Check how far the damage runs. A hole the size of a pea takes a couple of minutes. If the wool around it feels thin, the repair has to reach out into sound knitting on every side.

Tip

Slide a darning mushroom or a piece of card under the hole before you start. It stops you stitching the front and back of the sweater together, which is the most common way this repair goes wrong.
2

Cut a Length of Thread to Match the Sweater

0:55
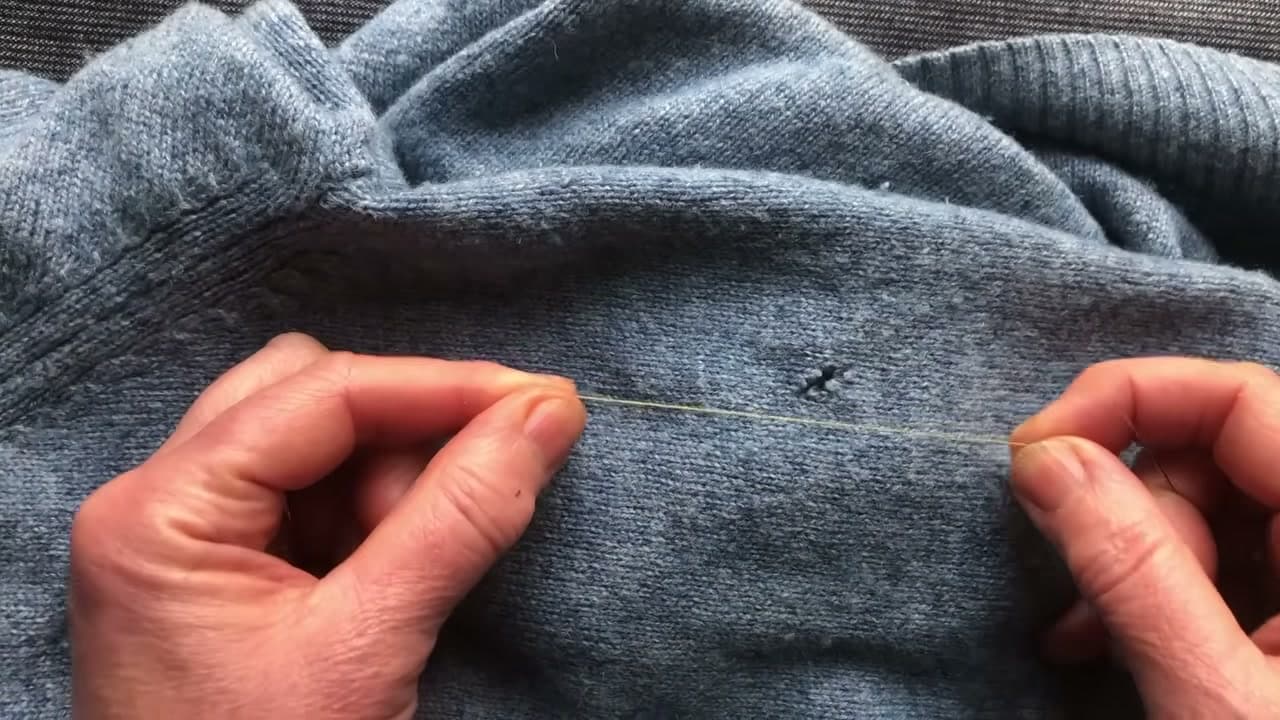
Step 2: Cut a Length of Thread to Match the Sweater - How to Fix a Hole in a Sweater

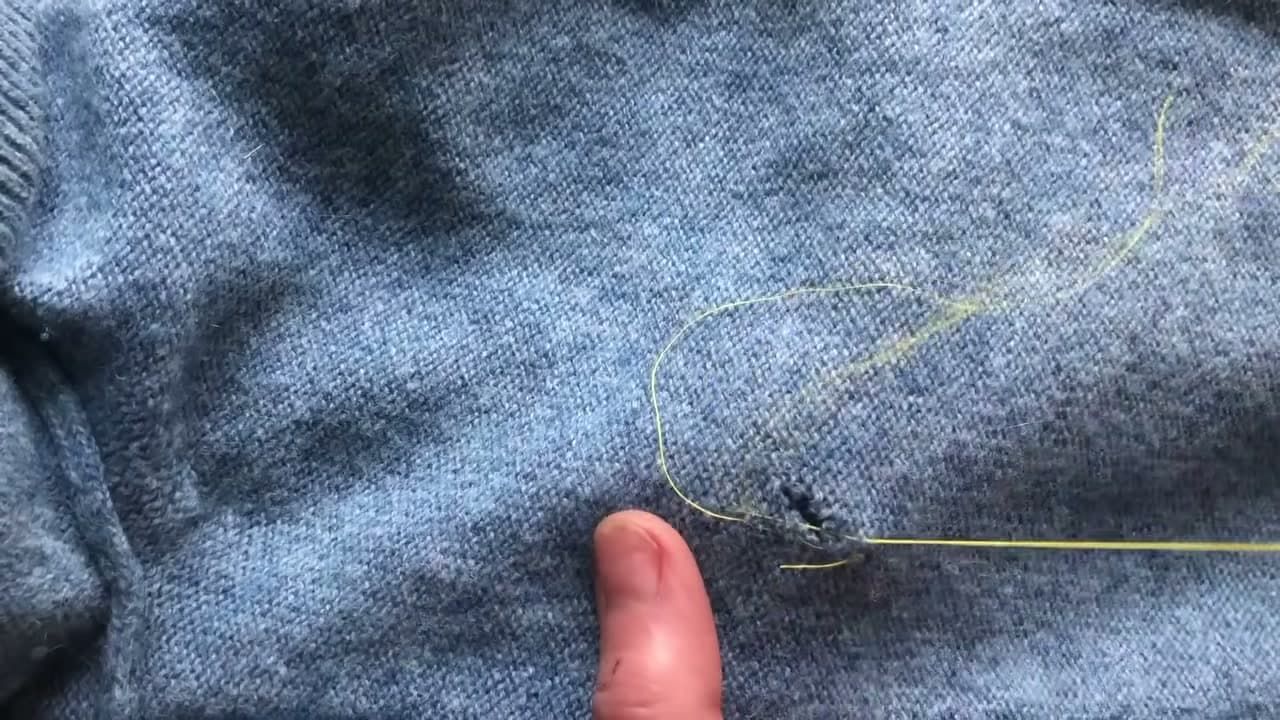
Ordinary sewing thread is all this takes. No yarn, and no need for an exact match. Hold a couple of spools against the knit and pick whichever one disappears fastest. Cut a length about as long as your forearm. Anything longer tangles on itself while you work.

Repair What You Wear stitches this whole repair in bright yellow, which is for the camera rather than the sweater. She switched to a contrasting color after viewers said a matched thread was too hard to follow on screen.

Tip

Wool is rarely one flat color. Look at the knit in daylight and match the lightest tone you can see in it. A slightly light thread reads as a highlight. A dark one reads as a line.

3

Turn the Sweater Inside Out and Anchor the Thread

1:25
Step 3: Turn the Sweater Inside Out and Anchor the Thread - How to Fix a Hole in a Sweater

Turn the sweater inside out so the purl side faces up, the side where the knit reads as rows of small bumps. Every stitch happens here. Working from the back keeps the thread buried in the thickness of the wool instead of sitting on the surface.

Begin about half an inch away from the hole. Take the needle under the back of one loop and wind the thread around it two or three times. That holds the thread with no knot. Do not push the needle all the way through to the front or the color will show.

Tip

Knots are the enemy in knitwear. A knot on the inside rubs against skin and works itself loose in the wash. Winding around a loop holds better and leaves nothing to feel.

4

Catch the Vertical Knit Loops Beside the Hole

1:45
Step 4: Catch the Vertical Knit Loops Beside the Hole - How to Fix a Hole in a Sweater

Look at the knit right beside the gap. The strands running up and down are the vertical loops, the chains of the knitting, and those are what you rebuild. Slide the needle under one of them at the edge of the hole and draw the thread through.

Where a loop has visibly split, catch that one. Bring the needle back out a loop further along and keep every stitch shallow so it stays inside the wool. The thread moves through the fabric, not over the top of it.

Tip

If you cannot pick out the loops, lay the sweater on a light surface and tilt it toward a window or a lamp. The structure of the knit shows up far better against a contrasting background than it does on your lap.

5

Carry the Needle Up Over the Hole and Back Down

2:20
Step 5: Carry the Needle Up Over the Hole and Back Down - How to Fix a Hole in a Sweater

Take the thread up across the hole, catch a loop on the far side, then come back down into the loop next along on your own side. That up and over and back down path is the entire repair. Every pass brings one more pair of broken edges together.

Vary the length of the passes to follow the shape of the hole. A tear is rarely round, and short stitches at the narrow end with longer ones across the middle stop the mend puckering into a point.

Tip

Pull each pass a fraction, no more. Closing the hole is the job of the whole set of stitches, not any single one, and thread hauled tight now will snap the first time the sweater stretches over your head.

Used in this stepall-purpose sewing thread
6

Work Back Along the Horizontal Loops and Ease the Hole Closed

3:58
Step 6: Work Back Along the Horizontal Loops and Ease the Hole Closed - How to Fix a Hole in a Sweater

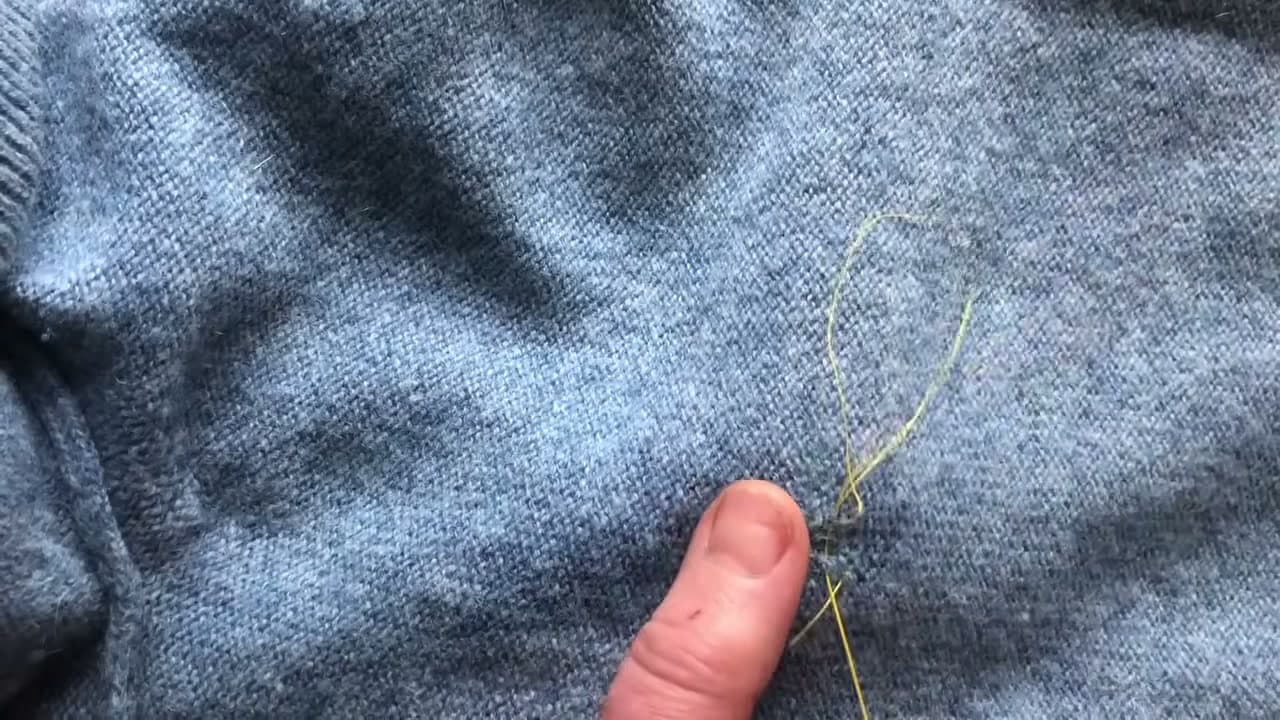
With the vertical loops caught, go back across the mend using the horizontal loops, the small bars that run side to side between the chains. Pick them up the same way, needle under the bar and out again, travelling across the repair.

This pass is where the hole really closes. Draw the thread a little firmer as you go and the two edges walk toward each other. Ease them together rather than hauling on them. Wool responds to coaxing, and what you are avoiding is a lumpy scrunched bunch sitting in the middle of a smooth sweater.

Tip

Turn the sweater right side out every few stitches and check the front. Loosening a stitch that pulls too hard is quick now. Unpicking a finished mend is not.

Used in this stephand sewing needles
7

Fasten Off the Thread and Bury the Tail in the Knit

4:50
Step 7: Fasten Off the Thread and Bury the Tail in the Knit - How to Fix a Hole in a Sweater

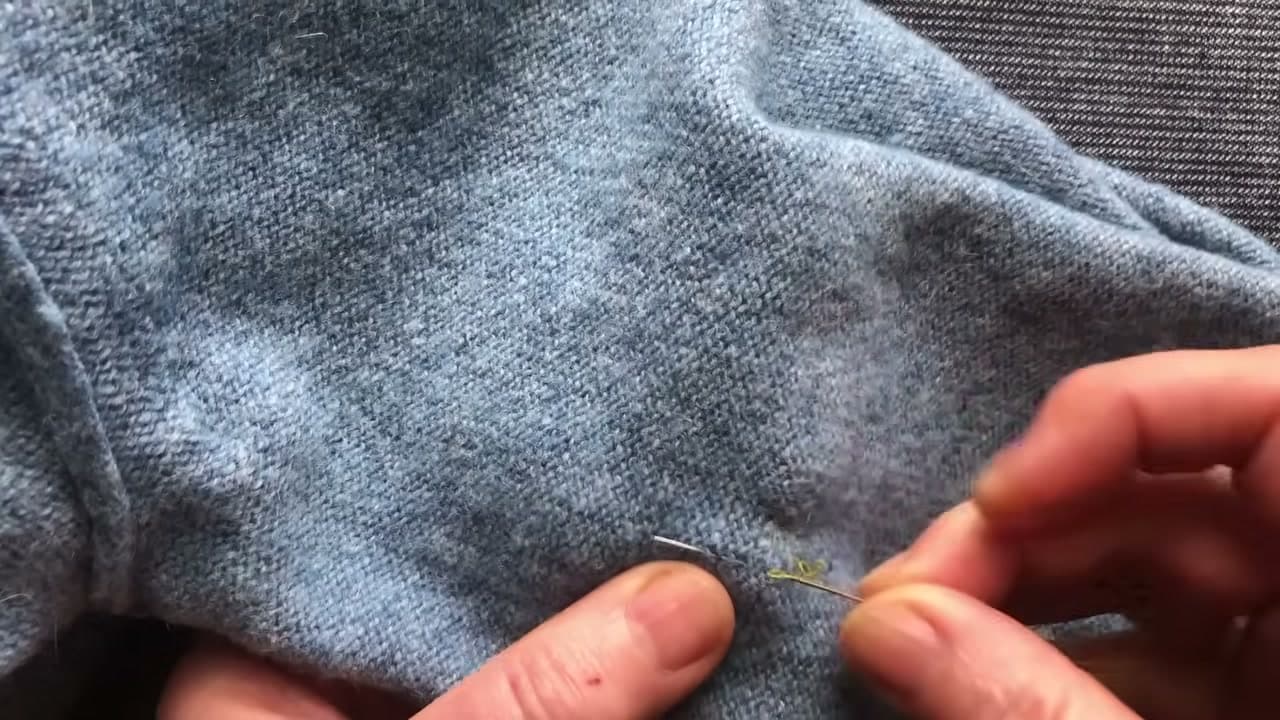
Move a short way off the mend into sound knitting and work one or two small stitches to lock the thread, the same wind-around-a-loop move you started with. Then run the needle through the back of a few nearby stitches, pull the thread along and snip it close to the wool.

Cut it flush and the tail retreats into the knit instead of dangling. Turn the sweater right side out and look. With a close color match the repair reads as a slight kink in one line of knitting and nothing more.

Tip

Give the mend a steam to settle it. Hover the iron above the wool and let the steam do the work, because the soleplate must never touch the knit. Steam draws the fibers back together. A hot plate flattens them and leaves a shine.

Keep going

What to Do With Fabric Scraps: 5 Zero-Waste Sewing Projects

Products Used

The Checklist

How to Fix a Hole in a Sweater

Tools
4
Materials
2
Steps
7
Video
6 min

Tools we recommend

Your Guide

Repair What You Wear

As an Amazon Associate we earn from qualifying purchases. Links on this page may be affiliate links - clicking them and buying doesn't change your price, but helps support CraftingStepByStep.

Tags

Sunday How-To

New sewing tutorials, every Sunday

One short email with the week's best step-by-step guides. Free, no spam, unsubscribe anytime.

Did this work for you?

What's next

Related collections

Curated theme pages that include this tutorial.

Similar tutorials

Hand-picked next reads based on the one you just finished.

Weekly Digest

Liked this sewing tutorial?

Pick the categories you want to hear about. Weekly digest of new step-by-step tutorials. No spam, easy unsubscribe.

Send me tutorials about

We only email about new tutorials. Easy unsubscribe anytime.