Paper Quilling for Beginners - 7 Basic Shapes and Your First Project

By CraftingStepByStepPublished Updated

Based on a video by HGTV Home.

Step-by-Step Guide

1

Step 1: Gather Your Quilling Supplies

0:30
Step 1: Step 1: Gather Your Quilling Supplies

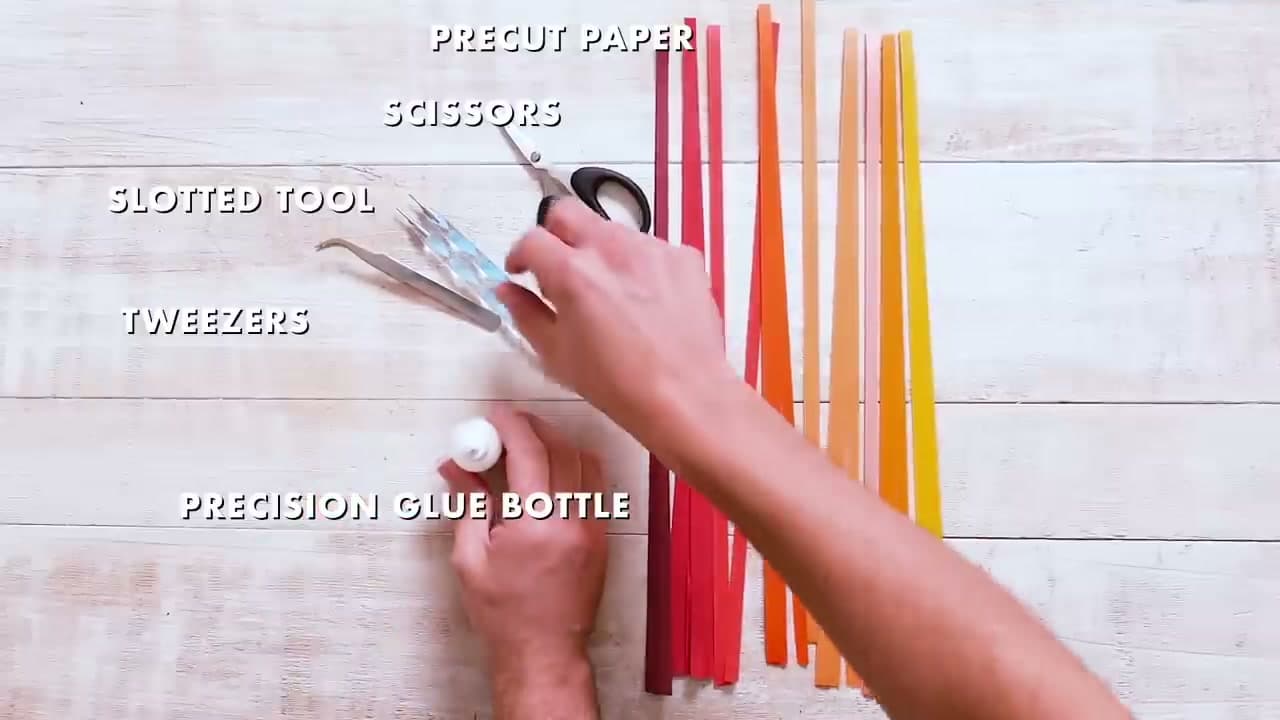
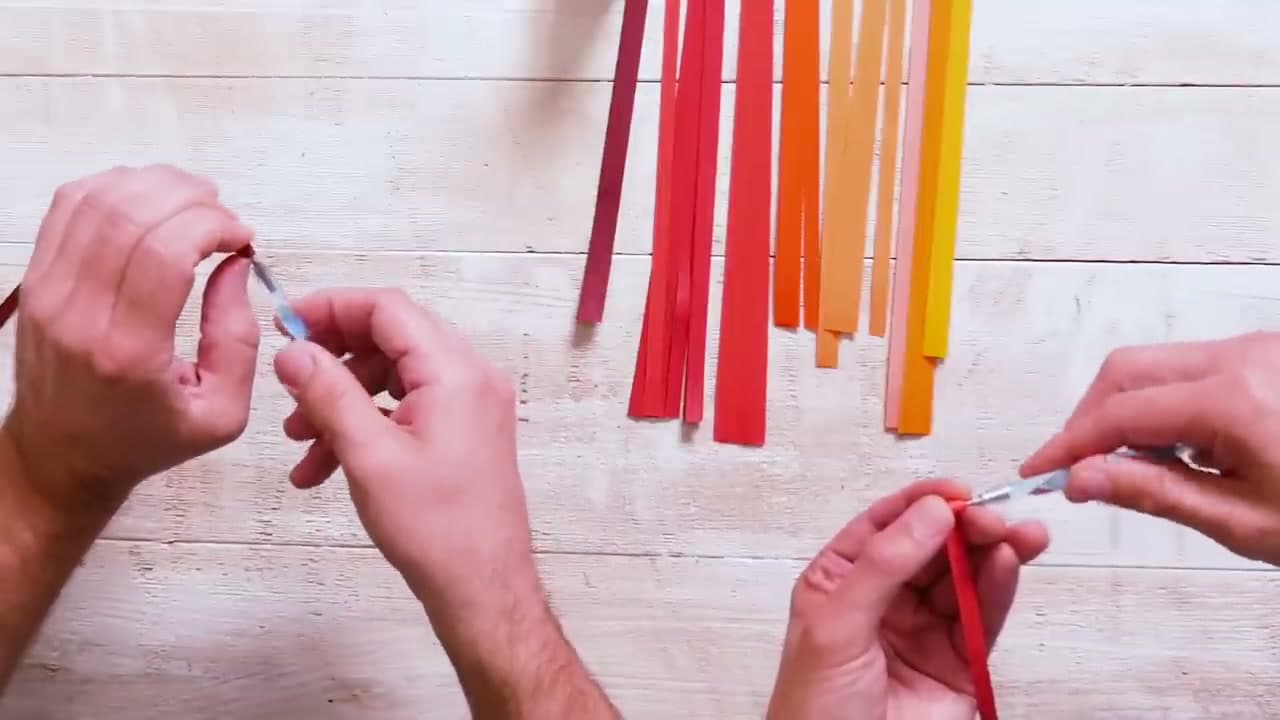
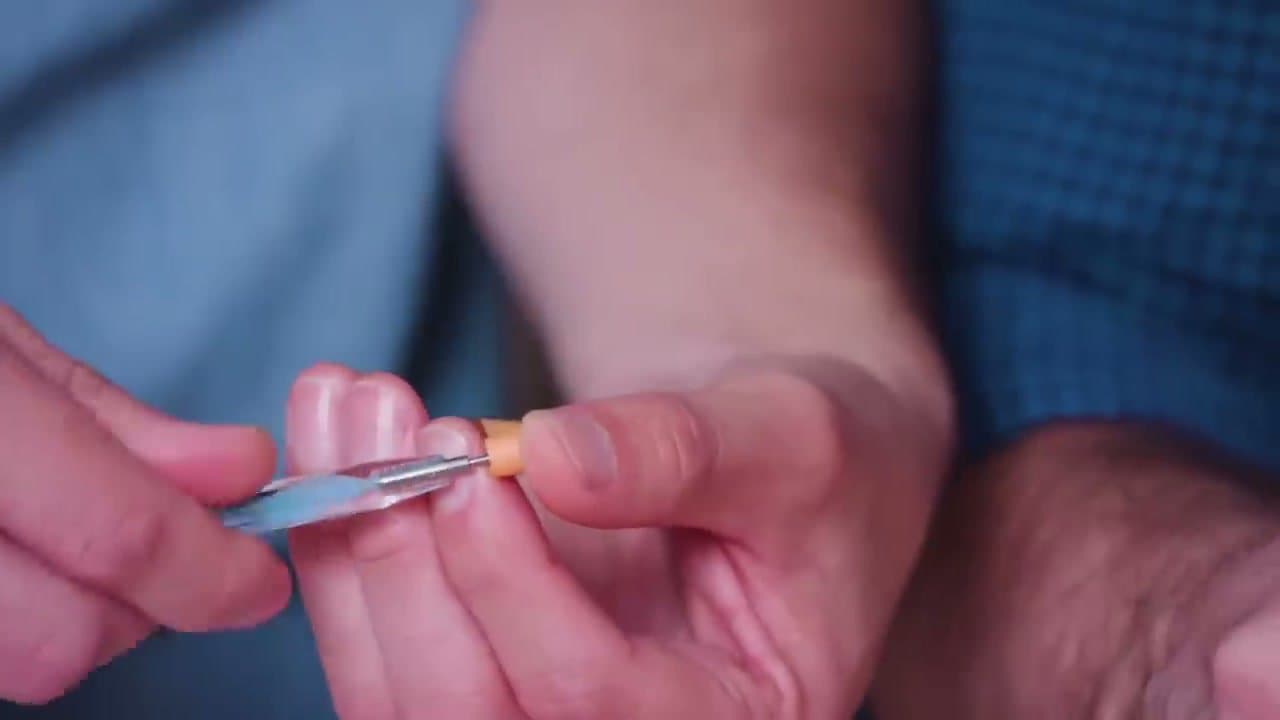
A starter kit gives you everything you need: a slotted quilling tool (a metal pen with a tiny slit at the tip), pre-cut paper strips in your color choice, a precision-tip glue bottle, a pair of tweezers, and small scissors. Kits run cheap online so you can try the craft before investing in nicer tools.

Pro tip from the Crafty Lumberjacks: keep the precision glue bottle pointed down into a damp sponge nested in a small bowl. The moisture stops the fine tip from clogging between coils. Cut a sponge to fit a small dish, soak it, sit the bottle nose-down, and the glue is always ready.

2

Step 2: Roll a Tight Coil

1:00
Step 2: Step 2: Roll a Tight Coil

This is the foundation shape - every other shape starts with a tight coil. Slide one end of a paper strip into the slot at the tip of the tool. Hold the paper steady with your forefinger and thumb close to the tool, and start rolling.

Keep the layers as even as possible as you go. Watch out for tornadoes - that's when the coil drifts sideways into a cone shape instead of staying flat. When you reach the end of the strip, dab a tiny drop of glue on the end and press it down. Less glue is more in quilling. A little dab will do you.

Tip

If your coil looks like a tornado, ease pressure on the tool and let your fingers guide the paper into the same plane. Slow down - speed comes with practice.

3

Step 3: Make a Loose Coil

2:35
Step 3: Step 3: Make a Loose Coil

Roll the strip exactly the same way as the tight coil. When you reach the end, slide the tool out and let the coil relax open in your fingers.

Some quillers hold the center pinched while the outer rings expand; others let it pop open completely. Either way, glue just the loose end to lock the shape. The loose coil is the base for almost every other shape that follows - learn to hit a consistent diameter and the rest of the shapes get easier.

4

Step 4: Pinch a Teardrop and Curved Teardrop

3:25
Step 4: Step 4: Pinch a Teardrop and Curved Teardrop

Start with a loose coil and glue the seam. Position the seam at the top of where you'll pinch - so when you squeeze, the seam is hidden inside the point you create.

Squeeze one side of the coil between your forefinger and thumb to form a sharp point. That's the basic teardrop. For a curved teardrop, do the same pinch and then use the tip of your slotted tool to gently bend the pointed end into a hook. Both shapes look like petals and are the workhorse for quilled flowers.

Products used in this step

5

Step 5: Form a Marquee (Eye) and Slug

4:20
Step 5: Step 5: Form a Marquee (Eye) and Slug

The marquee, also called the eye, is a loose coil pinched at BOTH ends to make a long oval shape. Glue the seam first, then pinch one side, then pinch directly opposite. Shift the inner spiral slightly off-center before the second pinch so you don't crush the inside of the coil.

For the slug variation (also called the double curved marquee), make a marquee and then use your tool to curve each pointed end in opposite directions - one tip up, one tip down. The slug has a wave shape that adds movement to designs.

6

Step 6: Shape a Square and Diamond

6:05
Step 6: Step 6: Shape a Square and Diamond

Both shapes start as a loose coil with a glued seam. For the square, pinch four points at 90-degree intervals around the coil to create four corners.

For the diamond, pinch the same four points but pull each pinch a little tighter so the shape elongates. The diamond stretches into a stretched almond rather than an even square. These are the geometric shapes that anchor structured designs - flowers, snowflakes, and architectural motifs all use them.

7

Step 7: Combine the Shapes Into a Finished Piece

6:50
Step 7: Step 7: Combine the Shapes Into a Finished Piece

Pick a backing paper and trim it to fit a shadow box. Use a shadow box rather than a flat frame - the coils sit above the surface and a flat frame will press them down.

For a planet design like the one in the video: splatter the backing paper with a little gold acrylic paint and let it dry. Glue a single strip of paper into a closed circle for the planet outline. Fill the circle with grouped quilled shapes - tight coils, teardrops, and marquees in matching colors create the surface texture. Use tweezers to place each shape; fingers are too clumsy for the small ones. Add scattered tight-coil dots around the planet for stars. Pop the finished piece into the shadow box and you've got a framed piece of art from a $10 quilling kit.

Try your first project: Now that you have the seven shapes down, ship a quick flower. Our how to paper quill a daisy tutorial walks through a beginner-friendly daisy using just the loose coil, teardrop, and fringed center you already learned here.

Tip

Group similar shapes and colors together when filling the design - random scattering looks chaotic, while clusters look intentional.

Products Used

Your Guide

HGTV Home

As an Amazon Associate we earn from qualifying purchases. Links on this page may be affiliate links - clicking them and buying doesn't change your price, but helps support ShowMeStepByStep.

Tags

Test your knowledge

Did the lesson stick? Find out in 2 minutes.

5 quick questions covering what you just read. No signup, no score saved — just a gut check.

Quick reference

Key takeaways from Paper Quilling for Beginners - 7 Basic Shapes and Your First Project

5 questions, answers, and one-line explanations. Tap to expand.

  1. 1.Foundation shape every other shape starts from?

    Answer: Tight coil

    Tight coil → loose coil → every other shape. Master the consistent roll first.

  2. 2.What's wrong if your coil 'tornadoes'?

    Answer: Drifts into cone

    Tornadoes are crooked rolls. Keep the paper layers stacked evenly as you turn the tool to avoid them.

  3. 3.What does a MARQUEE (eye) shape look like?

    Answer: Pinched at both ends

    Pinch one side, then pinch directly opposite. Shift the inner spiral off-center first so the pinch doesn't crush it.

  4. 4.Why use a shadow box (not a flat frame)?

    Answer: Coils sit raised up

    Quilling is 3D. A shadow box has the depth to display the relief; a flat frame crushes the work.

  5. 5.What makes a teardrop into a CURVED teardrop?

    Answer: Hook the pointed tip

    Same starting pinch. Use the slotted tool to bend the point into a hook - that's what turns it from teardrop to curved teardrop.

What's next

Related collections

Curated theme pages that include this tutorial.

Weekly Digest

Liked this paper crafts tutorial?

Pick the categories you want to hear about. Weekly digest of new step-by-step tutorials. No spam, easy unsubscribe.

Send me tutorials about

We only email about new tutorials. Easy unsubscribe anytime.