1
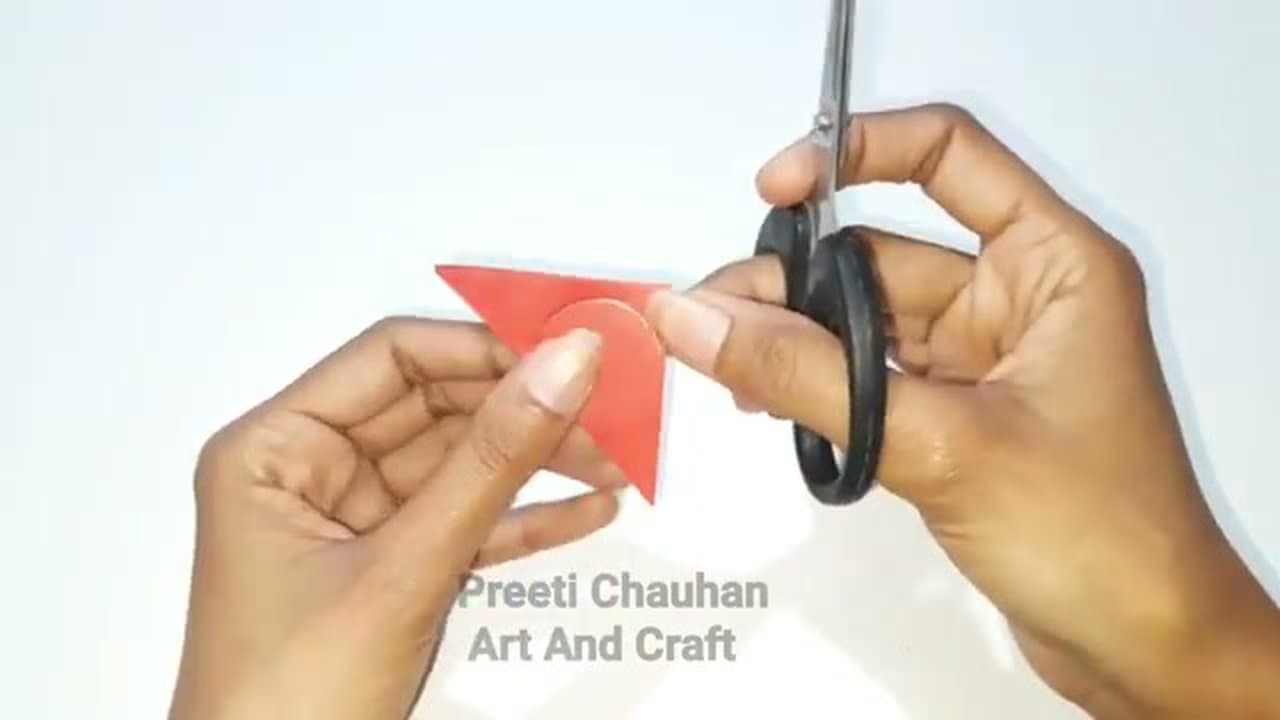
Cut Paper Squares in 5 Sizes
0:15
Cut 4 or 5 squares of craft paper in decreasing sizes. Start at about 4 inches for the outer layer and step down by about half an inch each time, ending with a 1.5-inch square for the center bud.
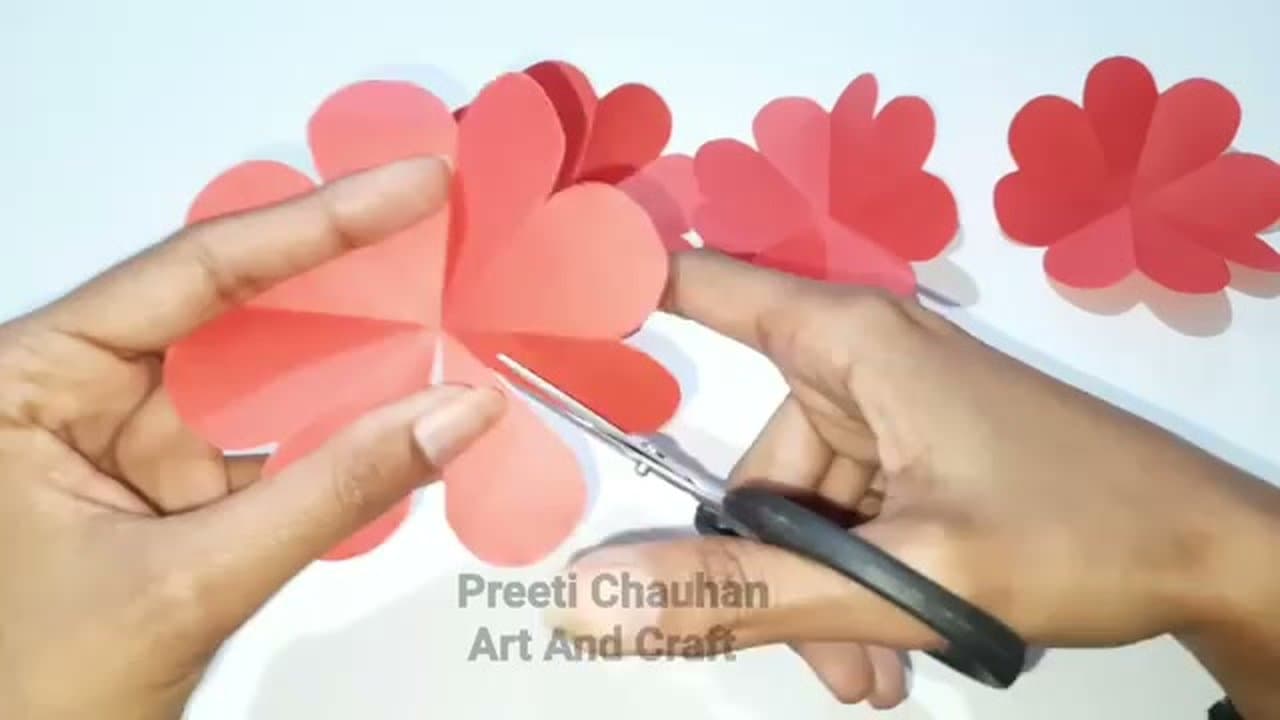
Stack the squares in size order so you can grab them in sequence later. Same color across all sizes for a uniform rose, or graduated shades for an ombre effect.
Tip
Use a paper cutter or ruler if you want clean square edges. Eyeballing it works fine too - the cuts get hidden once the petals fold around each other.