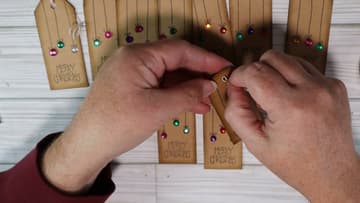
How to Make Christmas Gift Tags
Source: True Joy Home & Studio • Full tutorial: www.craftingstepbystep.com/paper-crafts/how-to-make-christmas-gift-tags
- Difficulty
- Easy
- Hands-on time
- About 45 minutes
- Wait time
- 30 minutes
- Cost
- About $15 to $25
- Makes
- a set of about 10 tags

Tools
- scissors
- handheld hole punch
- ink blending sponge
- fine gel pen
Materials
- kraft cardstock or ready-cut kraft tags
- distress ink, walnut stain
- black ink pad
- Merry Christmas stamp
- flat-back gems in assorted colours
- tacky glue
- string or bakers twine
Steps
1. Cut and Punch the Tag Bases
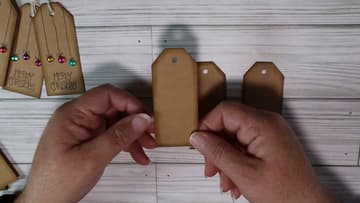
Start with plain kraft cardstock. Cut a rectangle, trim the two top corners off at an angle to get the classic luggage-tag shape, and punch a hole at the top.
Tip: Kraft brown is doing real work here. The drawn lines and the gems both read better against brown than they do against white.
2. Ink the Edges
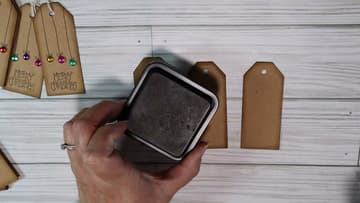
Rub distress ink around the edge of each tag with an old sponge, working from the outside inward so the colour fades as it moves toward the middle. Walnut stain gives that aged border.
Tip: Less ink than you think. Build it up in light passes - you can always add another, but you cannot lift it back off.
3. Stamp the Greeting
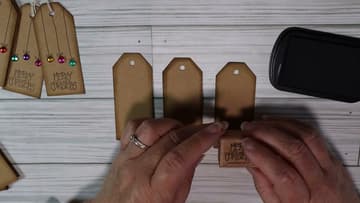
Stamp Merry Christmas along the bottom of each tag in black ink. Press the stamp straight down and lift it straight up.
Tip: Stamp the greeting before you draw anything. If a stamp goes down crooked you want to be throwing away a blank tag, not one you have already decorated.
4. Draw the Ornament Strings
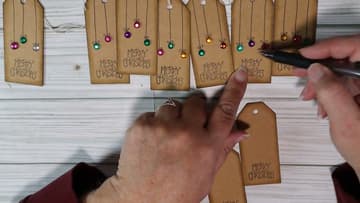
With a fine gel pen, draw two or three long lines down from the top edge of the tag. These are the strings the ornaments hang from.
Tip: A 0.7mm gel pen gives a crisper line than a fine Sharpie, which bleeds slightly into kraft card.
5. Draw the Ornament Caps
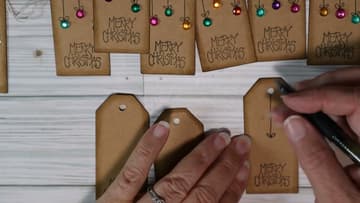
At the bottom of each line, draw a small loop with two little curls coming off it, a bit like a tiny bow or a heart. That shape is the cap of the bauble, and it is what makes the whole thing read as an ornament instead of a dot on the end of a string.
Tip: Keep the caps small. Oversized ones make the gem look like it is falling out of the bottom of them.
6. Choose the Gems
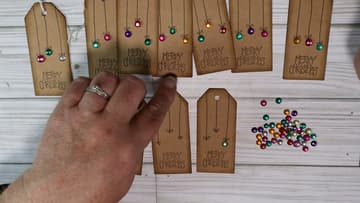
Pick three flat-back gems per tag in colours that work together, and lay them out before you glue anything. Keeping them all roughly one size looks tidiest across a batch.
Tip: Sequins, or circles punched from patterned Christmas paper, work just as well. Anything small and round will do the job.
7. Glue the Gems On
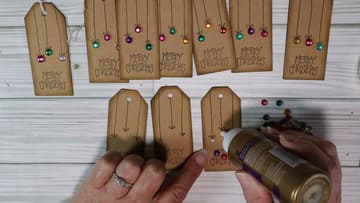
Put one small dot of tacky glue at the end of each drawn string and press a gem into it. A little squeeze-out around the edge is not a problem, because tacky glue dries clear.
Tip: Let the glue set properly before you handle the tags. A gem knocked sideways while half-dry leaves a smear you cannot clean off kraft card.
8. String the Tags
Once the glue is dry, cut about ten inches of string and fold it in half. Push the folded loop through the hole from the front, pull it round to the back, then open the loop and feed the two loose ends through it.
Tip: That fold-through-and-feed method is a lark's head knot. It sits flatter than a tied knot and it will not slip off the tag.