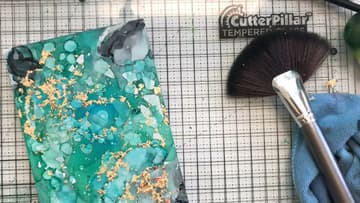
How to Use Alcohol Ink
Source: Laurel Beard • Full tutorial: www.craftingstepbystep.com/painting/how-to-use-alcohol-ink
- Difficulty
- Easy
- Hands-on time
- About 45 minutes
- Wait time
- 45 minutes
- Cost
- About $20 to $40
- Makes
- 1 alcohol ink painting

Tools
- Heat gun
- Sponge daubers or makeup sponges
- Pipette or dropper
- Soft fan brush
- Dedicated paintbrush
- Nitrile gloves
Materials
- Alcohol inks, three or four colours
- Blending solution
- Isopropyl alcohol
- Hard panel or Yupo paper
- Gilding flakes
- Liquid glitter or metallic additive
- Matte sealer spray
Steps
1. Set Out Your Inks and Alcohol
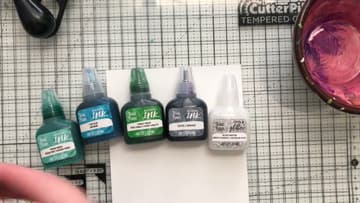
Line up three or four ink colours, a bottle of blending solution, a small bowl of isopropyl alcohol, and a hard panel or sheet of Yupo to work on. Put gloves on.
Tip: The surface has to be non-porous. On ordinary paper the ink soaks straight in and dries flat and dull instead of pooling.
2. Drop the First Colour Straight On
Squeeze ink directly onto the panel. There is no sketching stage and no plan required, because everything you put down now is about to be moved somewhere else.
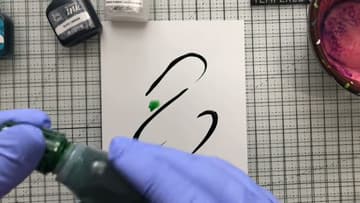
3. Spread It with a Sponge Dauber
Dab at the ink with a sponge dauber to push it around and build up texture. Press and lift rather than wiping - lifting is what leaves the mottled edges.
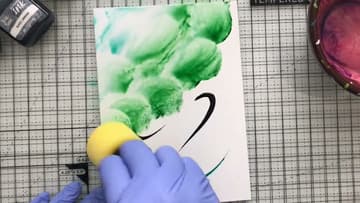
4. Bloom the Colour with Isopropyl
Load a pipette with plain isopropyl alcohol and drop it onto the wet ink. Each drop shoves the pigment outward and leaves a pale crater in the middle.
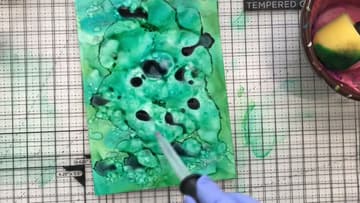
5. Push the Ink with a Heat Gun
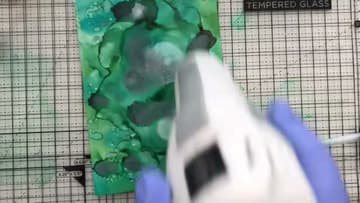
Play a heat gun across the panel. It dries the surface so you can keep working, and the moving air drags the ink into thin dark veins along the edges of each pool.
Tip: Hold the gun back and keep it moving. Too close and you blow the ink clean off the edge of the panel.
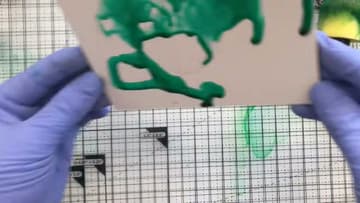
6. Start a Bolder Panel Wet on Wet
For a richer piece, pour alcohol straight onto a fresh panel first, then drop your colour into the puddle. Working into standing liquid gives much larger, softer shapes than dropping ink onto a dry surface does.
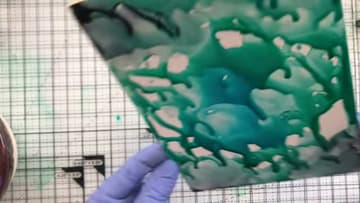
7. Tilt the Panel to Make Webs
Pick the panel up and tilt it in every direction. The alcohol runs and pulls the ink along with it, and where the flows meet you get the branching web pattern alcohol ink is known for.
Tip: Work over a mat or a tray. It runs off the edges, and it stains whatever it lands on.
8. Frame It with a Darker Colour
Brush a darker third colour into the corners. Grey or black around the outside pushes the eye toward the brighter middle and stops the piece reading as one flat blur.
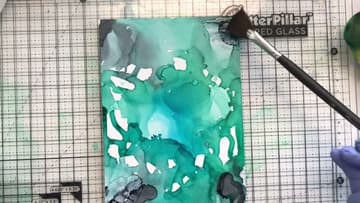
9. Add a Metallic or Glitter Additive
Work a liquid glitter or silver additive into the pale areas. It sits on top of the ink rather than blending into it, so you can watch exactly where it settles as you tilt the panel.
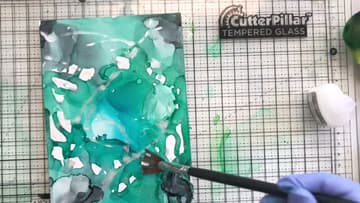
10. Flick Alcohol for Speckled Craters
Load a brush with alcohol and flick it at the panel. Every droplet that lands eats a small pale crater into the colour.
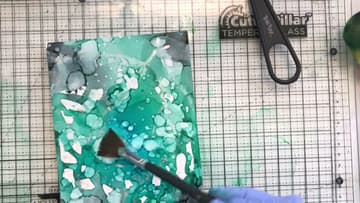
11. Pat On Gilding Flakes While It Is Tacky
Wait until the panel is tacky but not wet, then pat gilding flakes onto it. They stick only where the surface is still damp, so the gold lands in a pattern the ink decided rather than one you placed.
Tip: Dry it a little less than you think. Fully dry and nothing sticks at all.
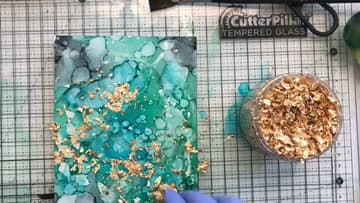
12. Brush Off the Loose Flakes and Seal
Sweep the unstuck flakes away with a soft fan brush, working off the edge of the panel so they land on the mat rather than back on the art. Then take it outside and give it a coat of matte sealer.