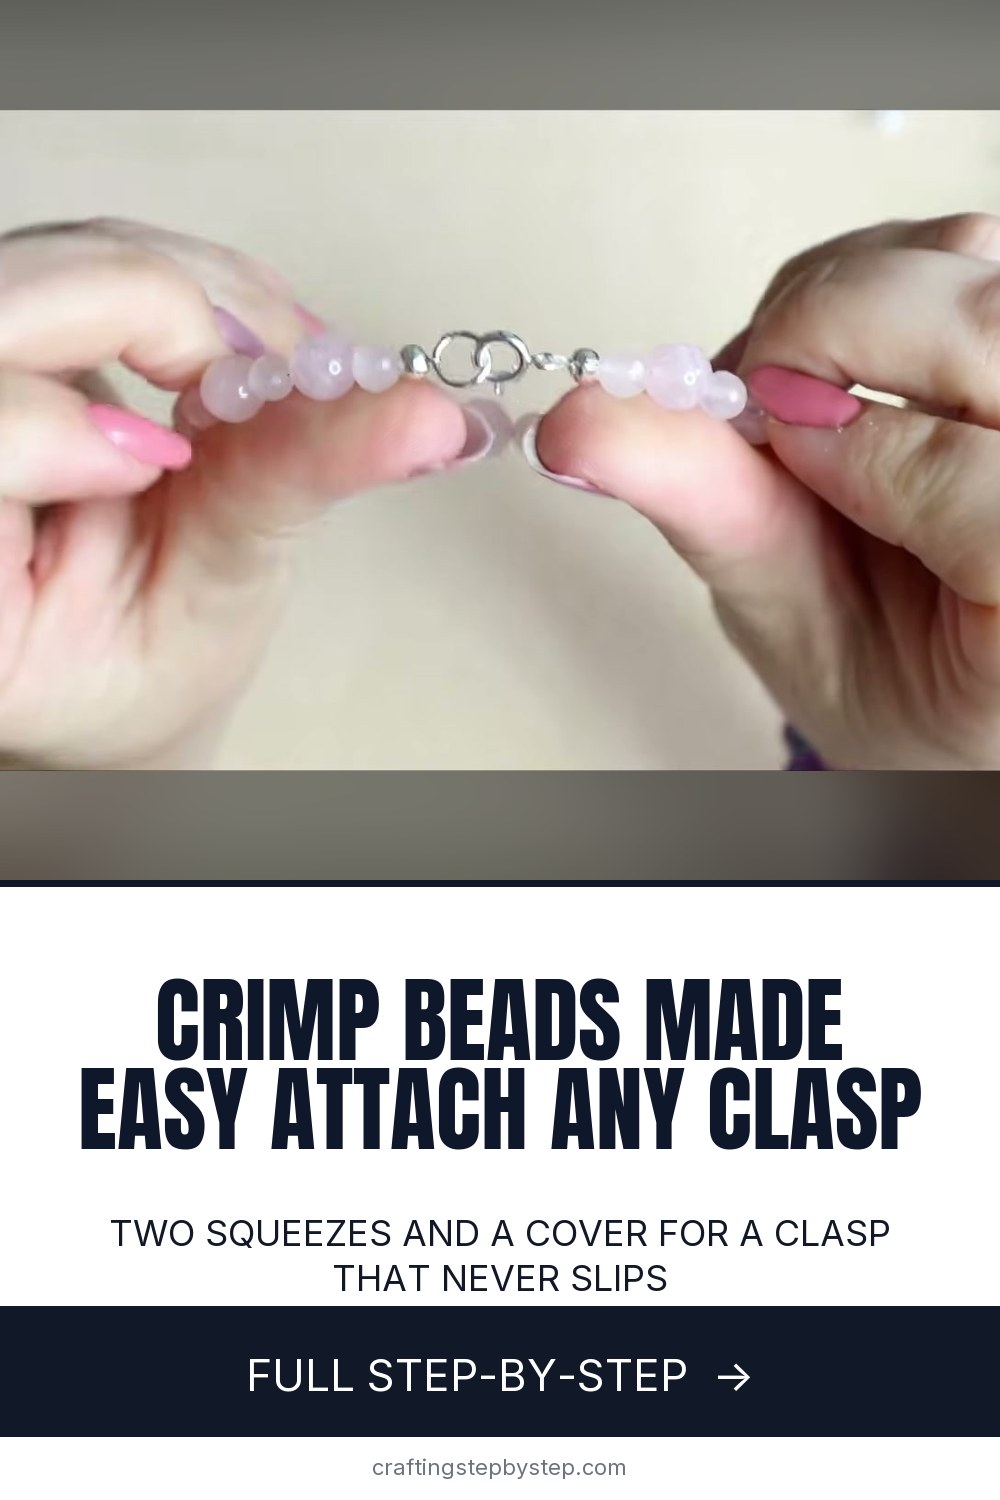
How to Use Crimp Beads to Attach a Clasp

The finished result: How to Use Crimp Beads to Attach a Clasp
  • Difficulty: Easy
  • About 15 minutes
  • 10 steps

You tapped Save

Save this project for later

We'll email you a link, no password.

How to Use Crimp Beads to Attach a Clasp

  • Your saved projects in one list
  • Your ticked steps on any device

Check your inbox for an email from us. Not there? Look in your spam folder.

Print

Steps written out by Crafting Step by Step from Katie Parker Jewellery's video (opens YouTube) (12:12). Published .

Crimp beads are the tiny metal tubes that lock a clasp onto beading wire. Get them right and a strung bracelet or necklace holds for years. Get them wrong and it slips apart the first time you wear it. Katie Parker of Katie Parker Jewellery shows the whole method on a rose quartz bracelet: a crimp tube, a two-stage squeeze with crimping pliers, and a crimp cover to hide it all for a finish that looks shop-bought.

How to use crimp beads to attach a clasp: the short version

  • Slide a crimp tube and the clasp onto the wire.
  • Pass the wire back through the crimp to make a small, loose loop.
  • Squeeze in the notched back station of the crimping pliers.
  • Turn the crimp and fold it in the rounded front station.
  • Hide the tail in the beads, repeat at the other end, then add crimp covers.

Crimp tubes vs crimp beads

Both do the same job. Crimp tubes are short, straight cylinders with flat ends. Crimp beads are rounder. Tubes give a tidier fold with crimping pliers, which is why Katie uses them. A 2x2mm tube suits most bead stringing wire for bracelets and light necklaces. For heavy beads, use a bigger crimp or two crimps one after the other.

Why crimping pliers beat flat pliers

You can flatten a crimp with chain nose pliers, and it will hold for a while. Crimping pliers do it in two moves. The back station dents the tube into a U and splits the two wires apart. The front station folds that U in half into a neat round bar. It grips harder, looks smaller and has no sharp edges to catch on a sleeve.

Sizing a bracelet before you crimp

Measure the wrist, then lay the beads in a bead board channel of that size. Allow about an inch extra for the clasp. Big beads take up more room on the inside of the circle, so a bracelet of 10mm beads needs a little more length than one of 6mm beads. Try it on before the second crimp. Once it is crimped, the only fix is cutting it off.

Choosing the wire

Bead stringing wire (often called tiger tail) is fine steel cable with a nylon coat. More strands mean a softer drape: 7 strand is a good start, 19 or 49 strand hangs more like thread. Pick a color that matches your findings, silver wire with silver crimps, so any wire that shows blends in.

Where else you will use crimps

The same method finishes necklaces, anklets, glasses chains and multi-strand pieces. It is the standard way to end any strung piece on wire.

Common problems

  • The crimp slips. It was squeezed too gently, or the wire is too thin for the tube. Squeeze firmly in the back station.
  • The clasp will not move. The loop was pulled too tight. Leave a little room.
  • The bracelet is stiff and straight. Keep the strand curved while you tighten the second end.
  • A dented crimp cover. Close it slowly, turning the pliers a little at a time.

More jewelry making

Put this to work on a beaded bracelet or a charm bracelet. For pieces without a clasp, see how to tie a bracelet knot, and for wirework try wire-wrapped earrings.

Free printable

Print the steps and supply list for this project

One page you can take to the table. Free with a free account, no password.

Get the free printable

What you'll need

Free, for this project

Get this checklist by email

  • All 10 tools and materials, with tick boxes
  • A link to print all 10 steps on paper, to keep by you while you craft

No password. The whole tutorial stays free on this page.

Quick answer

Use crimp beads to attach a clasp to beading wire. An easy project: about 15 minutes. You need 10 things, including bead stringing wire, crimp tubes and crimp covers. The 10 steps start with size the Beaded Bracelet on a Bead Board Before Crimping, slide a Crimp Tube Onto the Beading Wire, loop the Wire Through the Clasp and Back Through the Crimp and squeeze the Crimp Tube in the Back Station of the Crimping Pliers.

Step-by-step guide

10 steps, about 12 minutes. Tap a picture to jump to that step. Your progress saves automatically.

Tick each step off as you go.

  1. Step 1: Size the Beaded Bracelet on a Bead Board Before Crimping

    Watch this step · 2:20

    String your beads onto a length of beading wire that is much longer than you need. Spare wire is easier to handle at the end. Lay the strand in the bead board channel that matches your wrist, Katie's is 6 inches, and leave about an inch for the clasp. Bead width matters too, since big beads take up more room on the inside of the circle.

    Tip:

    A spare crimp on the far end keeps the beads from sliding off while you work.

    Back to all steps

  2. Step 2: Slide a Crimp Tube Onto the Beading Wire

    Watch this step · 3:52

    Snip off any kinked wire at the working end. Slide on one crimp tube. A crimp tube is a tiny metal cylinder with flat ends, and it is what locks the clasp in place. Beading wire has a steel core under a nylon coating, so cut it with flush cutters, never your good scissors.

    Tip:

    Tip the crimps into a shallow dish. They are small and roll away fast.

    Back to all steps

  3. Step 3: Loop the Wire Through the Clasp and Back Through the Crimp

    Watch this step · 4:32

    Thread on one half of the clasp. Then bring the wire tail back down through the crimp tube so it forms a loop around the clasp. Pull it up to a small loop, but not tight. The clasp needs room to swing. If the loop is pulled snug against it, the bracelet will not sit comfortably on your wrist.

    Tip:

    Push the crimp back a little if you over-tighten the loop.

    Back to all steps

  4. Step 4: Squeeze the Crimp Tube in the Back Station of the Crimping Pliers

    Watch this step · 5:40

    Look at your crimping pliers. The station closest to the handle has a notch in it. That one goes first. Check the loop is where you want it, set the crimp tube in that notched station, and squeeze firmly. The crimp now has a groove down one side, and the two wires sit in separate channels.

    Tip:

    Keep both wires side by side in the tube, not crossed over.

    Back to all steps

  5. Step 5: Fold the Crimp Tube in the Front Station of the Crimping Pliers

    Watch this step · 6:05

    Turn the crimp so the groove faces up. Move it to the rounded station near the tip of the pliers. Squeeze slowly and gently along its length. This folds the crimp in half along the crease you made, into a neat round bar. Katie's test: it will not go anywhere. That fold is what makes crimping pliers stronger than a flat squash.

    Tip:

    Do not rush this step. A slow squeeze gives a rounder fold.

    Back to all steps

  6. Step 6: Hide the Wire Tail Inside the Bracelet Beads

    Watch this step · 6:52

    Trim the tail to about an inch. Slide a few beads down toward the crimp and feed the tail through them, so it disappears inside the strand. Then let the rest of the beads drop down beside it. Now the tail is tucked away and cannot scratch your wrist. Take off the stopper crimp at the other end.

    Tip:

    Leave a little more tail with small-holed beads. It is easier to thread.

    Back to all steps

  7. Step 7: Add the Jump Ring and Pull the Loop Snug With Chain Nose Pliers

    Watch this step · 8:25

    Slide a second crimp tube and a closed jump ring onto the other end. Keep the bracelet curved as you work. If it is pulled straight, it will feel stiff once fastened. Pass the wire back through the crimp and the first two beads. Grip the tail with chain nose pliers and draw the loop down little by little until the beads sit together.

    Tip:

    A closed jump ring cannot open, so it is the safer choice.

    Back to all steps

  8. Step 8: Crimp the Second End of the Beaded Bracelet

    Watch this step · 9:36

    Check for gaps. The beads should touch without the strand going rigid. Then crimp exactly as before. Squeeze in the notched back station first, turn the crimp so the groove faces up, and fold it in the rounded front station. Keep the bracelet curved against the mat as you squeeze, so it holds its shape.

    Tip:

    Try it on one last time before you squeeze. After this, it is fixed.

    Back to all steps

  9. Step 9: Trim the Wire Tail Close to the Bracelet Beads

    Watch this step · 10:25

    Snip the spare wire with flush cutters as close to the beads as you can. Check that the cut end sits inside a bead, not poking out between two. A sharp end of steel wire will catch on knitwear and scratch skin. If it sticks out, trim a little more or push it back into the bead hole.

    Tip:

    Hold the flat side of the cutters toward the beads for the closest cut.

    Back to all steps

  10. Step 10: Close a Crimp Cover Over Each Crimp Bead

    Watch this step · 10:45

    Check inside the crimp cover first. Spare crimps like to hide in there. Slip the open cover over the crimp from underneath. Hold the clasp out of the way with a finger. Squeeze very gently with chain nose pliers, turning the angle a little each time, until it closes into a round bead. Repeat on the other end, then fasten the bracelet.

    Tip:

    One hard squeeze dents the cover. Many small ones keep it round.

    Back to all steps

How to Open a Jump Ring the Right Way

Keep going

How to Open a Jump Ring the Right Way

Keep going with jewelry making

More on this topic, picked for this project.

You reached the last step

Save this project to come back to it

Your ticked steps, the free printable and your other saved makes, together in My Projects. Free, no password.

You tapped Save

Save this project for later

We'll email you a link, no password.

How to Use Crimp Beads to Attach a Clasp

  • Your saved projects in one list
  • Your ticked steps on any device

Check your inbox for an email from us. Not there? Look in your spam folder.

Free printable

Printable sheet and shopping list for this project

The bonus is hidden until you sign up.

Free with a free account, no password. Every step above stays open to everyone.

Products Used

The Checklist

How to Use Crimp Beads to Attach a Clasp

Tools
4
Materials
6
Steps
10
Video
12 min

Tools we recommend

As an Amazon Associate we earn from qualifying purchases. Links on this page may be affiliate links - clicking them and buying doesn't change your price, but helps support Crafting Step by Step.

Tags

The Crafter's Weekly

New jewelry making tutorials, every Sunday

One short email with the week's best step-by-step guides. Free, no spam, unsubscribe anytime.

Did this work for you?

What's next

Related collections

Curated theme pages that include this tutorial.

Similar tutorials

Hand-picked next reads based on the one you just finished.

Liked this jewelry making tutorial?

Pick the crafts you want to hear about. One email every Sunday with new step-by-step tutorials. No spam, easy to unsubscribe.

Get more like this in your inbox

Weekly digest. Pick the categories you want. Unsubscribe anytime.

Send me tutorials about

We only email about new tutorials. Easy unsubscribe anytime.