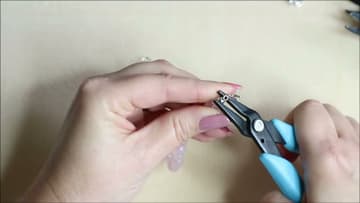
How to Use Crimp Beads to Attach a Clasp
Source: Katie Parker Jewellery • Full tutorial: www.craftingstepbystep.com/jewelry-making/how-to-use-crimp-beads
- Difficulty
- Easy
- Hands-on time
- About 15 minutes

Tools
- crimping pliers
- chain nose pliers (two pairs if your jump ring opens)
- flush cutters
- bead design board
Materials
- bead stringing wire
- crimp tubes
- crimp covers
- bolt ring clasp
- closed jump ring
- beads (6mm and 8mm rounds)
Steps
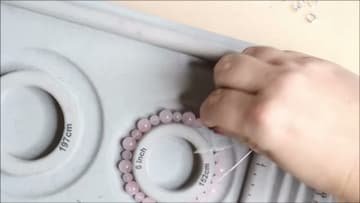
1. Size the Beaded Bracelet on a Bead Board Before Crimping
String your beads onto a length of beading wire that is much longer than you need. Spare wire is easier to handle at the end.
Tip: A spare crimp on the far end keeps the beads from sliding off while you work.
2. Slide a Crimp Tube Onto the Beading Wire
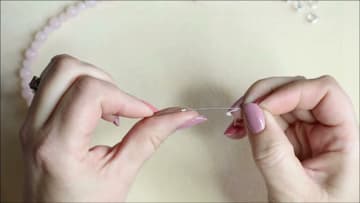
Snip off any kinked wire at the working end. Slide on one crimp tube.
Tip: Tip the crimps into a shallow dish. They are small and roll away fast.
3. Loop the Wire Through the Clasp and Back Through the Crimp
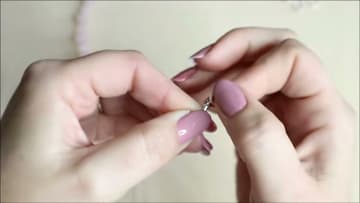
Thread on one half of the clasp. Then bring the wire tail back down through the crimp tube so it forms a loop around the clasp.
Tip: Push the crimp back a little if you over-tighten the loop.
4. Squeeze the Crimp Tube in the Back Station of the Crimping Pliers
Look at your crimping pliers. The station closest to the handle has a notch in it.
Tip: Keep both wires side by side in the tube, not crossed over.
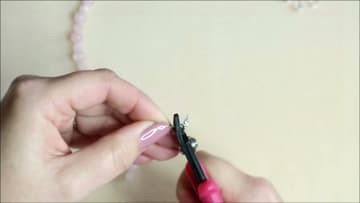
5. Fold the Crimp Tube in the Front Station of the Crimping Pliers
Turn the crimp so the groove faces up. Move it to the rounded station near the tip of the pliers.
Tip: Do not rush this step. A slow squeeze gives a rounder fold.
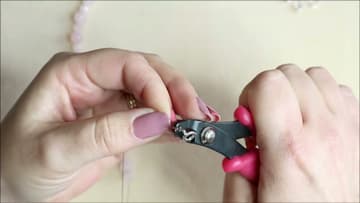
6. Hide the Wire Tail Inside the Bracelet Beads
Trim the tail to about an inch. Slide a few beads down toward the crimp and feed the tail through them, so it disappears inside the strand.
Tip: Leave a little more tail with small-holed beads. It is easier to thread.
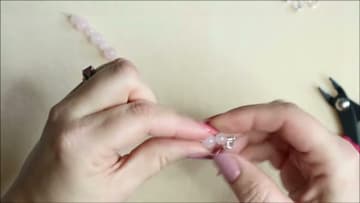
7. Add the Jump Ring and Pull the Loop Snug With Chain Nose Pliers
Slide a second crimp tube and a closed jump ring onto the other end. Keep the bracelet curved as you work.
Tip: A closed jump ring cannot open, so it is the safer choice.
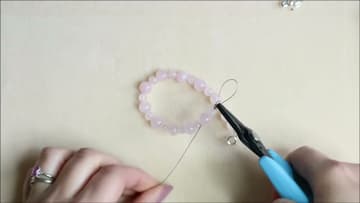
8. Crimp the Second End of the Beaded Bracelet
Check for gaps. The beads should touch without the strand going rigid.
Tip: Try it on one last time before you squeeze. After this, it is fixed.
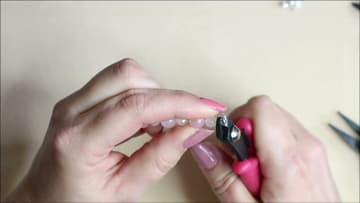
9. Trim the Wire Tail Close to the Bracelet Beads
Snip the spare wire with flush cutters as close to the beads as you can. Check that the cut end sits inside a bead, not poking out between two.
Tip: Hold the flat side of the cutters toward the beads for the closest cut.
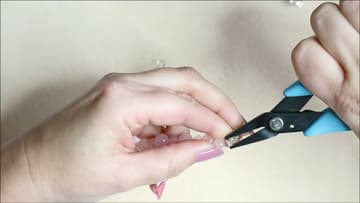
10. Close a Crimp Cover Over Each Crimp Bead
Check inside the crimp cover first. Spare crimps like to hide in there.
Tip: One hard squeeze dents the cover. Many small ones keep it round.