How to Crochet a Whale: Beginner Amigurumi

CrochetEasy59:307 stepsBrowse more →
Also in:Crafts

By CraftingStepByStepPublished Updated

Based on a video by The Mary Jay.

A crochet whale looks like a serious project, but it is honestly one of the gentlest amigurumi plushies you can make. The body is a single round ball worked in chunky blanket yarn, the tail is two small flat pieces sewn into a fluke, and the fins are two more tiny pieces stitched flush against the sides. If you have already practiced a magic ring and a single crochet, you have every skill you need.

The Mary Jay walks through every stitch in her free pattern, which makes this a great choice for someone who has watched a few crochet videos but never finished a whole plushie. The bulky blanket yarn works up fast, so the body grows visibly with each round, and the soft chenille texture hides any tension wobbles a beginner naturally has.

The finished whale is roughly the size of a grapefruit. The cool baby-blue color and chunky huggable shape make it perfect for a beach-themed nursery, an ocean-loving kid, or a friend who is expecting. If you love this shape, the same body works for an octopus too. Crochet an octopus next using the same magic-ring foundation.

Step-by-Step Guide

1

Step 1: Make a Magic Ring with 6 Single Crochets

1:09
Step 1: Step 1: Make a Magic Ring with 6 Single Crochets

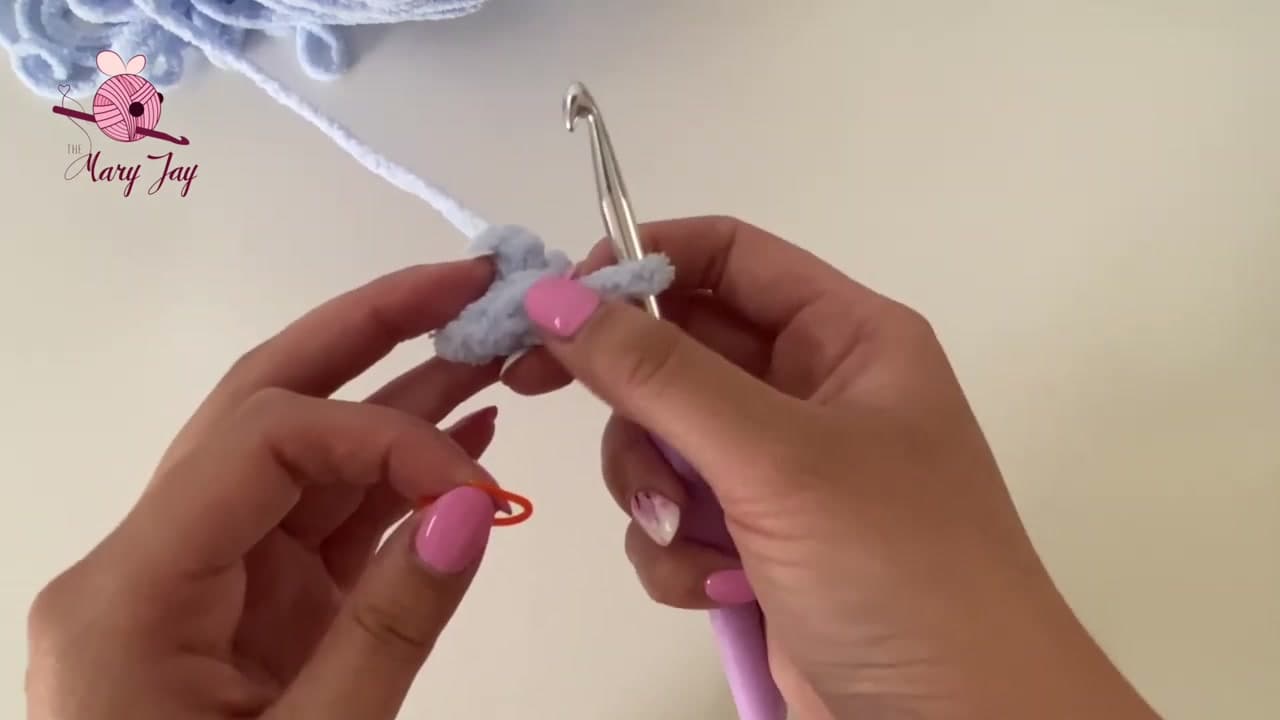
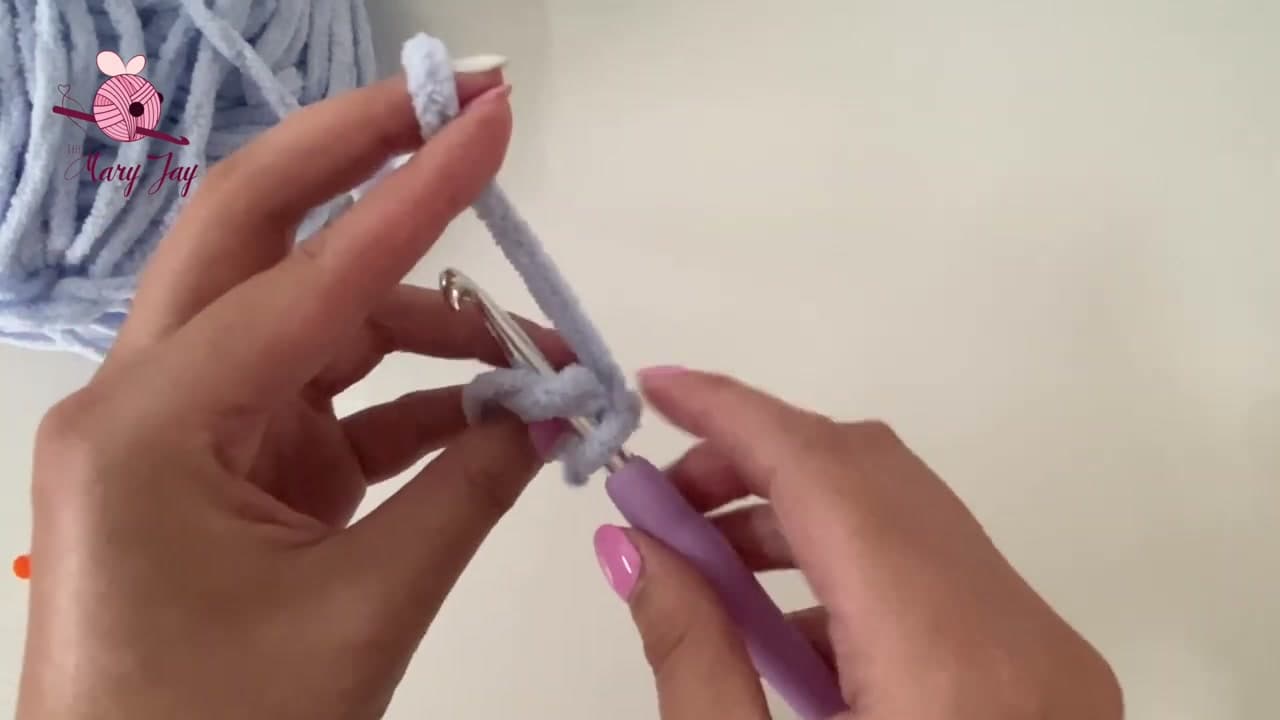
Wrap the yarn around your pointer and middle finger to form an X, slide the hook under the X, and pull a loop through to lock the ring. That is your magic ring. Now work 6 single crochets directly into the ring, treating the loop of yarn like a stitch.

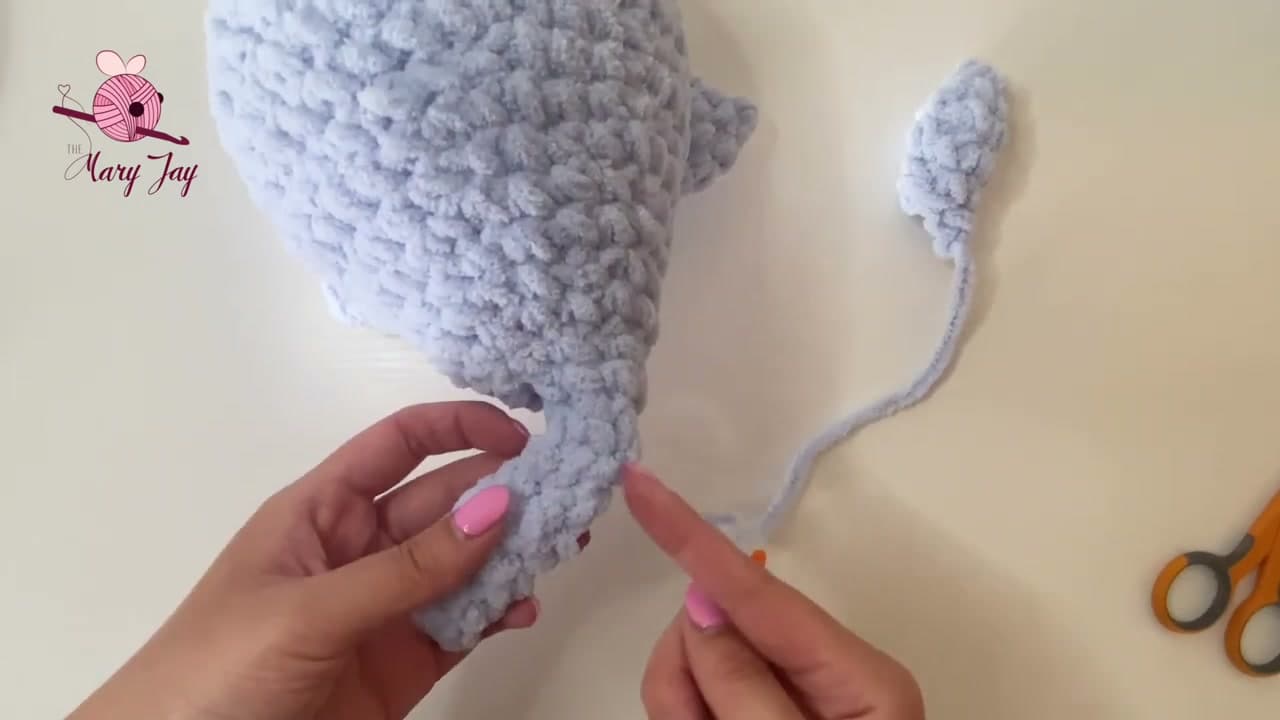
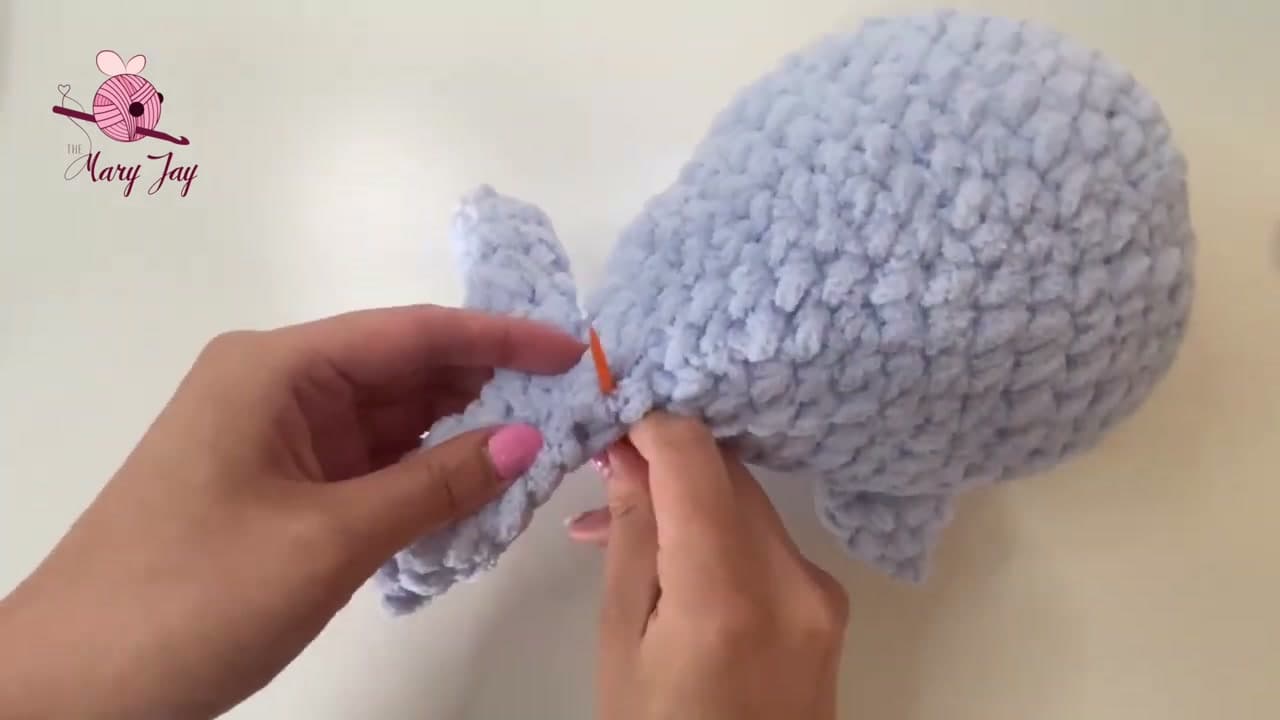
Once the 6 stitches are in, pull on the short tail of yarn to cinch the ring closed. The 6 stitches snug into a tight little circle - this is the very tip of the whale's nose.

Drop a stitch marker into the last stitch you made. From here on, every time you pass the marker you have finished a round, and you will move it up to the new last stitch each time.

Tip

If the magic ring keeps slipping open, you can substitute chain 2 and work 6 single crochets into the second chain from the hook. It is a little bumpier than a magic ring but holds its shape without practice.

2

Step 2: Build the Body Through Increase Rounds 2-6

4:10
Step 2: Step 2: Build the Body Through Increase Rounds 2-6

The next five rounds spread the increases evenly so the body grows into a smooth dome.

Round 2 is six increases - two single crochets in every stitch around - for 12 stitches. Round 3 is one single crochet plus an increase, repeated six times, for 18 stitches. Round 4 is two single crochets plus an increase for 24. Round 5 is three plus an increase for 30. Round 6 is four plus an increase for 36.

Pause at the end of each round and count. If you land on the magic number, move the stitch marker into the new last stitch and keep going. If you are short or long, walk back and find the missed stitch before you start the next round.

Tip

An increase in single crochet is just two single crochets worked into the same stitch. The fabric flares outward where the increase lands, which is what shapes the dome.

3

Step 3: Hold Steady at 36 Stitches for Rounds 7-12

20:00
Step 3: Step 3: Hold Steady at 36 Stitches for Rounds 7-12

Six rounds of even stitching with no increases or decreases - this is what gives the whale its rounded belly. Each round is one single crochet in every stitch all the way around for 36 stitches.

Keep your tension steady and consistent. If you tighten up halfway, the belly will pinch in the middle. If you let your stitches loosen, the body will balloon and the stuffing will peek through later.

Move the stitch marker up at the end of every round. Six rounds feels like a lot when nothing changes, but the body is building height that the decrease rounds will need to taper into a nose.

Tip

If you lose count partway through, count rounds by looking at the side of the work. Each round is a horizontal ring of V-shaped stitches stacked above the last.

4

Step 4: Add Safety Eyes, Then Decrease Through Round 21

38:00
Step 4: Step 4: Add Safety Eyes, Then Decrease Through Round 21

Stop crocheting and install the eyes first. Find the spot between rounds 7 and 8 along the bottom of the body, count 15 stitches apart, and push each 18 mm safety eye post through the fabric from the outside. Snap the locking washer onto each post from the inside - once it clicks, the eye is permanent.

Now work the decrease rounds. Round 13 is four single crochets plus an invisible decrease (front loops only of the next two stitches, then yarn over and pull through), repeated six times, for 30 stitches. Round 15 is three plus a decrease for 24. Round 17 is two plus a decrease for 18. Round 19 is one plus a decrease for 12. Rounds 14, 16, 18, and 20 are plain rounds of single crochet with no shaping.

Stuff the body with small handfuls of fiberfill as the hole closes. Small chunks fill the shape evenly; big wads make lumps.

Tip

The invisible decrease (front-loop-only on two stitches) leaves a much cleaner outside than a standard sc2tog. Worth the few extra seconds for a smooth finish.

5

Step 5: Crochet Two Small Tail Pieces

45:40
Step 5: Step 5: Crochet Two Small Tail Pieces

The tail is two identical flat pieces sewn together at the body. Start a fresh magic ring and work 4 single crochets into it - just 4 this time, not 6.

Round 2 is one single crochet plus an increase, repeated twice, for 6 stitches. Round 3 is two single crochets plus an increase for 8 stitches. Round 4 is two single crochets plus an invisible decrease for 6 stitches. Round 5 is one single crochet plus a decrease for 4 stitches. Fasten off and leave roughly two feet of yarn dangling for sewing.

Make two of these. They will fan out from the back of the body into a flat fluke that looks just like a real whale tail.

Tip

Do not stuff these pieces. They are meant to lie flat against each other when sewn on, so any stuffing would bunch them up and ruin the silhouette.

6

Step 6: Crochet Two Flat Side Fins

49:59
Step 6: Step 6: Crochet Two Flat Side Fins

The fins use the same starting circle as the tail pieces. Make a fresh magic ring and work 4 single crochets into it.

Round 2 is four increases for 8 stitches. Round 3 is one single crochet plus an increase, repeated four times, for 12 stitches. Fasten off with about two feet of yarn for sewing later.

Make two of these as well. Like the tail pieces, the fins stay flat and unstuffed so they can lie flush against the whale's sides. Each one will tuck just below an eye.

Tip

If your fins look uneven, flatten each one with your fingers and lightly steam them with a damp cloth before sewing. The bulky yarn relaxes and the shapes even out.

7

Step 7: Sew the Fins and Tail Onto the Body

53:20
Step 7: Step 7: Sew the Fins and Tail Onto the Body

Thread one fin's yarn tail onto the yarn needle. Find a spot two stitches below each eye and one stitch toward the back of the body - that is where the fin sits. Sew through both layers of the fin so it lies flat against the side, anchoring it with several stitches along the top edge. Repeat on the other side for the second fin.

For the tail, place the two flat pieces against the back tip of the body, fanning them outward like a real whale's fluke. Sew the center where the two pieces meet, then work outward along each piece, securing them flush to the body.

To finish each seam, weave the needle back through the body, knot the yarn a few times, and pull the knot inside the stuffing so it hides. Trim any loose ends.

Tip

If your fin keeps slipping out of place while you sew, pin it down with a stitch marker first. The bulky yarn is forgiving but it shifts more than worsted does.

Products Used

☐ The Checklist

How to Crochet a Whale: Beginner Amigurumi

Tools
4
Materials
3
Steps
7
Video
1 hr

Your Guide

The Mary Jay

As an Amazon Associate we earn from qualifying purchases. Links on this page may be affiliate links - clicking them and buying doesn't change your price, but helps support ShowMeStepByStep.

Tags

What's next

Related collections

Curated theme pages that include this tutorial.

Weekly Digest

Liked this crochet tutorial?

Pick the categories you want to hear about. Weekly digest of new step-by-step tutorials. No spam, easy unsubscribe.

Send me tutorials about

We only email about new tutorials. Easy unsubscribe anytime.