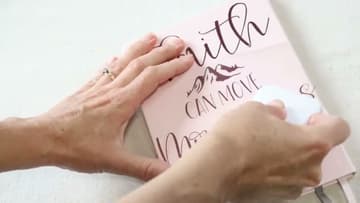
How to Use a Cricut for Beginners (Download, Upload, Cut)
Source: Christy Cain - Appalachian Home Co. • Full tutorial: www.craftingstepbystep.com/crafts/how-to-use-a-cricut-for-beginners
- Difficulty
- Easy
- Hands-on time
- About 30 minutes
- Cost
- About $2 to $5
- Makes
- 1 vinyl decal
Steps
1. Connect the Machine to Your Computer
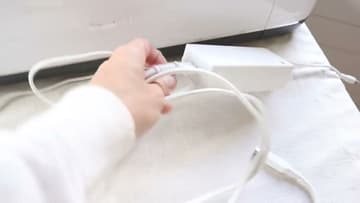
Both the Cricut Maker and the Cricut Explore Air 2 come with a power cord and a USB cord in the box. Plug the power cord into the wall and the USB cord into your computer.
2. Install Design Space and Set Up Your Machine
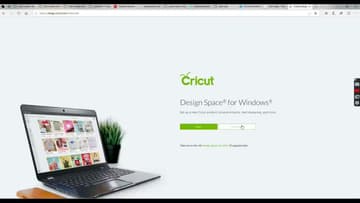
Go to design.cricut.com, choose your operating system (Mac or PC), and download Design Space. Install and open it.
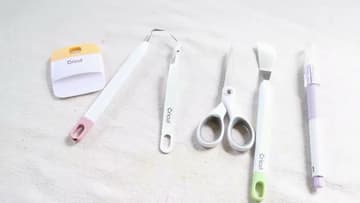
3. Gather the Tools and Pick the Right Mat
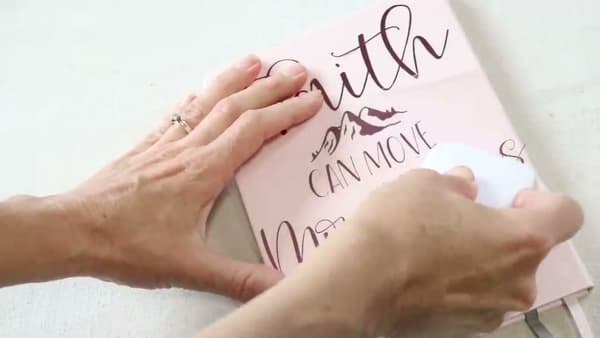
Five tools handle 90% of jobs. The squeegee is for applying the finished decal to surfaces (and for getting cut vinyl off the mat).
4. Upload Your Design - PNG, JPG, or SVG
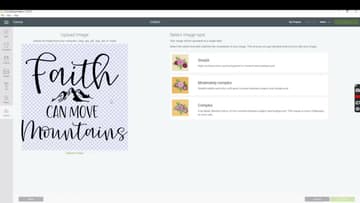
Click the Upload icon on the left side of Design Space and pick your file from your computer. Cricut accepts PNG, JPG, GIF, SVG, DXF, and BMP.
Tip: Free SVGs are everywhere - Design Bundles, Creative Fabrica, Etsy, and Cricut's own library all give them away. Read the license before commercial use.
5. Resize, Recolor, and Click Attach
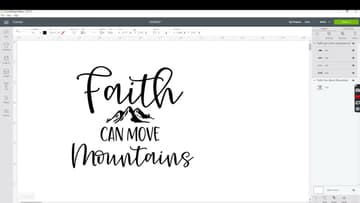
Drag the design onto the Canvas. Resize using the corner handles - keep the lock icon checked so the proportions stay intact.
6. Mirror if Needed, Pick the Material, and Load the Mat
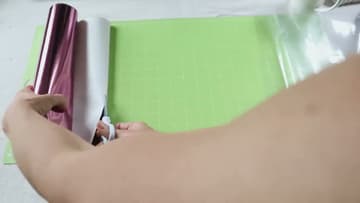
Click Make It in the top right. The mat preview pops up - confirm the size matches the mat you're using.
7. Cut, Weed, and Apply the Decal
Press the flashing Cricut button to start. The machine cuts the design - you can watch it happen in real time.
Tip: Always pull the mat away from the cut, never the other way around. Pulling the cut up off the mat is what causes curling and bubbles when you apply it later.