How to Dry Flowers - 5 Methods Compared with Results

Other CraftsEasy11:307 steps

By CraftingStepByStepPublished Updated

Based on a video by First Day of Home.

Five different methods preserve flowers differently. Some methods keep the color but flatten the shape (book press, microwave). Others keep the shape but yellow the color (air dry, oven). Silica gel is the only method that keeps both color AND dimensional shape - which is why it's a favorite for bridal bouquet preservation and resin jewelry.

This tutorial walks through all five and compares the results side by side so you can pick the method that fits your project. Drying for potpourri? Use the oven - the wilted texture is fine because the flowers get crushed anyway. Drying a wedding bouquet to display? Use silica gel and protect every petal. Drying for resin jewelry? Pick the book press for the flattest, paper-thin result.

All five methods work on the same starting flower, so you can experiment with one bouquet and try a few approaches at the same time.

Step-by-Step Guide

1

Step 1: Pick Fresh Flowers and Prep Them for Drying

0:55
Step 1: Step 1: Pick Fresh Flowers and Prep Them for Drying

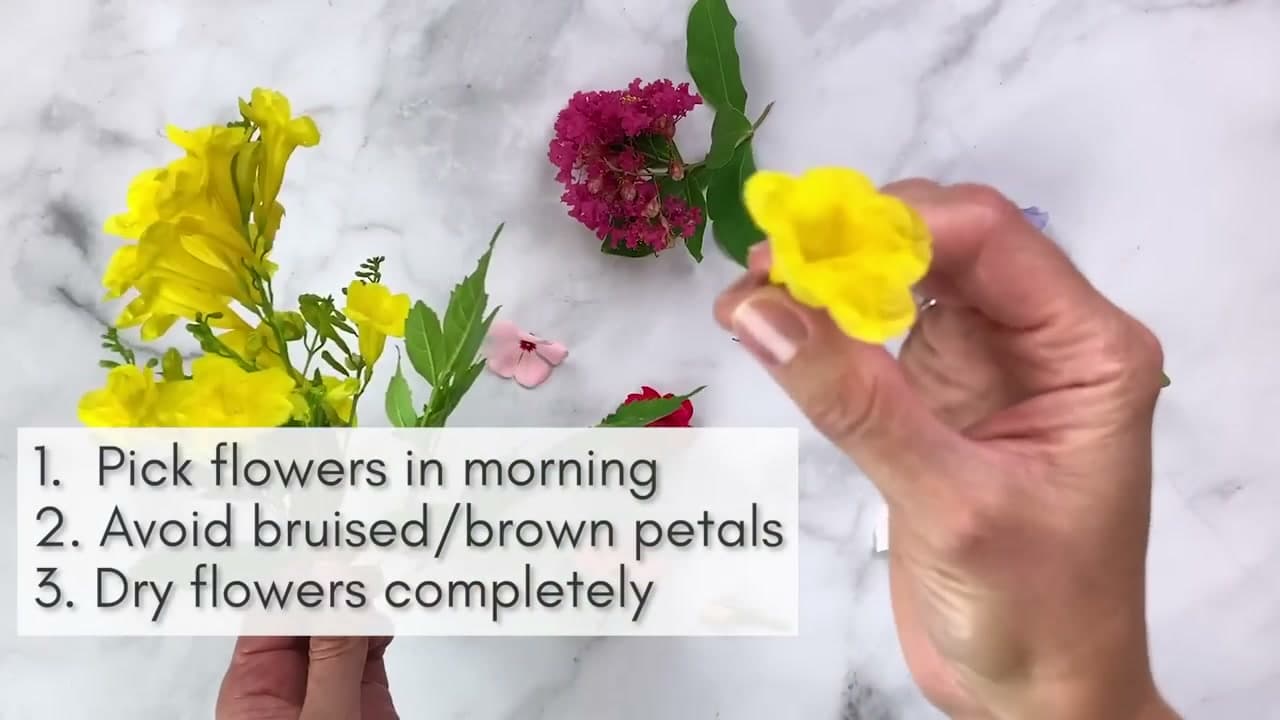
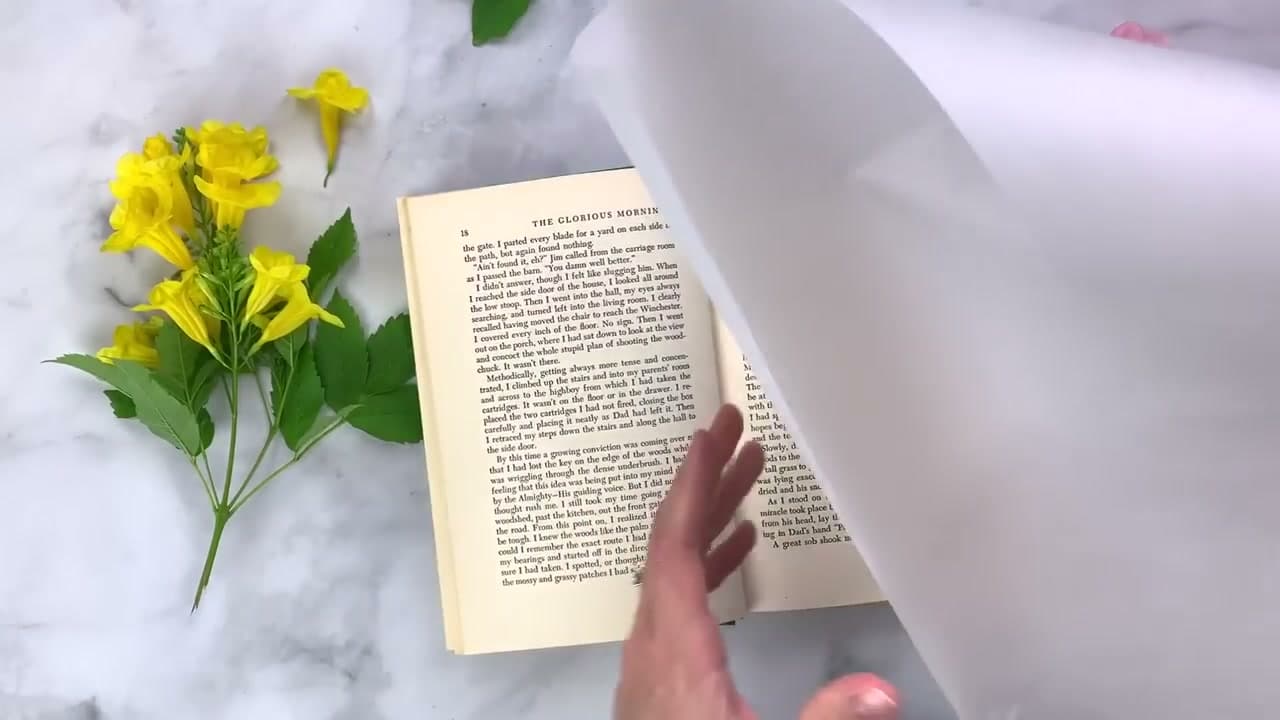
Pick flowers in the morning after the dew has dried but before the day's heat. Avoid any with brown or bruised petals - those imperfections only get more obvious as the flower dries. If your flowers are from a store, trim the stems at a 45-degree angle and keep them in water until you're ready to start.

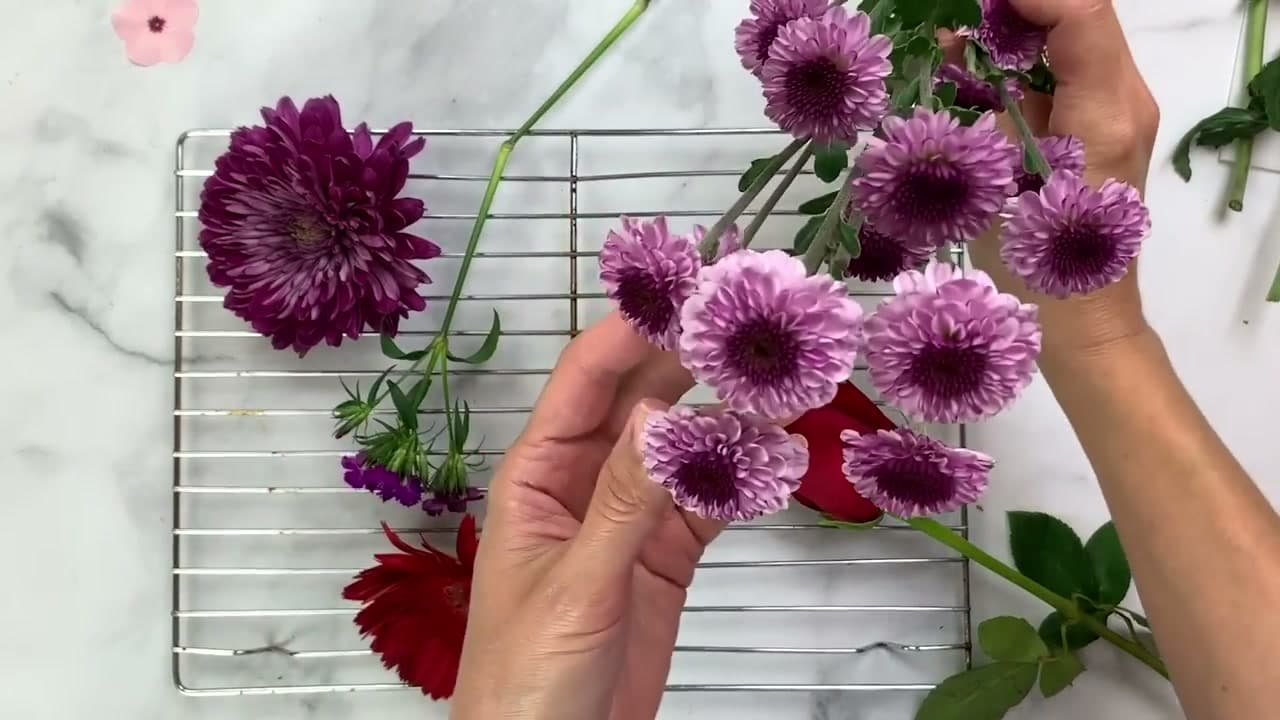
Choose a mix of bloom types so you can compare how different flowers respond to each method. Roses, mums, daisies, button poms, and asters all behave differently - some keep their color better with heat, others with silica gel.

Tip

Remove any leaves below the water line if you're holding flowers in water before drying. The submerged leaves rot quickly and contaminate the water, which then wicks up into the petals you want to preserve.

2

Step 2: Book Press Method (the Classic)

1:15
Step 2: Step 2: Book Press Method (the Classic)

Open a heavy hardcover book and lay a piece of parchment paper inside. Place the flower blossoms on the paper spaced apart so they don't overlap. If your book is small, separate the blooms from the stems and press them individually. Fold the parchment over and close the book.

Stack a brick, a stack of more books, or any heavy flat weight on top. Wait two weeks. The result is paper-thin pressed flowers with very good color retention - perfect for cards, bookmarks, and resin crafts.

Tip

Move the flowers to a fresh page every 4-5 days. The parchment absorbs moisture and can start to stick to the flowers if you don't swap it out.

3

Step 3: Air Dry Method (Vintage Look)

3:00
Step 3: Step 3: Air Dry Method (Vintage Look)

Air drying is the easiest method and gives the romantic, slightly yellowed vintage look that defines French country and farmhouse decor. Trim the stems to roughly equal length and remove the leaves below where you'll bind them. Gather 5-7 stems into a small bundle (more than that and the inner flowers can't dry, causing mold).

Wrap jute twine or a rubber band around the stems and hang the bundle upside down in a cool, dry, dark place. A laundry room, closet, or basement works great. Wait 2-3 weeks for full drying. Mist the dried flowers with hairspray to seal them and reduce shedding.

Tip

Dry, dark, and cool are the three keys to good air drying. Sunlight bleaches the color, humidity causes mold, and warmth speeds drying but creates crunchier petals. A closet is usually perfect.

4

Step 4: Oven Dry Method (Fast but Wilted)

5:05
Step 4: Step 4: Oven Dry Method (Fast but Wilted)

Oven drying is the fastest of all five methods. Cut the stems off completely and place the flower heads on a wire baking rack with space between each one (cookie sheet won't work - the petals need air on the bottom too).

Set the oven to 200 degrees Fahrenheit and bake for about 2 hours, checking every 30 minutes since smaller flowers dry much faster than larger ones. The result is a more wilted, withered texture - not as pretty as silica gel but ideal for potpourri or any project where the flower will be crushed anyway.

Tip

The lowest setting on your oven is usually best. Anything above 250 degrees risks scorching the petals to brown - and once they brown they don't come back.

5

Step 5: Silica Gel Method (Best Color and Shape)

6:20
Step 5: Step 5: Silica Gel Method (Best Color and Shape)

Silica gel is sand-like crystals that wick moisture out of flowers without heat - the result preserves color and dimensional shape better than any other slow method. Pour a 1.5-inch layer of silica gel into a plastic or metal container with a tight-fitting lid.

Trim the flowers right at the calix (the green base) and nestle them into the gel face-up with space between them. Gently pour more silica gel over the petals until they're fully covered. Seal the container and set it in a cool dry place for 3-7 days. Check on day 3 - some smaller flowers may be done early.

Tip

The blue crystals in silica gel are an indicator. When they turn pink, the gel has absorbed all the moisture it can. To recharge: bake the silica gel at 250 degrees for 2-3 hours and the crystals will turn blue again. The gel is reusable indefinitely.

6

Step 6: Silica Gel + Microwave Method (Express Version)

9:40
Step 6: Step 6: Silica Gel + Microwave Method (Express Version)

If you want the silica gel results in minutes instead of days, use the microwave. Place flowers in silica gel exactly like step 5, but in a microwave-safe dish without a lid. Put a small cup of water inside the microwave on the side - the water absorbs excess microwave energy and prevents the flowers from over-drying.

Heat on medium power in one-minute intervals, checking after each minute. Most flowers are done in 3-5 minutes total. The result is the best texture of any method - not crunchy, not brittle, with vivid color and full dimensional shape.

Tip

Don't skip the cup of water. Microwaves without a heat sink will fry the flowers to brown crisps in 90 seconds.

7

Step 7: Compare the Five Methods and Pick Your Favorite

10:35
Step 7: Step 7: Compare the Five Methods and Pick Your Favorite

Compare the five results side by side to see which method best fits your project. Oven drying gives the most wilted texture - good for potpourri. Air drying produces the romantic vintage look - good for wreaths and swags. Book pressing gives flat, paper-thin pressed flowers - good for resin crafts and bookmarks.

Silica gel preserves color and dimensional shape best - good for shadow boxes and bouquet preservation. Silica gel plus microwave is the fastest with the best texture - good for any project where you want pristine flowers without the wait.

Tip

If you're new to drying flowers, start with the air-dry method. It's free, hard to mess up, and the result works for most decor projects. Step up to silica gel once you have a specific project that demands the better color and shape preservation.

Products Used

☐ The Checklist

How to Dry Flowers - 5 Methods Compared with Results

Tools
6
Materials
5
Steps
7
Video
12 min

Your Guide

First Day of Home

As an Amazon Associate we earn from qualifying purchases. Links on this page may be affiliate links - clicking them and buying doesn't change your price, but helps support ShowMeStepByStep.

Tags

Related Tutorials