How to Make a Mosaic Mirror (Broken Mirror Wall Art)

CraftsMedium6:358 stepsBrowse more →

By CraftingStepByStepPublished

Based on a video by Sewphilia Studio.

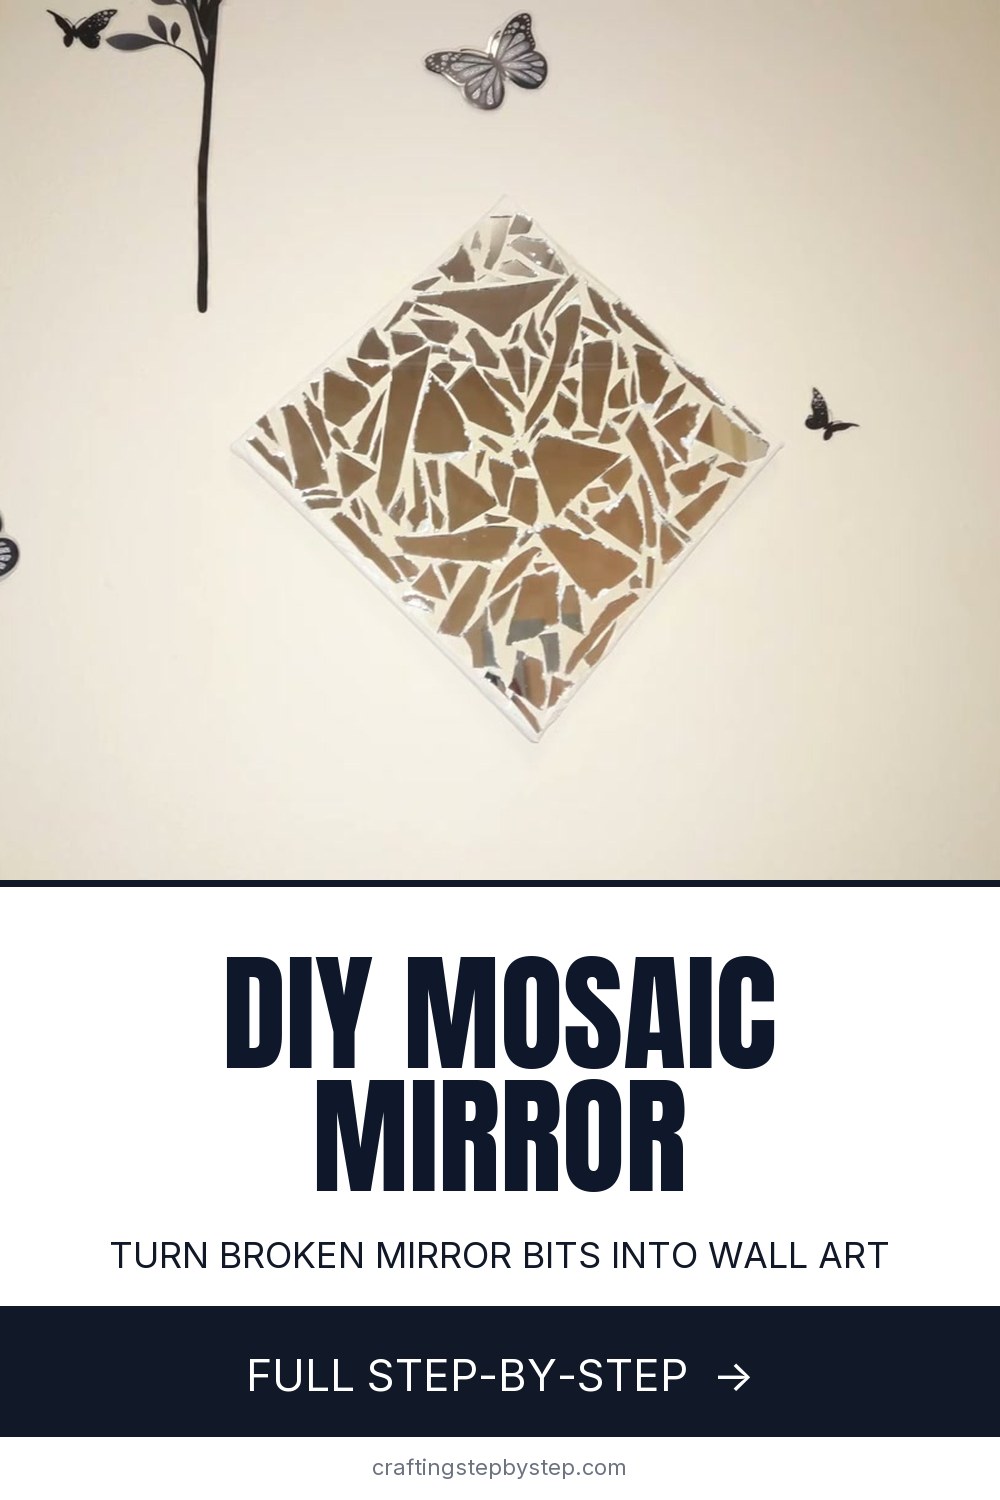
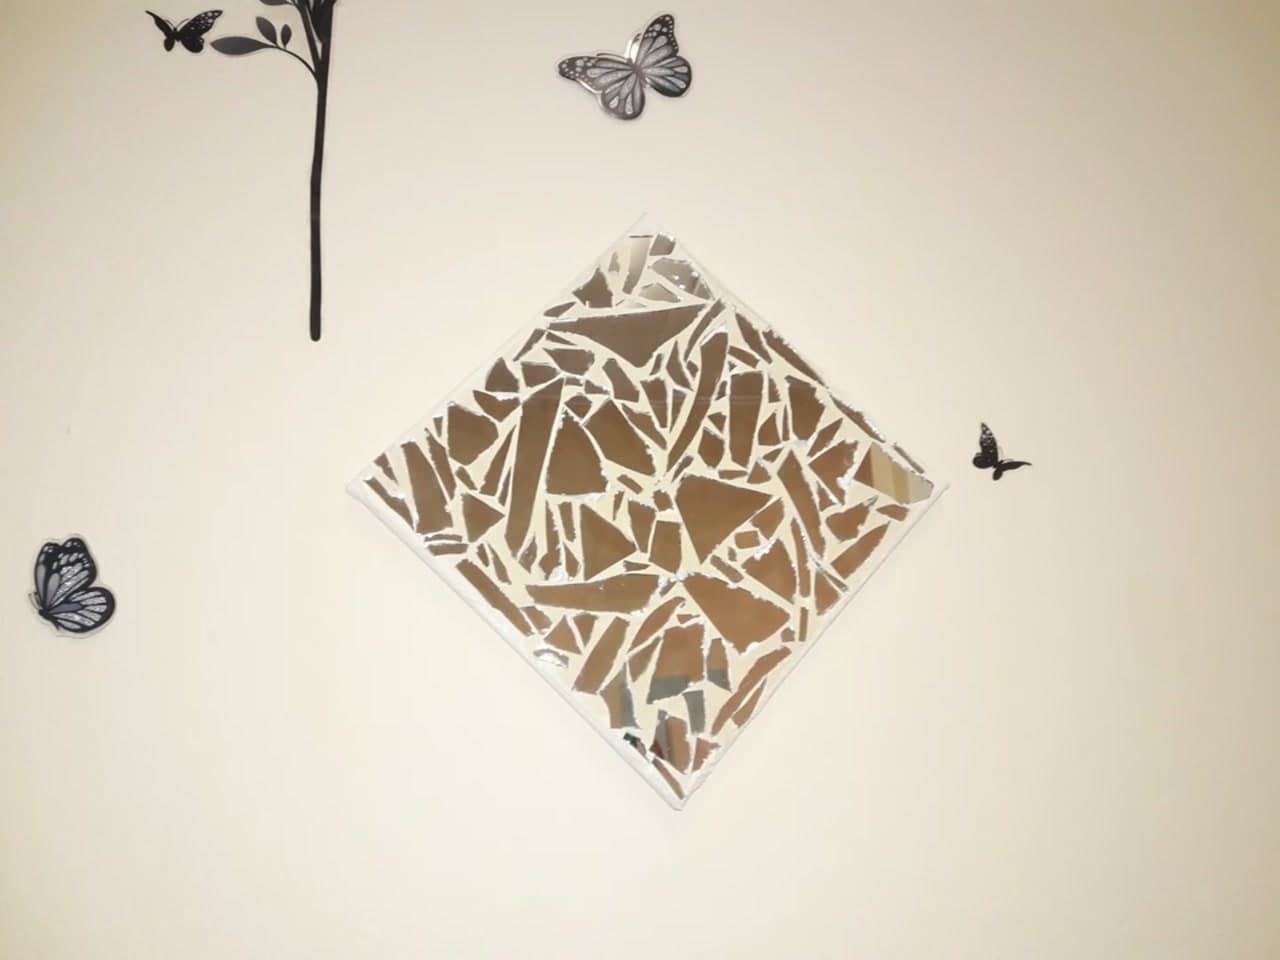
A broken mirror doesn't have to go in the bin. Sewphilia Studio turns hers into a piece of wall art in this DIY, gluing the shattered pieces onto a canvas and grouting between them the same way you'd tile a wall. The result is a shimmering mosaic mirror that catches the light from every angle, made from something that was headed for the trash.

The method is simple and forgiving. There's no pattern to follow and no two pieces are the same, so it's hard to get wrong. You glue the shards down, let them set, then spread grout over the whole surface to lock everything in place and fill the gaps. Wipe it back, let it cure, and you've got a finished piece ready to hang.

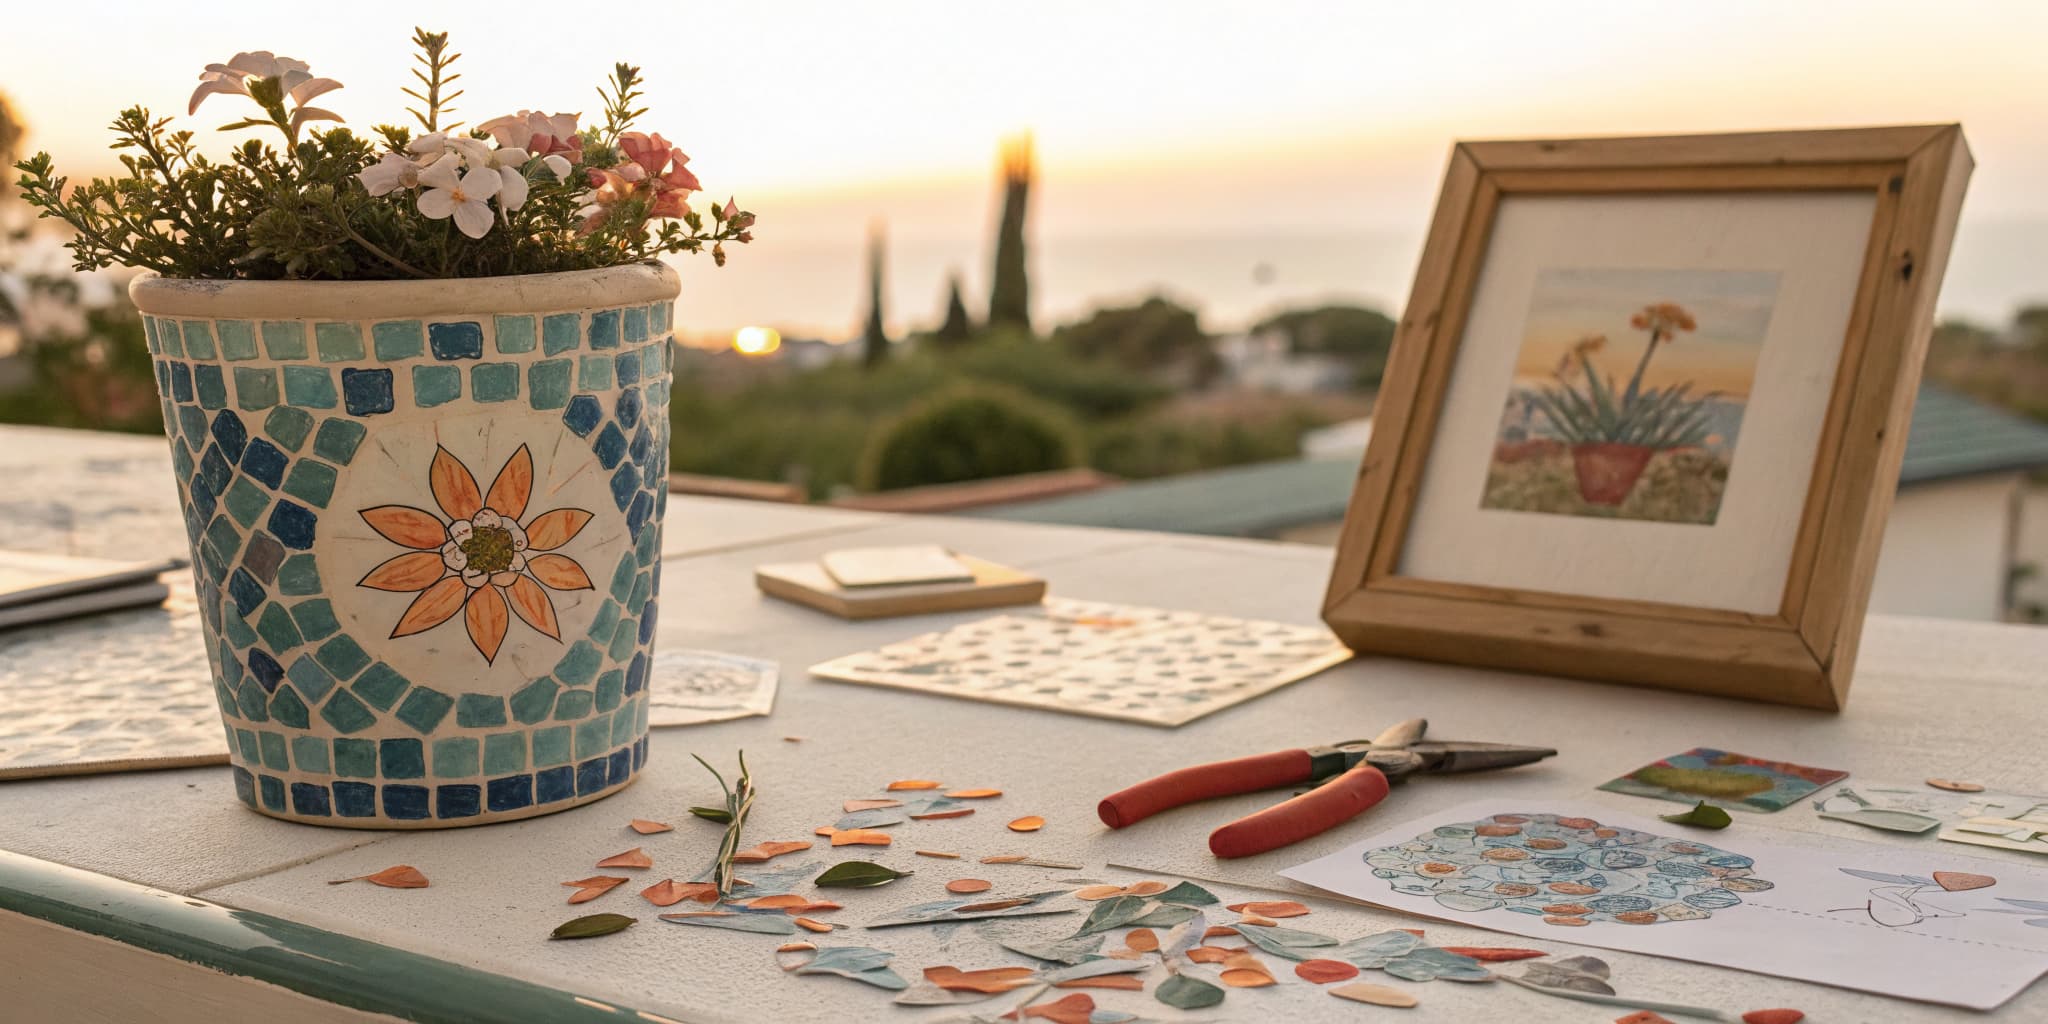
If you catch the mosaic bug, the same glue-and-grout approach scales up and down. Try a mosaic coaster for a quick first project, dress up a mosaic picture frame, or take it outdoors with a mosaic stepping stone. One word of caution: broken mirror is sharp, so wear gloves and eye protection when you handle and cut the pieces.

Step-by-Step Guide

8 steps · about 7 minutes.Check off each step as you go and your progress saves automatically.

1

Step 1: Gather Your Base and Supplies

1:18
Step 1: Step 1: Gather Your Base and Supplies

Start with a flat base. A small artist's canvas works well and gives you clean edges, but a piece of MDF, thin plywood, or even stiff cardboard does the job too. Set it on the table with your craft glue within reach.

Break any large mirror pieces down into smaller shards first. Do this inside a bag or towel so nothing flies, and keep gloves and safety glasses on. Cut mirror edges are genuinely sharp, so handle every piece with respect.

Tip

Watch this step Tile nippers give you far more control than smashing the mirror with a hammer, and they let you shape the odd piece to fit a gap.

2

Step 2: Glue the Back of Each Shard

1:58
Step 2: Step 2: Glue the Back of Each Shard

Take one mirror shard and run a bead of craft glue across the back of the piece, not the canvas. Coating each shard as you go keeps the glue exactly where you want it and stops the surface of the canvas turning into a slippery mess under the next few pieces.

A strong craft glue holds fine for indoor wall art. If you want a more permanent bond, tile adhesive or mastic does the same thing and grips heavier pieces.

Tip

Watch this step Use a small dab, not a flood. Too much glue squeezes up between the shards and gets in the way when you grout later.

3

Step 3: Lay the Shards on the Canvas

2:38
Step 3: Step 3: Lay the Shards on the Canvas

Press each glued shard onto the canvas and hold it down for a second so it grabs. There's no set pattern to follow, so drop pieces wherever they look right to you. Mix up the sizes and angles as you go.

Leave a small, even gap between each piece. Those gaps are what the grout fills, and consistent spacing is what makes the finished mosaic read as deliberate rather than random.

Tip

Watch this step Lay out a few pieces dry first before you commit with glue. It's easier to nudge the spacing while nothing is stuck down.

4

Step 4: Cover the Canvas and Let It Set

3:20
Step 4: Step 4: Cover the Canvas and Let It Set

Keep gluing shards until the entire canvas is filled. Work outward from the middle and slot smaller pieces into the gaps around the bigger ones so you don't leave awkward bald patches.

Once the last piece is down, walk away for about 20 minutes. You want the glue fully set and every shard locked in place. If anything still wiggles, give it longer. Grouting over loose pieces will only shift them around.

Tip

Watch this step Tape the canvas edges with painter's tape before you grout. It keeps the sides clean and gives you a crisp border to peel away later.

5

Step 5: Mix the Grout

4:10
Step 5: Step 5: Mix the Grout

Put a little water in a small bowl, then add grout powder a bit at a time, stirring with a spatula as you go. Adding powder to water, rather than the other way around, keeps it from clumping. You're after a thick, smooth paste, roughly the consistency of frosting.

Let the mix sit for about five minutes so it firms up and any dry pockets absorb. If it's runny after resting, stir in a touch more powder.

Tip

Watch this step Mix a small batch. Grout starts to stiffen once it's wet, so it's better to make more later than to race a big bowl before it sets.

6

Step 6: Spread Grout Over the Mosaic

5:05
Step 6: Step 6: Spread Grout Over the Mosaic

Scoop the grout onto the mosaic and spread it across the mirror pieces with your spatula. Work it in every direction so it packs down into the gaps between the shards. Don't be shy here. The whole surface should end up coated, mirror faces and all.

The goal is a solid fill with no air pockets in the seams. Those grout lines are what hold the piece together, so press firmly and cover every corner.

Tip

Watch this step Hold the spatula at a low angle and drag it across the seams from a few directions. That works the grout deeper than pushing it straight down.

7

Step 7: Scrape Off Excess and Wipe Clean

5:40
Step 7: Step 7: Scrape Off Excess and Wipe Clean

Once the whole surface is grouted, scrape the excess off with the edge of the spatula. Work back over the piece to fill any thin spots or gaps you missed the first time around.

Now take a damp sponge and wipe the mirror faces and the canvas edges. The shards start to reappear from under the grout as you go. Rinse the sponge often and keep wiping until the mirror shows through clean and only the seams stay filled.

Tip

Watch this step Wring the sponge out well so it's just damp, not wet. A soaking sponge pulls grout back out of the seams you just filled.

8

Step 8: Dry, Seal, and Hang

6:11
Step 8: Step 8: Dry, Seal, and Hang

Leave the piece to cure for a couple of hours, or overnight to be safe. Once it's dry, buff the mirror shards with a clean, dry cloth to clear off the last of the grout haze so they shine again.

Brush on a grout sealer if you like, especially for a spot that gets damp. Then hang your finished mosaic mirror on the wall. Every shard catches the light at a different angle, and the grout lines pull the whole thing together.

Tip

Watch this step Stick self-adhesive hanging strips or a sawtooth hanger to the back of the canvas. Mosaic adds real weight, so use a fixing rated above what the piece weighs.

Products Used

☐ The Checklist

How to Make a Mosaic Mirror (Broken Mirror Wall Art)

Tools
6
Materials
6
Steps
8
Video
7 min

Your Guide

Sewphilia Studio

As an Amazon Associate we earn from qualifying purchases. Links on this page may be affiliate links - clicking them and buying doesn't change your price, but helps support ShowMeStepByStep.

Sunday How-To

New crafts tutorials, every Sunday

One short email with the week's best step-by-step guides. Free, no spam, unsubscribe anytime.

Did this work for you?

What's next

Related collections

Curated theme pages that include this tutorial.

Weekly Digest

Liked this crafts tutorial?

Pick the categories you want to hear about. Weekly digest of new step-by-step tutorials. No spam, easy unsubscribe.

Send me tutorials about

We only email about new tutorials. Easy unsubscribe anytime.