How to Make a Mosaic Picture Frame

CraftsEasy6:368 stepsBrowse more →

By CraftingStepByStepPublished

Based on a video by City Self-Sufficiency.

A plain photo frame is easy to overlook. Cover it in little square tiles and it becomes the kind of thing people pick up and ask about.

In this tutorial from City Self-Sufficiency, you will take a flat wooden frame and mosaic it in whatever colors you like. The steps are gentle and forgiving, which makes it a great first mosaic project.

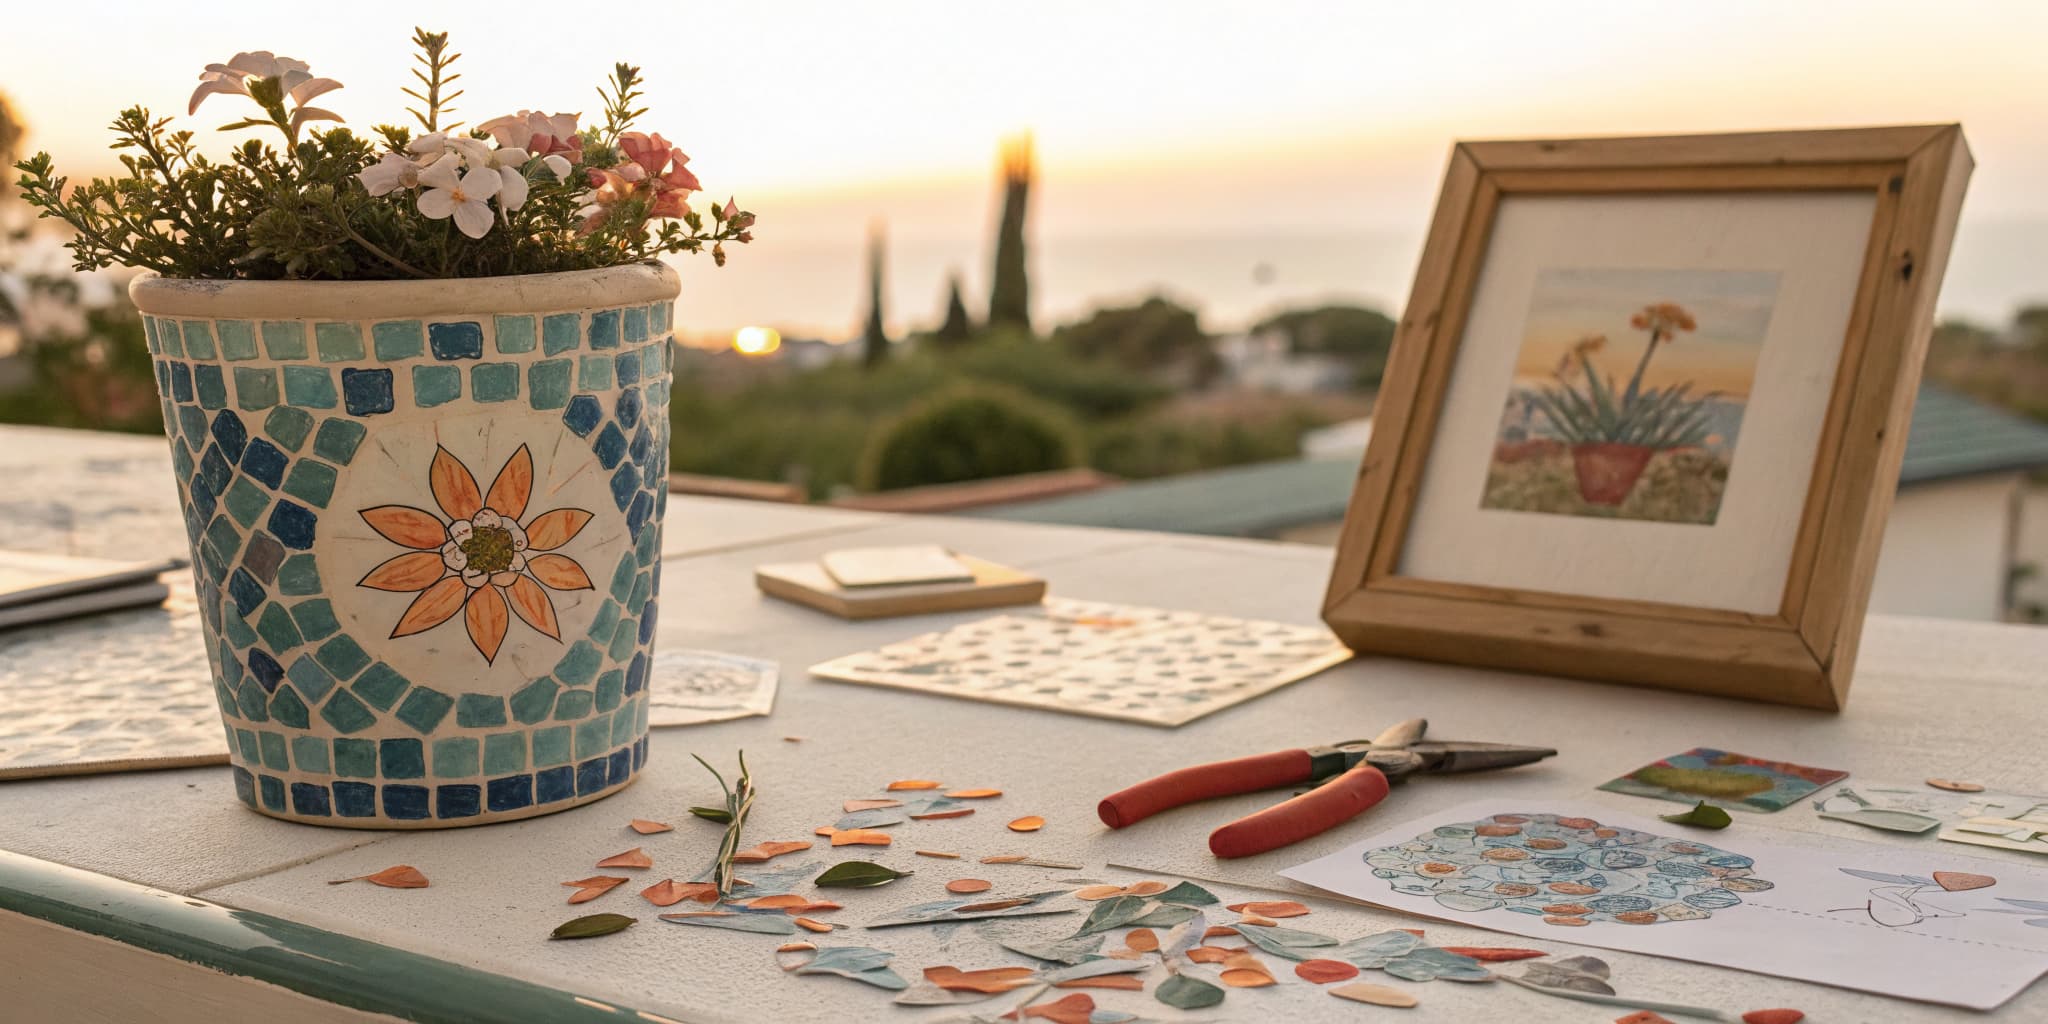
You will sand the frame, glue on your tiles, then grout and buff the whole thing to a finished shine. For another take on the same technique, try this mosaic flower pot next.

Step-by-Step Guide

1

Gather Your Frame and Tiles

1:55
Step 1: Gather Your Frame and Tiles

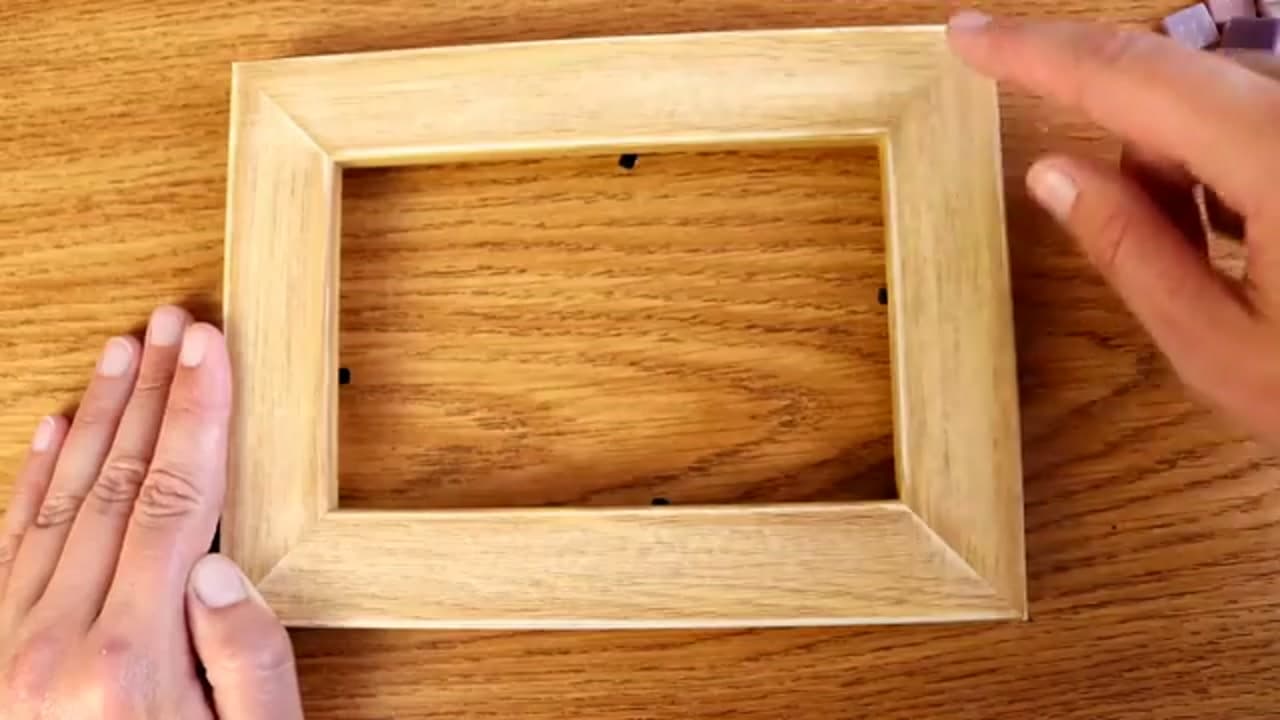
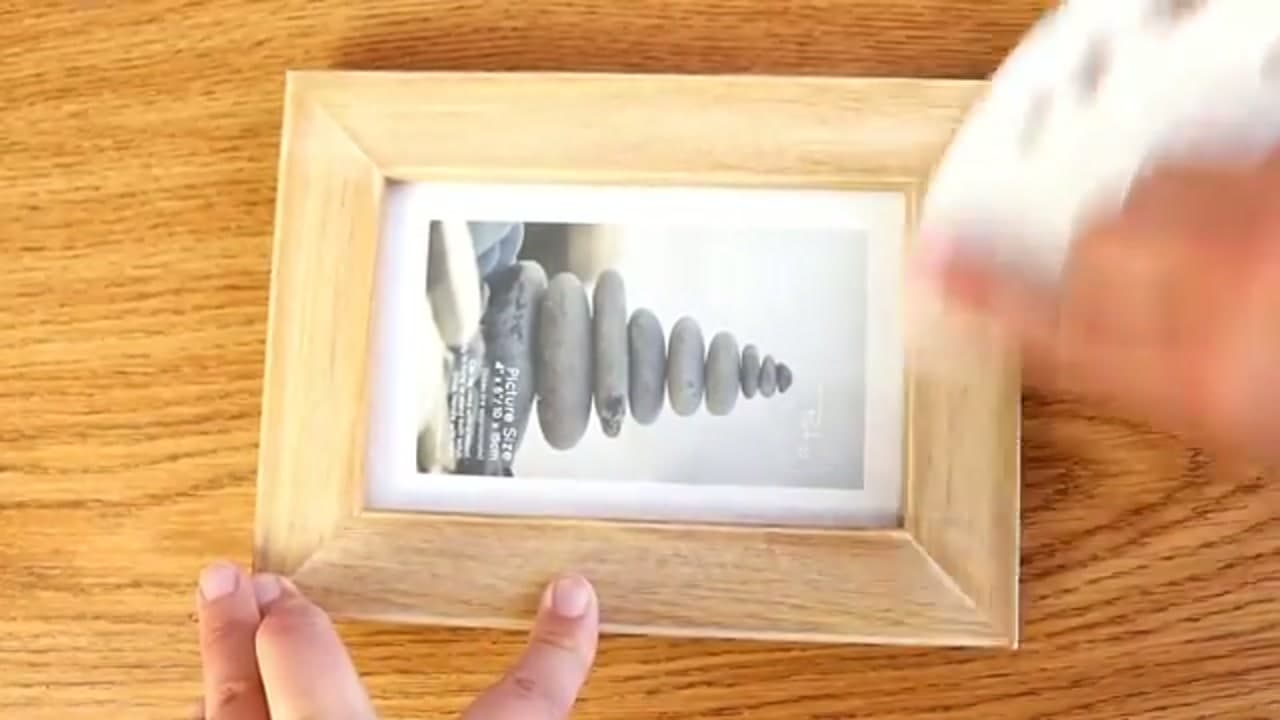
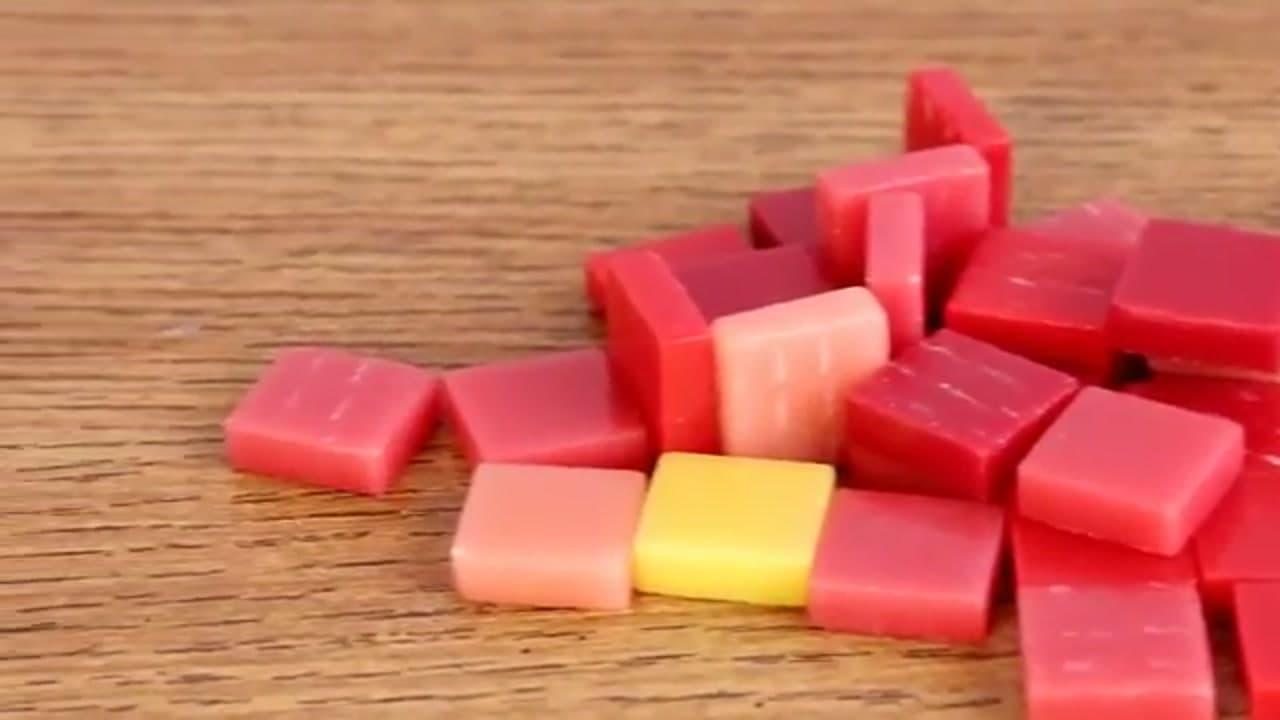
Start with a plain wooden photo frame that has a flat face rather than a sloped or curved one. Flat is easier to tile around. You will also want square mosaic tiles in a few colors, tile nippers for cutting, PVA glue, grout, sandpaper, and a bowl and spoon for mixing. Lay it all out so you can work without hunting for things mid-project.

Tip

Wood frames work well because they are chunky but light. Square tiles wrap around corners far more easily than round ones.
2

Sand the Frame

1:20
Step 2: Sand the Frame

Lightly sand every part of the frame where a tile will sit. Any grit of sandpaper is fine here. You are just roughening the smooth wood so the glue has something to grab. If you are only tiling the outside like the video does, you can leave the inner edge alone. Skip this and your tiles are far more likely to pop loose later, so it is worth the two minutes.

Tip

Wipe away the dust before you glue so nothing gets trapped under the tiles.

3

Cut a Pool of Tiles

0:40
Step 3: Cut a Pool of Tiles

Before you start placing anything, nip a batch of tiles into halves and quarters with your tile nippers. Getting a pile ready up front means you are not stopping every few seconds to cut a piece to fit. Keep the full squares handy too. Having a good pool of mixed sizes to pick from is what keeps the whole project moving and your spacing looking natural.

Tip

Cut over a bowl or tray so the little offcuts do not scatter across the table.

Products used in this step

4

Start at a Corner

2:10
Step 4: Start at a Corner

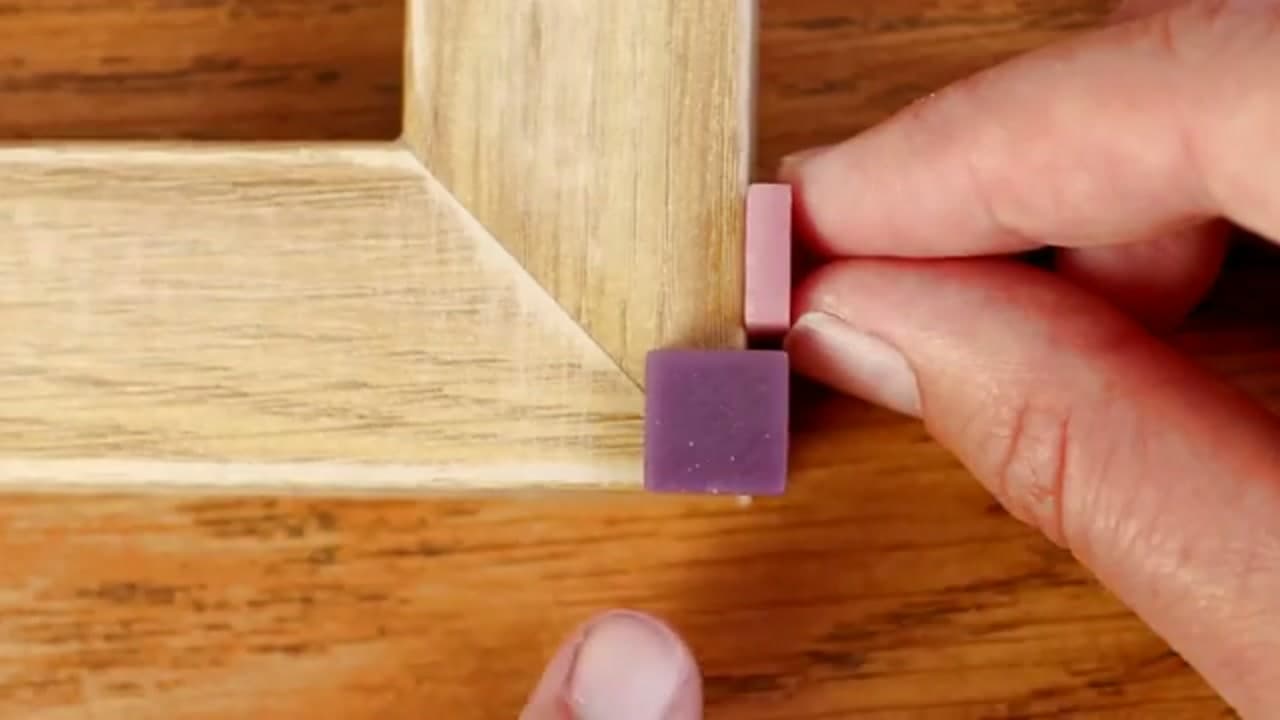
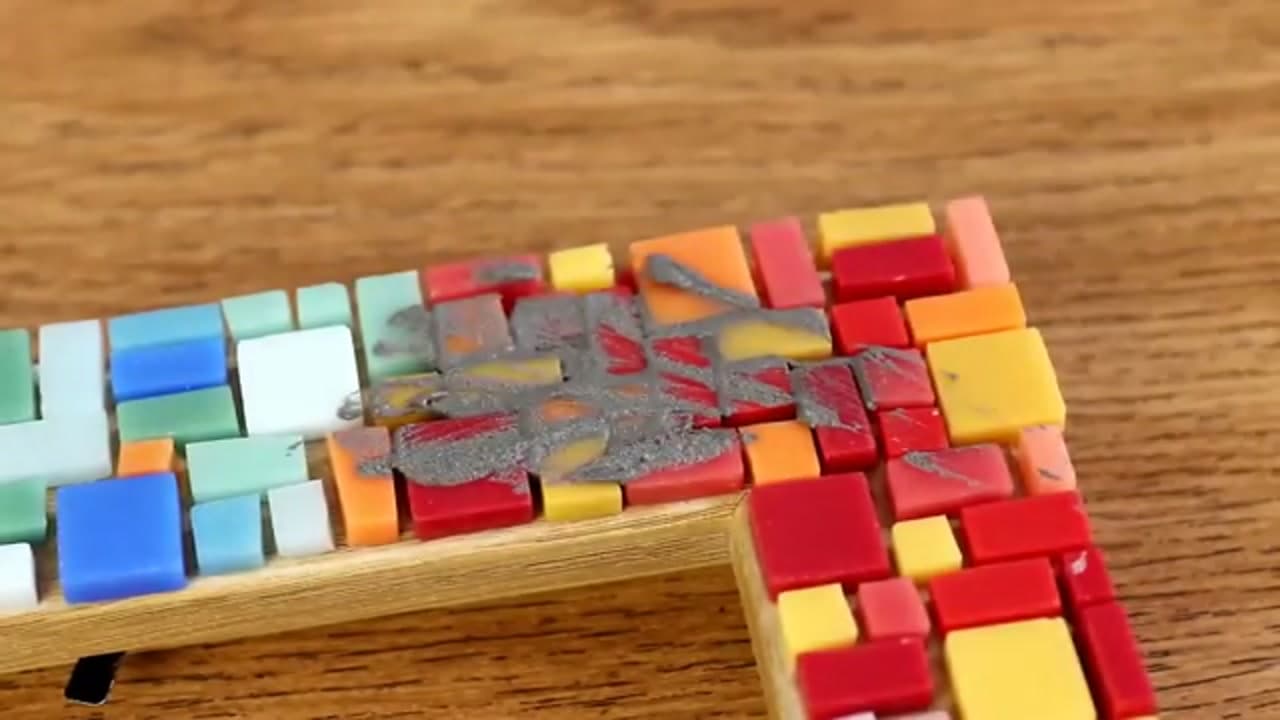
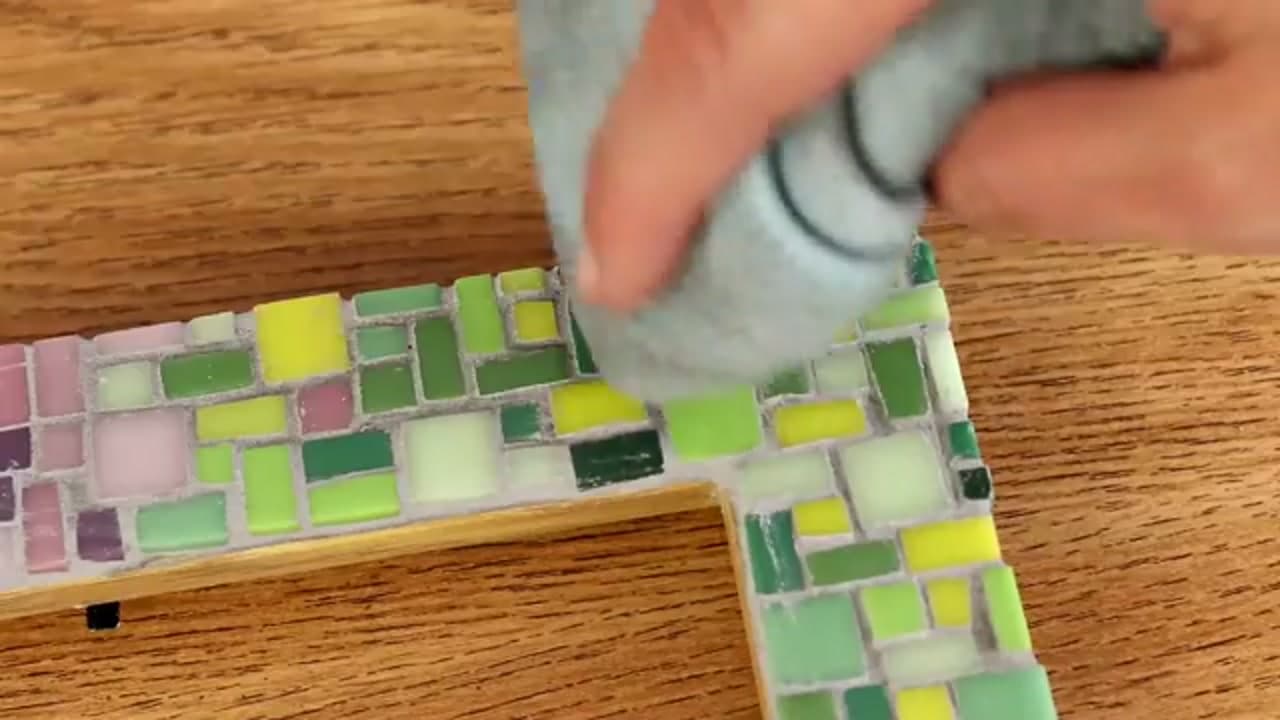
Corners are the trickiest part, so tackle them first while your eye is fresh. Place the first tiles so the top-facing ones hang over the outer edge by the depth of one tile. That lets the border wrap right around the side and keeps the corner a sharp right angle. Play with the pieces until the top and side edges line up flush and flat.

Tip

PVA glue stays workable for a while, so you have time to nudge each tile into place before it sets.

5

Glue the Tiles Down

4:10
Step 5: Glue the Tiles Down

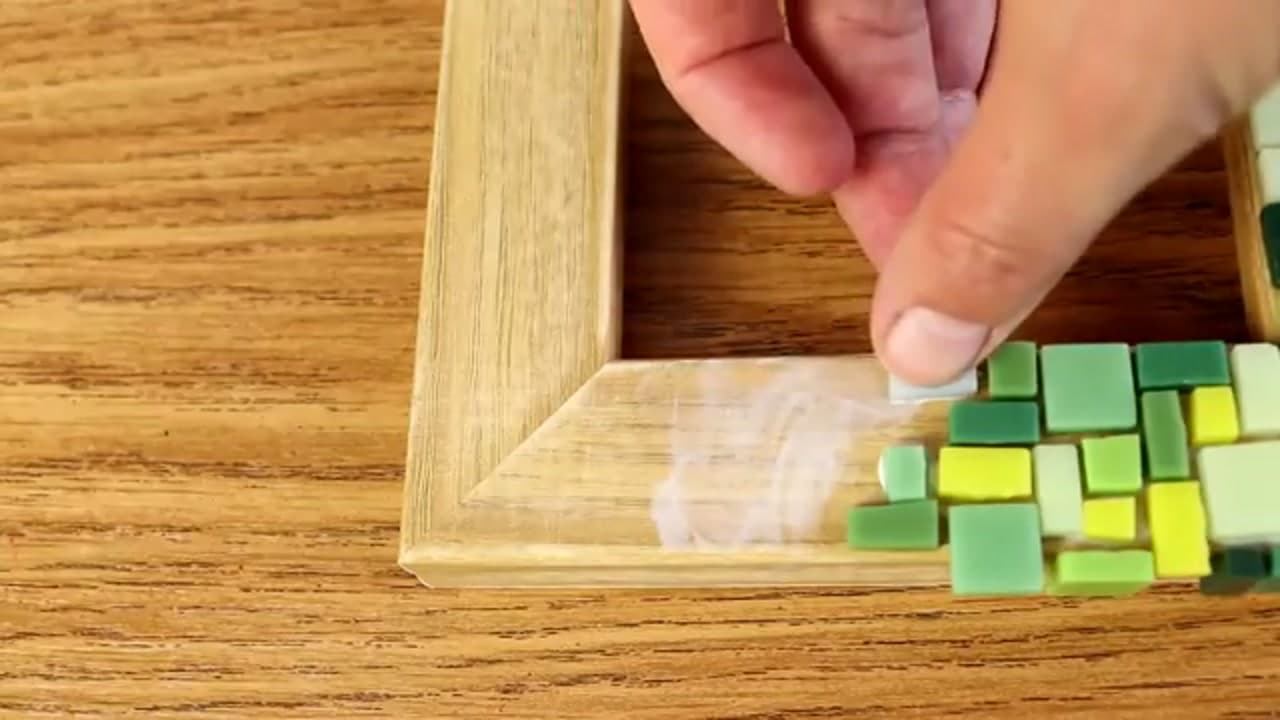
Put a little PVA glue on the wood and spread it thin with a finger. Letting it dry for a moment makes it tacky, which stops the tiles from sliding around on you. Press each tile down as you go, keeping even gaps and straight lines. Work in small sections so the glue does not skin over before you get tiles onto it.

Tip

A thin tacky layer holds better than a thick wet one. Wet glue lets gravity pull your tiles out of line.

6

Fill In and Blend the Colors

4:25
Step 6: Fill In and Blend the Colors

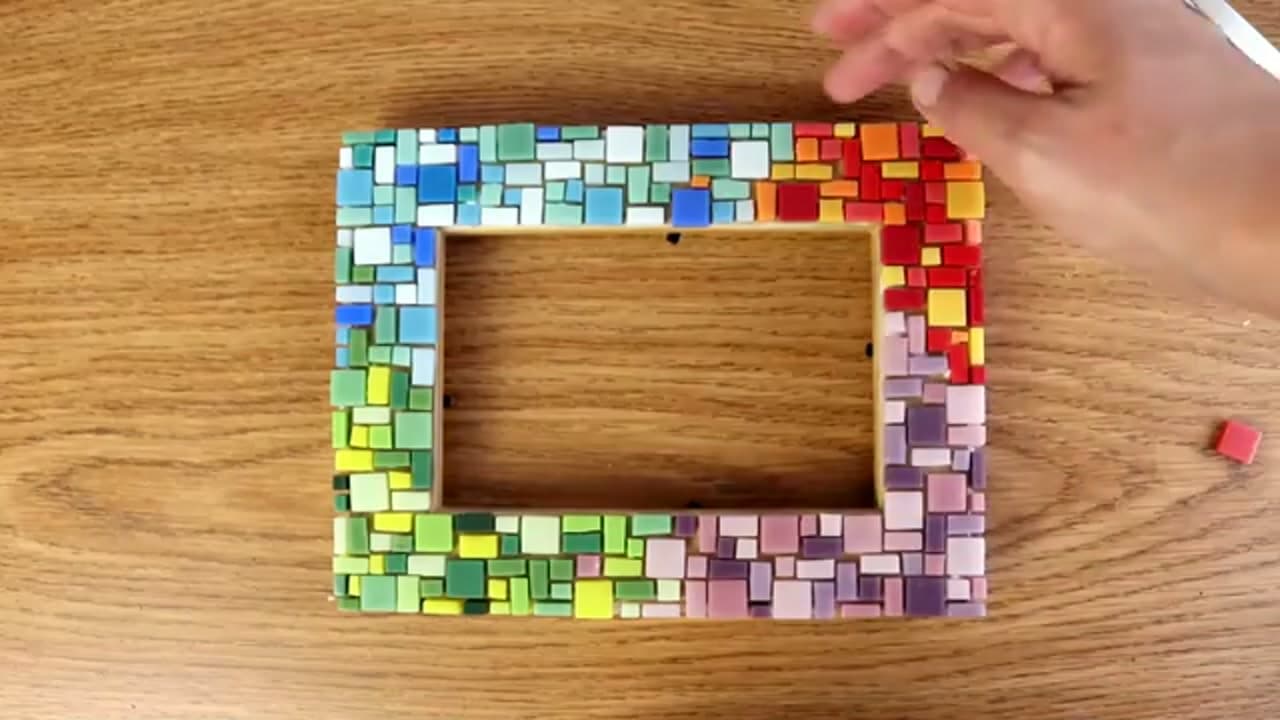
Keep placing tiles fairly randomly but neat, filling one color area before moving to the next. When you switch colors, drop in the odd tile of the previous shade so the two blend instead of meeting in a hard line. How much of the frame each color gets is up to you. Do not forget the sides. Once the whole front is covered, set the frame aside to dry completely.

Tip

Leaving the side edges a little rough and random gives the frame a relaxed, handmade look if you like that style.

7

Mix and Apply the Grout

4:55
Step 7: Mix and Apply the Grout

Once the tiles are firmly stuck, mix your grout. For a pale gray, use about three parts white grout to one part black, then add just enough water to make a thick paste. It will look dark now and dry much lighter, so do not worry. Work the grout into every gap and corner with your fingers, pushing it into all the little nooks so no holes are left behind.

Tip

Try to keep grout off the bare inner wood, but if some gets there it wipes off with a damp cloth.

8

Wipe, Dry, and Buff

5:40
Step 8: Wipe, Dry, and Buff

Use a damp cloth to lift off the excess grout. You will not get it fully clean yet, and a light film over the tiles is fine at this point. Set the frame aside to dry, then buff it again with a damp cloth to clear the last of the haze. Take your time here since this is the finish you will see. Pop your glass and photo back in and it is ready to display.

Tip

If the damp cloth darkens the grout again, do not panic. That is temporary and it lightens back up as it dries.

Products Used

☐ The Checklist

How to Make a Mosaic Picture Frame

Tools
2
Materials
4
Steps
8
Video
7 min

Your Guide

City Self-Sufficiency

As an Amazon Associate we earn from qualifying purchases. Links on this page may be affiliate links - clicking them and buying doesn't change your price, but helps support ShowMeStepByStep.

Tags

Did this work for you?

What's next

Related collections

Curated theme pages that include this tutorial.

Weekly Digest

Liked this crafts tutorial?

Pick the categories you want to hear about. Weekly digest of new step-by-step tutorials. No spam, easy unsubscribe.

Send me tutorials about

We only email about new tutorials. Easy unsubscribe anytime.