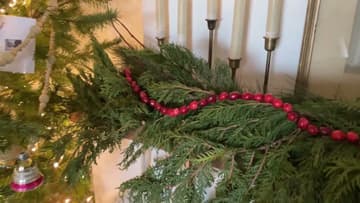
How to Make a Christmas Garland
Source: The Merrythought • Full tutorial: www.craftingstepbystep.com/crafts/how-to-make-a-christmas-garland
- Difficulty
- Easy
- Hands-on time
- About 1 hour
- Cost
- About $6 to $12
- Makes
- 1 cranberry garland, several feet long

Tools
- Large-eye needle
- Craft scissors
- Two medium bowls
Materials
- 2 to 3 bags fresh cranberries
- Jute twine
- Floral binding wire
- 20-gauge floral wire
- Red and white bakers twine
Steps
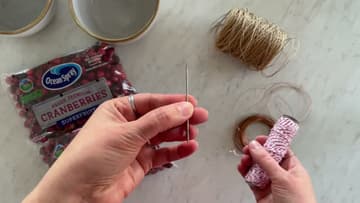
1. Lay Out Cranberries, a Large-Eye Needle and Your Stringing Material
Set out two to three bags of fresh cranberries, a needle with an eye big enough to thread without squinting, and whatever you plan to string them on. The Merrythought puts four options on the counter side by side: jute twine, paper-wrapped floral binding wire, 20-gauge floral wire and red and white bakers twine.
Tip: A large eye matters more than a sharp point here. Cranberry skin gives easily, and a bigger eye means you are not re-threading the needle every time the end of the twine frays.
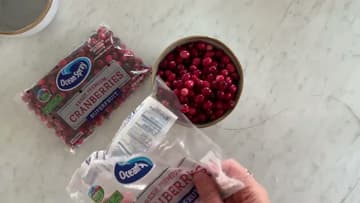
2. Empty the Cranberry Bags Into a Bowl
Tip the bags out into a bowl and keep a second bowl beside it. Any berry that feels soft, or has gone dark and wrinkled, goes in the discard bowl.
Tip: Cold berries straight from the fridge are firmer and split less. Leave the bags in there until you are ready to sit down and string.
3. Push the Needle Through Each Cranberry the Long Way
Thread the twine through the needle, then push the point into one end of a cranberry and out the other, going the long way through the berry. It takes very little pressure.
Tip: Leave six inches of bare twine at the start so you have something to knot later. Losing a whole strand off the open end is the one mistake that costs you the evening.
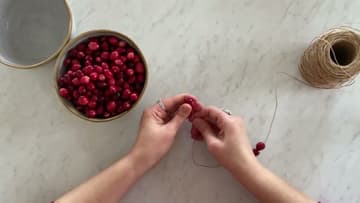
4. Slide the Cranberries Down the Twine and Keep the Spool Attached
Leave the spool connected instead of cutting a working length first. Every few inches, push the strung berries down toward the far end so the needle always has bare twine ahead of it.
Tip: Measure the mantel or the tree before you cut. A garland that lands two feet short is hard to fix once both ends are knotted.
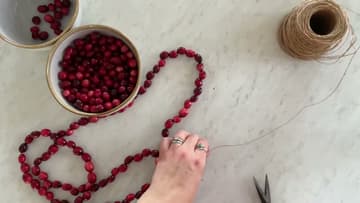
5. String Cranberries on 20-Gauge Floral Wire Without a Needle
Swap the twine for 20-gauge floral wire and put the needle away. The wire is stiff enough to push through a cranberry on its own, which makes this the version to hand a child.
Tip: Use the wire version where you want a straight run, along a shelf edge or a window frame. For a swag that dips between two hooks, go back to twine.
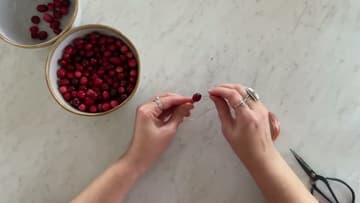
6. Try Red and White Bakers Twine for a Garland That Drapes
Bakers twine strings the same way and gives the softest drape of the four. The red and white stripe mostly disappears between the berries, so you get the color without a cord showing.
Tip: Dab the cut end with a little clear glue and let it dry hard before you thread it. A stiffened tip feeds through the eye without splitting.
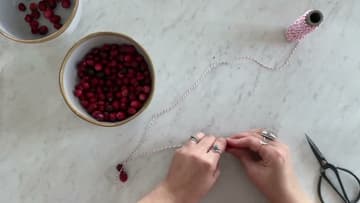
7. Knot Both Ends of the Cranberry Garland
Tie a knot in each end once the strand is the length you want. Cranberries slide freely on twine and on wire, and one open end empties the whole garland onto the floor.
Tip: On floral wire, bend the last quarter inch back on itself with pliers instead of knotting it. Wire will not hold a knot the way twine does.
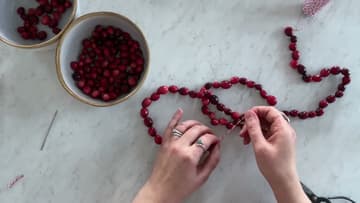
8. Drape the Cranberry Garland Along a Mantel or Tree
The Merrythought weaves hers in and out of a fresh cedar garland on the mantel, so the red sits on top of the green instead of sinking into it. On a tree, lay it along the branch tips rather than pressing it back into the depth of the branches.
Tip: Keep it away from a radiator or a lit fireplace. Direct heat shrivels the berries in a couple of days instead of a week.