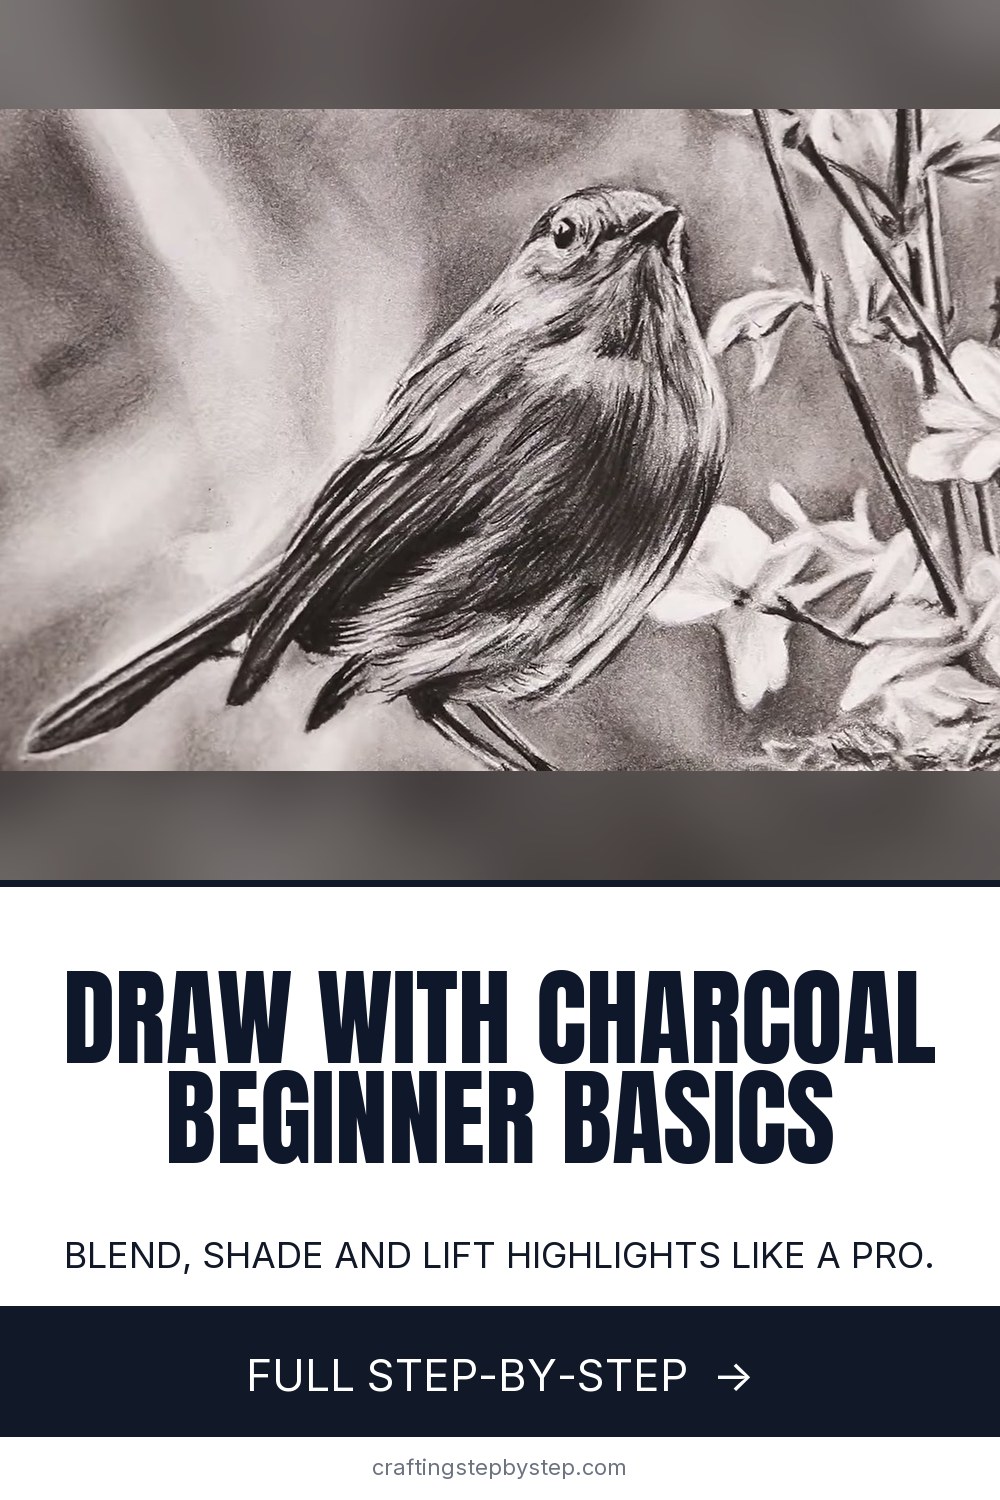
Charcoal is one of the cheapest ways to make a drawing that looks rich and dramatic. A couple of pencils, a block and a few blending tools are all it takes. In this lesson Kirsty Partridge of Kirsty Partridge Art walks through the basics: the materials, three ways to blend, how to lift highlights, and the layer-by-layer method she uses to draw a realistic robin. The same steps work for portraits, animals and still life.
How to draw with charcoal: the method in brief
- Sketch the outline lightly in graphite.
- Block in the darkest shadows, then the mid-tones. Leave highlights bare.
- Blend the whole layer with a brush, tissue and stumps.
- Go back in with sharp pencils for detail, then lift highlights with erasers.
Vine, compressed or pencil?
Vine and willow charcoal are light, soft sticks that dust off easily. They suit loose sketches. Compressed charcoal blocks are darker and denser, good for covering big areas fast and for making charcoal powder. Charcoal pencils are compressed charcoal in wood, so you get control for detail. Kirsty uses only two pencils, an H for light shading and a 2B for shadows, plus one soft block.
Paper that holds charcoal
Charcoal needs paper with some tooth, a slightly rough surface that grips the dust. Bristol vellum, charcoal paper or hot pressed watercolor paper all work. Very smooth, slick paper does not. The charcoal slides around and you cannot build dark layers on it.
Why not blend with your fingers?
It is tempting, but skin carries oil. The oil goes into the paper and leaves blotchy patches that will not take charcoal or erase cleanly. A soft paintbrush, a tissue and a paper stump each give a smoother result. They are cheap, too. A pack of stumps costs a few dollars.
Stop the smudging
Charcoal smudges if you look at it. Rest your drawing hand on a sheet of tracing paper or glassine so you never touch the drawing directly. Work from the top down if you are right handed and away from your hand if you can. When you finish, a few light coats of workable fixative keep the drawing from rubbing off. Spray outdoors and hold the can well back.
How long it takes
Testing the tools takes ten minutes. A small drawing like this robin takes two to three hours spread over a sitting or two. Charcoal does not need to dry, so you can stop and pick it up again whenever you like.
Common mistakes
- Heavy graphite outlines. Charcoal will not sit on top of shiny graphite, and dark lines look cartoony. Sketch lightly.
- Detail too early. The first layer gets blended, so fine detail there is wasted.
- Charcoal straight onto highlights. Brush a little powder onto them instead. It erases far more easily.
- A crumbling tissue. Swap to a fresh piece as soon as it starts to break up.
Keep practicing
Try the same method on a simpler subject first, like a bird or a raven, both of which work well in charcoal. If values are new to you, start with our guide to shading, and see how to draw for beginners for warm-up exercises.