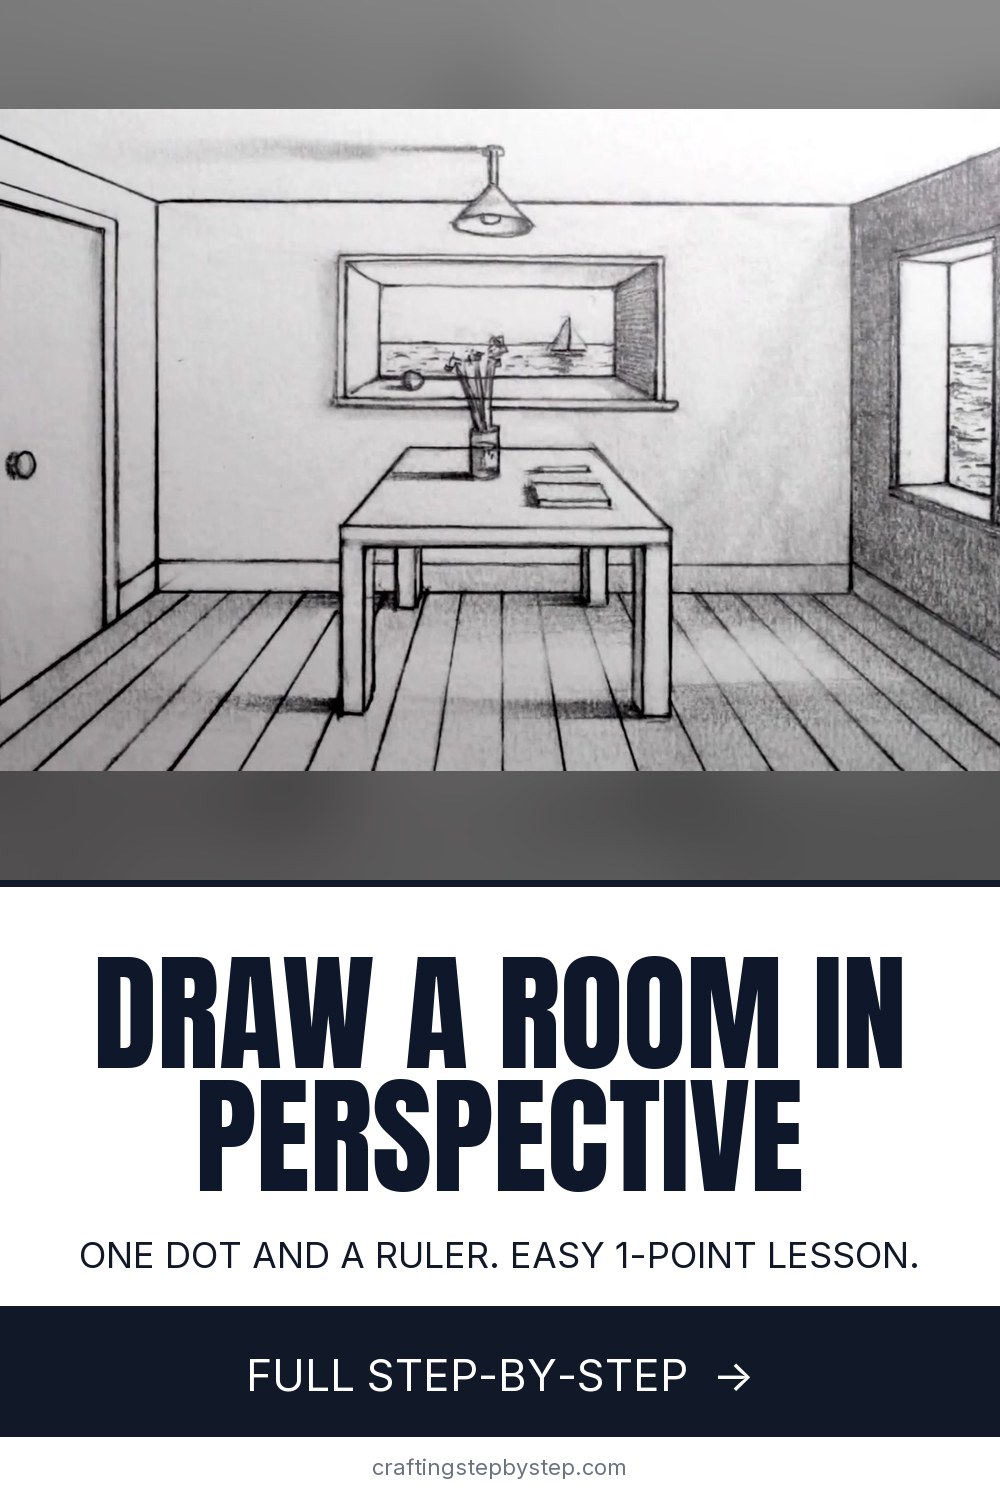
Perspective is the trick that makes a flat drawing look deep. Once you see how it works, rooms, streets and boxes stop looking flat and start looking real. In this lesson Tom McPherson of Circle Line Art School draws a whole room in one point perspective: walls, a door, a table, floorboards, two windows and a hanging light. Everything comes from one horizon line and one dot. You need a pencil, a ruler and an eraser.
How to draw in perspective: the one rule
Lines that run away from you all meet at a single point on the horizon. That point is the vanishing point. Lines that face you straight on stay flat: horizontals stay horizontal and verticals stay vertical. Every step below uses that rule. If a line in your room looks wrong, check whether it should point at the dot or stay flat.
One point, two point and three point perspective
- One point. You look straight at a wall or down a road. One vanishing point. The best place to start, and the method used here.
- Two point. You look at the corner of a building. Two vanishing points sit far apart on the horizon.
- Three point. You look up at a skyscraper or down from one. A third point sits above or below the horizon.
Where to put the horizon line
The horizon line is your eye level. Put it a little above the middle of the page, as Tom does, and you see more floor than ceiling, as if you were standing in the doorway. Drop it low and the room feels tall, like a child's view. Move the vanishing point left or right and you see more of one side wall. Try a few small thumbnail sketches before you commit.
Tools that help
A ruler keeps the long lines to the vanishing point straight, and straight lines are what sell the illusion. Use an HB or 2H pencil for guide lines and press lightly, because you will erase many of them. Go over the finished edges with a softer 2B. A kneaded eraser lifts guide lines without smudging the dark ones.
Common mistakes
- Lines that miss the dot. Even a small miss makes a table look tilted. Line the ruler up on the vanishing point every time.
- Slanted verticals. Door edges, table legs and window sides stay straight up and down in one point perspective.
- Floorboards spaced by eye. Mark even spaces along the bottom of the back wall first, then draw each board from the dot through a mark.
- Heavy guide lines. They show through the shading. Keep them faint.
How long it takes
The room, door and table take about twenty minutes. Floorboards, windows, the light and the shading take another forty. Pause the video after each step and catch up.
Where to go next
Draw the same room again with the vanishing point off center. Then try a hallway or a road running to the horizon. When the boxes feel easy, use the same lines on a house or a car. Brush up on pencil shading to give your walls depth, and see our beginner drawing guide for more practice ideas.