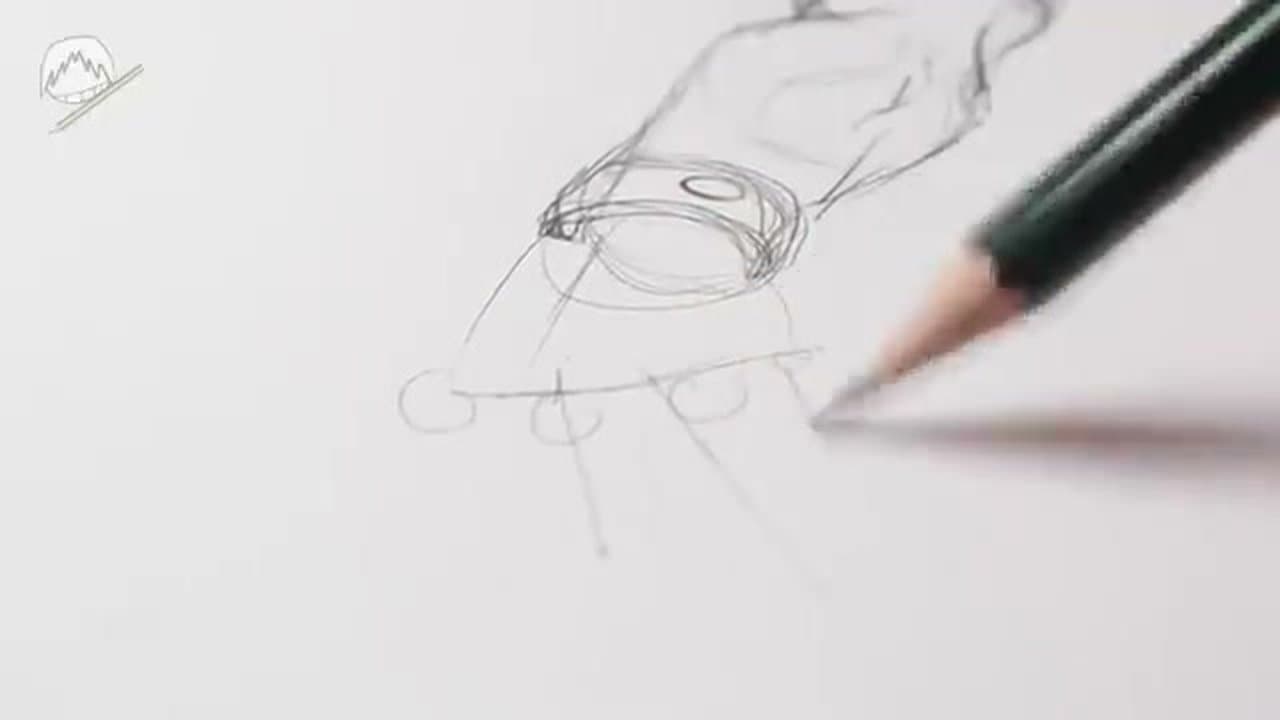
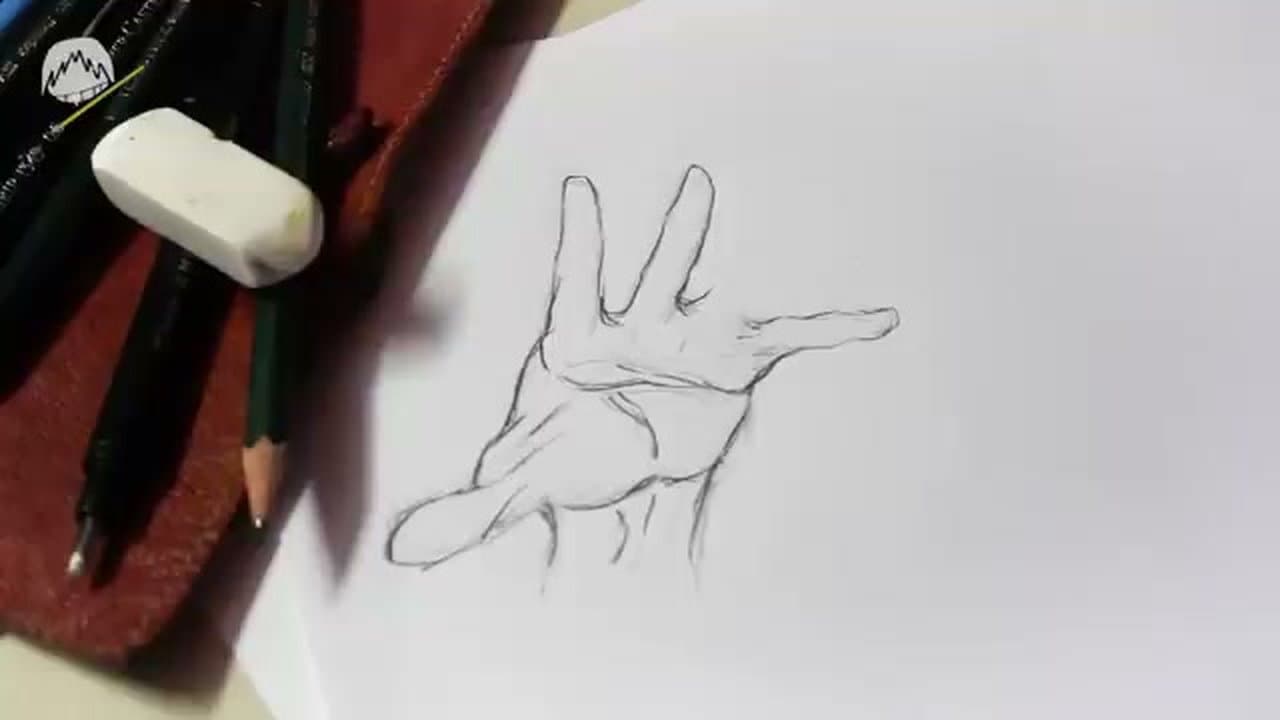
Hands are the part most artists avoid. Marcel from Draw like a Sir breaks the whole hand into shapes you can already draw - a brick for the palm, three equal segments per finger, and a fan of knuckles across the back of the hand.
Once you know why each piece sits where it does, hands stop being a guessing game. The rules hold at any angle. Watch the video, then sketch along with the step images.
What you need
- An HB pencil for construction, a 2B or 4B for the final lines
- A kneaded eraser - it lifts light lines without shredding the paper
- Plain drawing paper or a sketchbook, nothing fancy
- Your own non-drawing hand
Block in the palm first, fingers second
Beginner hands look like spiders because they get drawn finger by finger from the fingertips down. Each finger becomes its own drawing and none of them agree.
Build it the other way round. The palm is one shape, a tapered brick wider at the knuckles than at the wrist. The fingers are a second shape, one soft wedge on top of that brick, before you split it into four. Get those two masses in proportion and the hand reads as a hand while it is still a scribble. Same habit as the rest of the drawing fundamentals: big shapes, then medium, then detail.
The proportions people get wrong
The palm is about as long as the middle finger. Hold your hand flat and check - wrist crease to the base of the middle finger is close to that finger's length. Most beginners draw a short palm with long fingers, and that one error is what makes a hand look alien.
Fingers bend at three joints, not two. The base knuckle counts as one, which is why Step 3 builds each finger from three segments instead of one line with a kink in it.
The thumb sits low and at an angle, attaching about halfway down the side of the palm rather than at the top corner, and it aims across the hand instead of straight out. Move it to that corner and the whole hand stops working.
Your other hand is the best reference you have
You have a free posable model attached to your wrist. Rest your non-drawing hand on the desk so it does not drift while you look away, and draw what is in front of you, not what you remember hands looking like. Work small and fast - a page of thirty-second sketches teaches more than one careful hour-long drawing.
The three poses worth learning first
The relaxed open hand, slightly cupped with the fingers curled, is the default rest position and shows the knuckle fan best. The fist folds everything in and pushes the knuckles into a hard ridge, which teaches you that fingers have volume.
The hand holding something - a mug, a pencil, a phone - turns up in almost every figure drawing and forces you to wrap fingers around a form. The same construction logic drives drawing the full figure.
Hands drawing ideas to practice next
Once the brick, the finger segments and the knuckle fan feel normal, push them into new hands.
- Pointing hand. One finger straight, three curled into the palm, thumb resting on the middle finger. A good test of the three-segment rule.
- Two hands touching. A handshake or two hands holding. Block in both bricks before any fingers so they meet in the right place.
- Cartoon hand. Three fingers and a thumb, rounder tips, no nails. It still reads as a hand.
- Palm side up. Draw the three muscle pads from Step 5 and the creases that cross them.
- Skeleton hand. The same segments, drawn as bones. How to draw a skeleton shows the rest.
Common mistakes and how to fix them
All four fingers came out the same length. Middle is longest, index and ring are close and shorter, pinky is shortest and its base sits lower on the palm. Lay a light arc across the fingertips before you commit to a line.
The knuckles sit in a straight line. They ride a curve, and so does every joint below them. Step 4 covers the fan. A hand that looks stiff for no obvious reason is usually this.
The hand is too small for the figure. It wrecks an otherwise decent drawing. An open hand covers roughly the whole face, chin to hairline. Check against your own.
The fingers look like sausages. They are boxes with rounded corners. Flatten the fingertip where the nail sits and crease every joint.
Hands belong to a wider practice set. Eyes teach highlights and lid shadow, lips teach soft edges, and hair teaches you to draw a mass instead of counting strands. Same rule: big shape first, detail last.