A snowflake looks tricky to draw because it has so many matching parts. The secret is a few light pencil guidelines. Once you have six evenly spaced spokes, every arm of the snowflake follows the same pattern, and you repeat it all the way around. This lesson comes from Art for Kids Hub, where Rob draws side by side with his son Jack. It takes about six minutes and works for kids as young as five.
You need a pencil, an eraser, a black marker, a sheet of paper and something to color with.
Why a snowflake has six sides
Real snowflakes form as ice crystals, and ice crystals grow in a six-sided pattern. That is why you start with one straight line and an X. Together they make six spokes, and each spoke becomes one arm. Try to keep the angles between the spokes about the same. You can use a ruler, but eyeballing it works fine. A slightly wonky snowflake still reads as a snowflake.
The bubble outline trick
This drawing uses a trick from bubble letters. You never trace on top of the pencil line. You trace around the outside of it, so every thin pencil stroke turns into a thick arm with a black edge. That gives the snowflake its chunky, cut-paper look and leaves room inside for color. Press lightly with the pencil so the guidelines rub out cleanly at the end.
Make your own snowflake design
No two snowflakes are alike, and yours does not need to match the video. Keep the line and the X, then change the details:
- Add a third, smaller V near the tip of each arm.
- Swap the V branches for little circles or hearts.
- Draw a hexagon in the center instead of the star.
- Put a tiny diamond at the end of every arm.
The only rule: whatever you draw on one arm, repeat on all six.
Coloring ideas
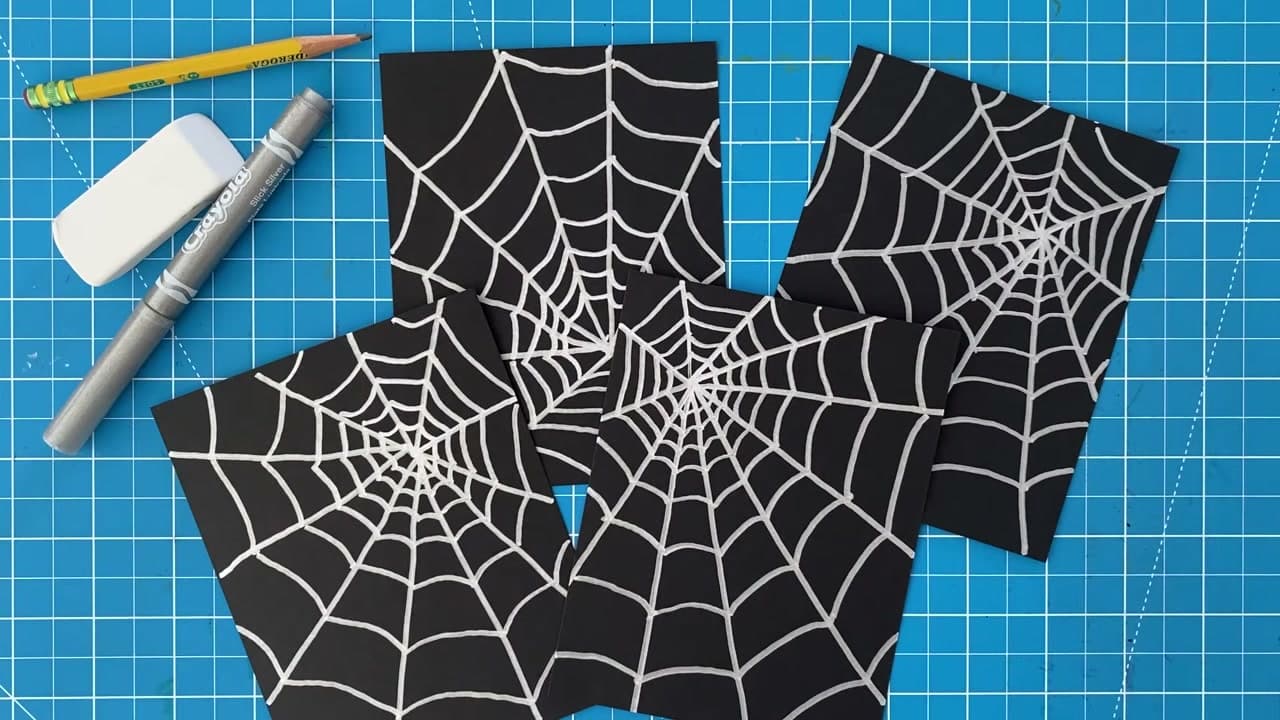
Light blue colored pencil gives the soft, icy look in the video. For more depth, color the edges a darker blue and leave the middle of each arm pale. Silver or white gel pen on dark paper looks great too. A black cardstock snowflake drawn with a metallic marker makes a nice night-sky effect. Older kids can use what they learned in how to shade to fade each arm from dark to light.
Winter and holiday uses
A snowflake drawing is handy all winter. Cut it out and tape it to a window. Draw a small one on the front of a folded Christmas card. Make a classroom snowstorm where every kid designs a different flake. Shrink it down for Christmas gift tags. If you want a 3D version, try a folded and cut paper snowflake, or a crocheted snowflake to hang on the tree.
Common snowflake drawing problems
- The arms are different lengths. Mark a small dot at the end of each spoke before you draw any branches.
- The marker lines touch. Leave a small gap around every pencil line as you trace. Thin arms are fine.
- Pencil marks still show. Wait a minute for the marker to dry, then erase.
- It feels lopsided. Turn the paper as you go so you always draw the arm closest to you.
New to drawing? Start with how to draw for the basics.