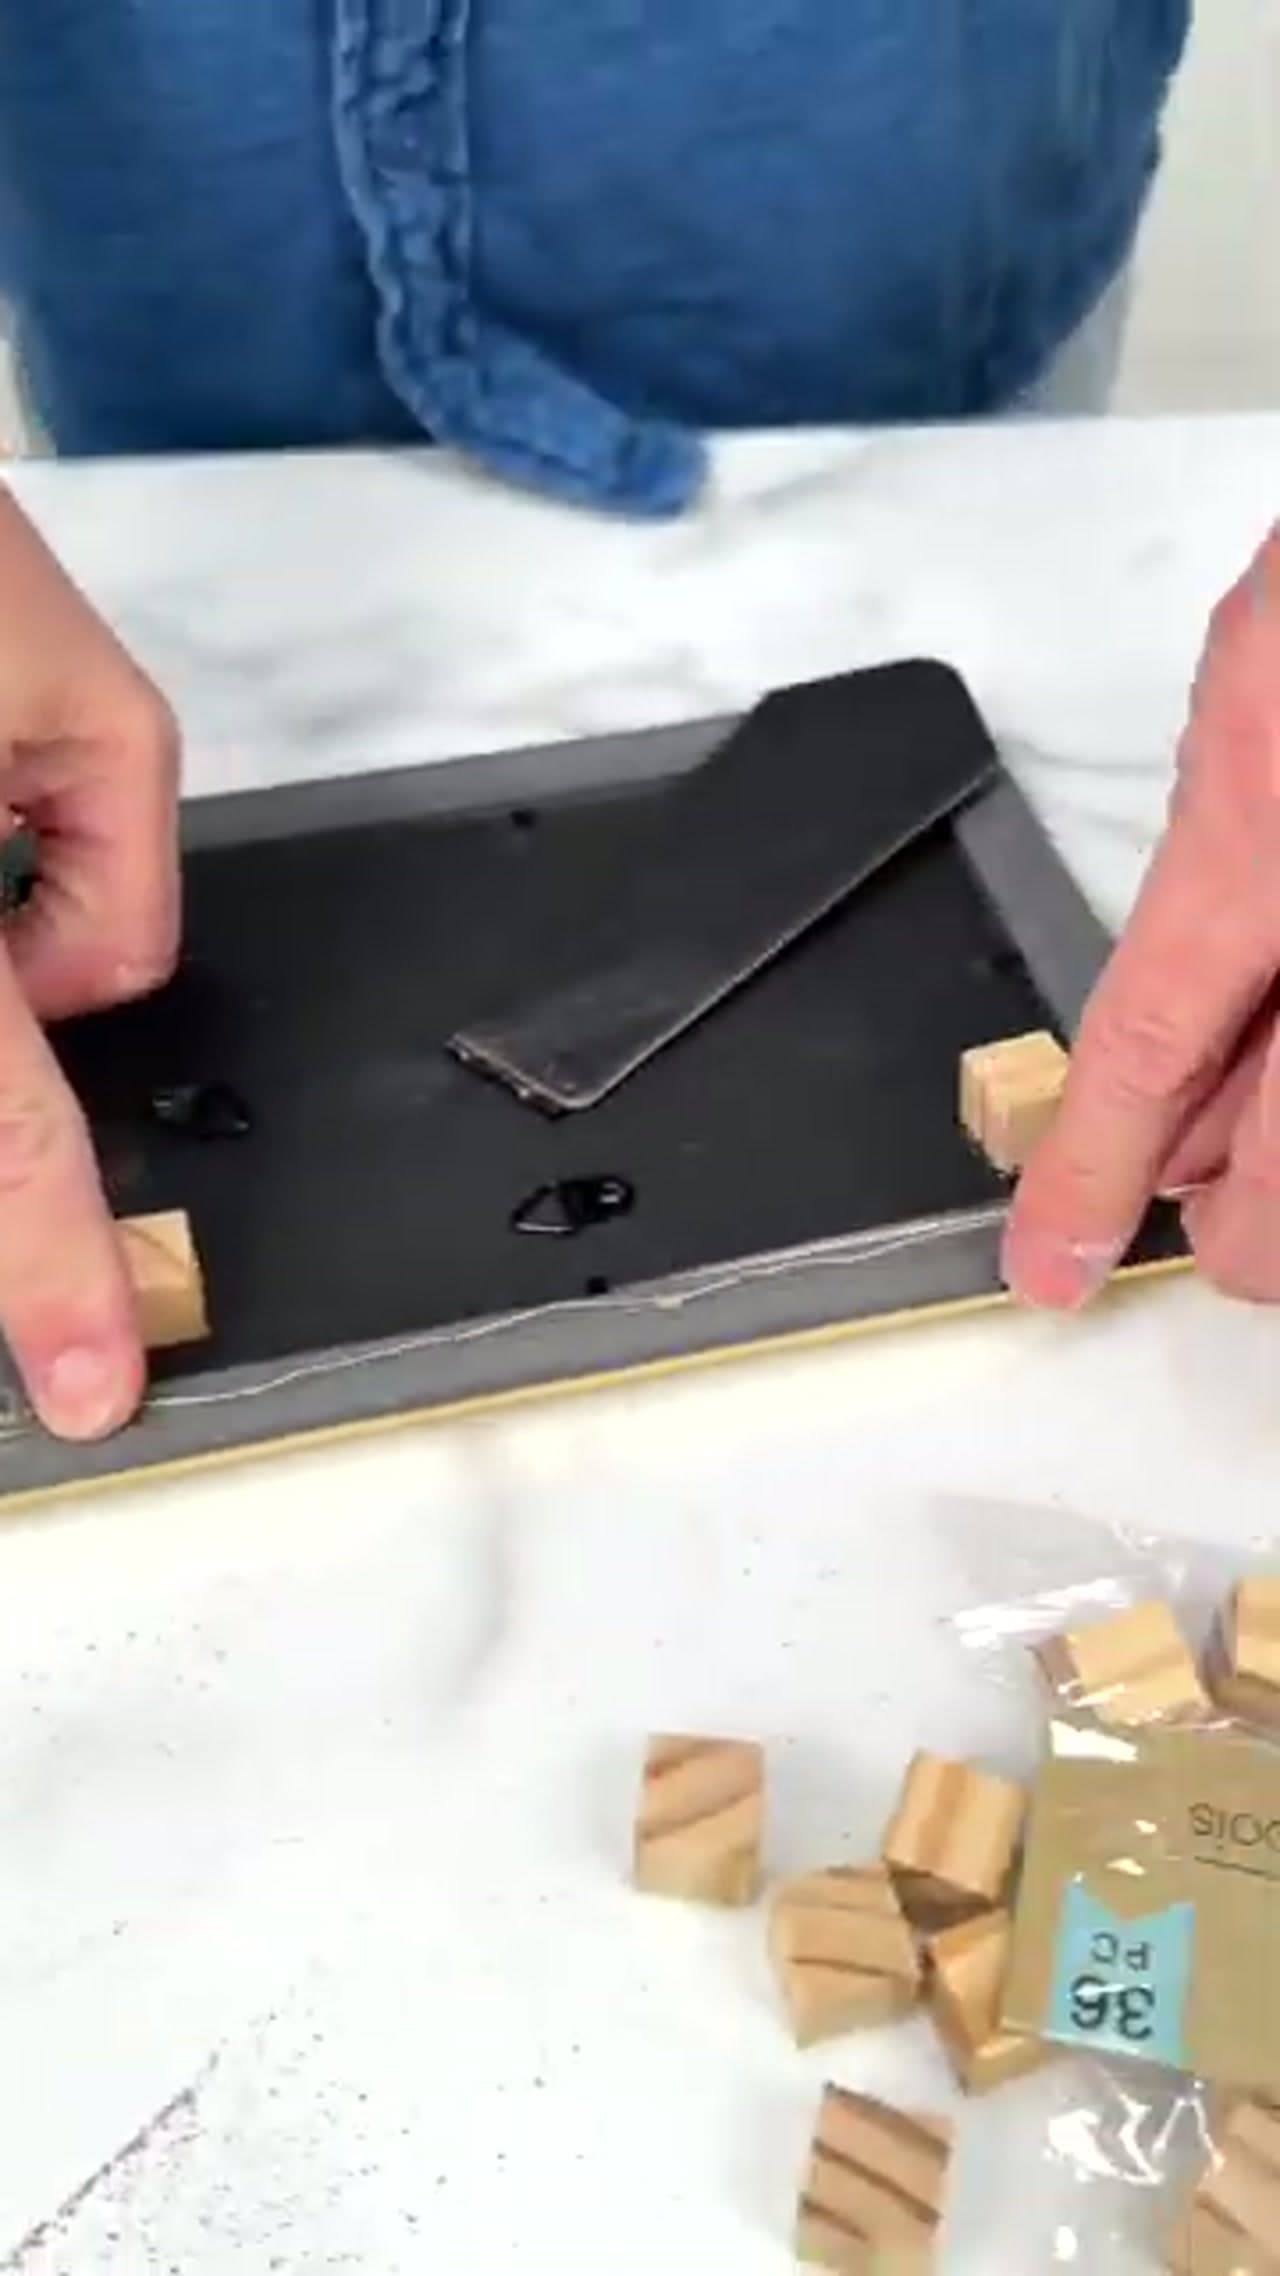
Step 1: Hollow Out the Thrift Store Books
0:10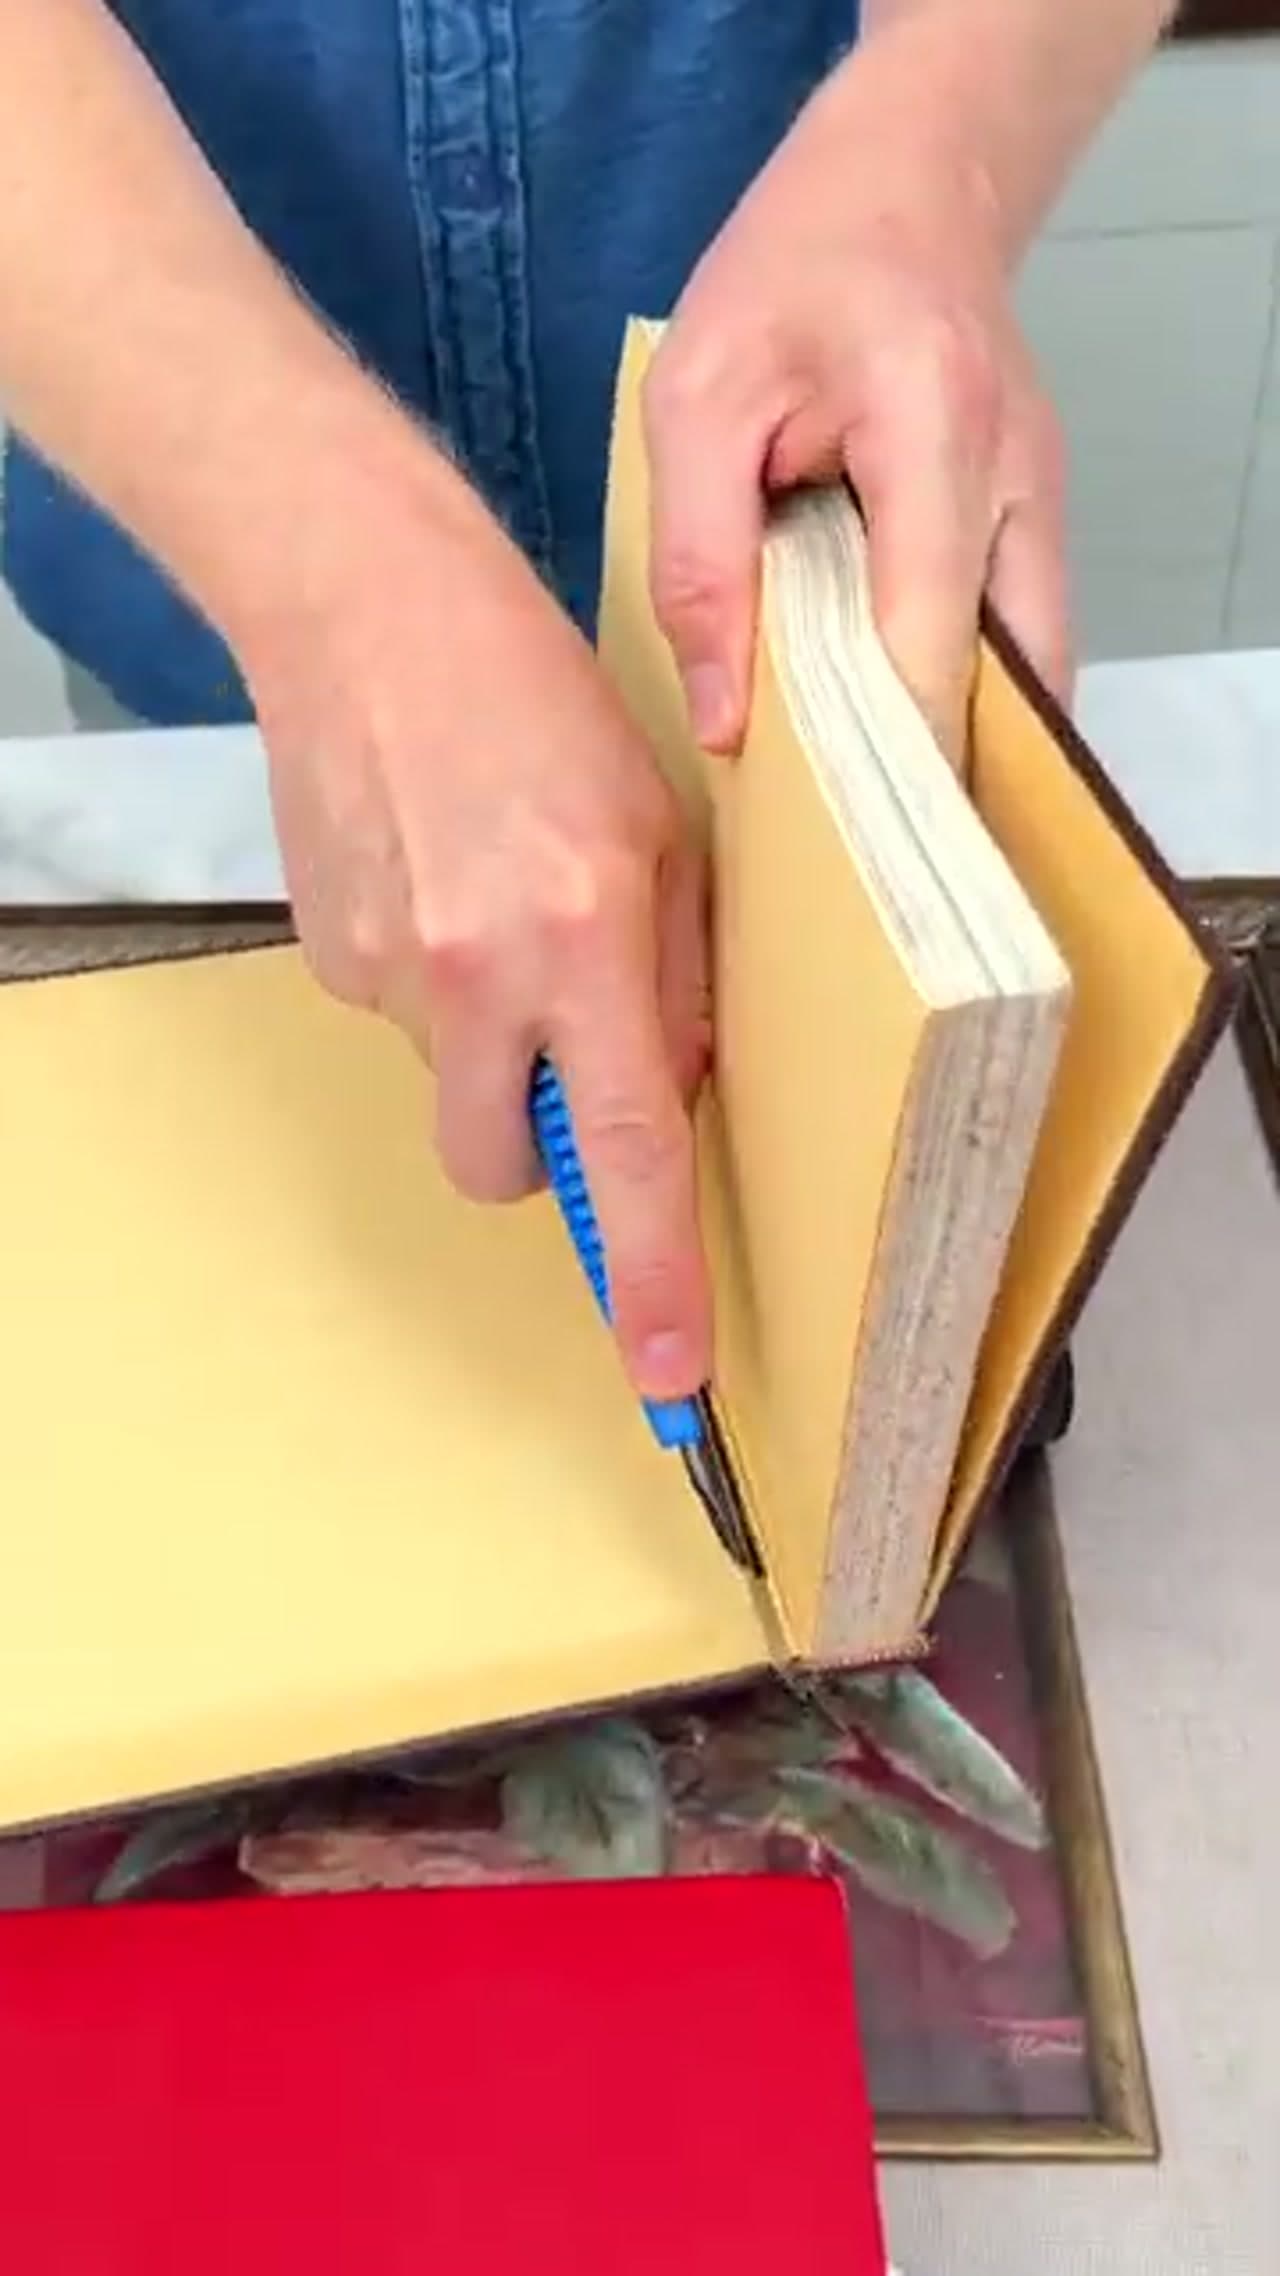
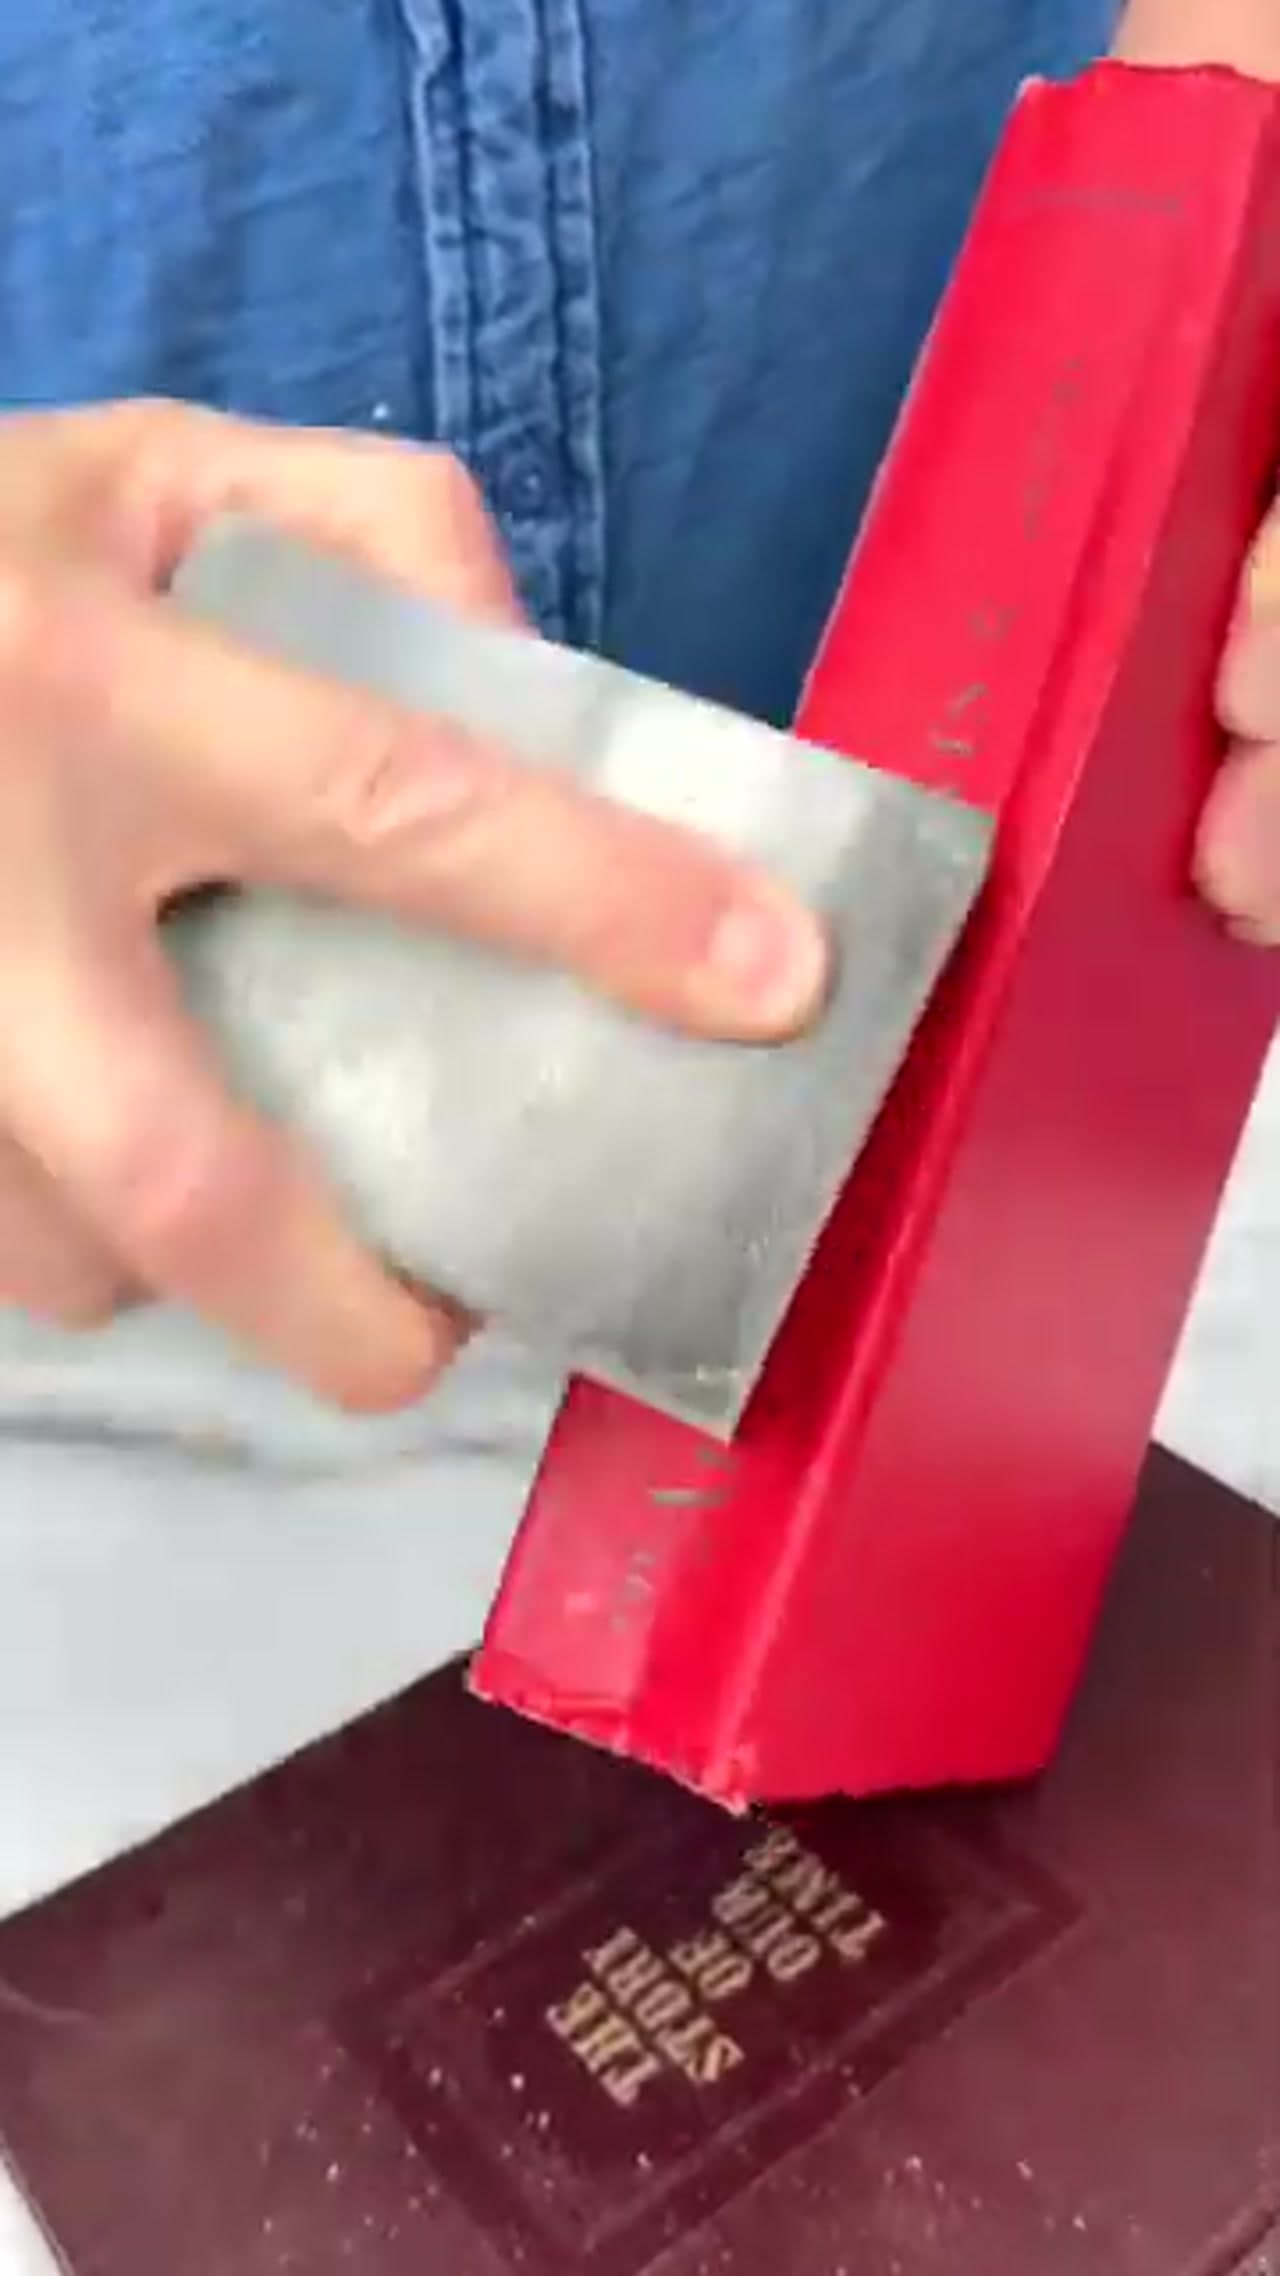
Grab two or three hardcover books from the thrift store. Different colors and sizes look best - the variation makes the finished row feel collected rather than matched. Open each book and run an exacto blade down the inner spine just inside the front and back covers, slicing the page block free from the cover.
Pull every page out one section at a time. Hardcovers are usually glued in signatures of 16 pages, so the pages will come out in clumps. Take your time so you don't tear the cover. Save the pages in a clean pile - you'll use some of them for the collage piece in step 4.
Tip
Pick books with a sturdy cover and a dust-free spine. Bibles and old dictionaries usually work great because the covers have a stiff, fabric-wrapped binding that holds shape when you remove the pages.