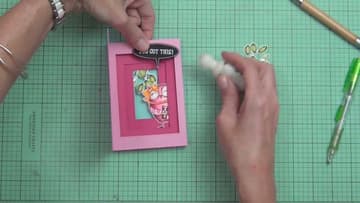
How to Make a Tunnel Card (Inside Tunnel Card With Measurements)
Source: Lostinpaper • Full tutorial: www.craftingstepbystep.com/card-making/how-to-make-a-tunnel-card
- Difficulty
- Medium
- Hands-on time
- About 1 hour 15 minutes
- Cost
- About $2 to $5
- Makes
- 1 card
Tools
- paper trimmer
- scoring board
- bone folder
- nesting rectangle dies
- die cutting machine
- fine tip glue applicator
Materials
- pink cardstock in two shades
- light blue cardstock for the back panel
- 1/8 inch score tape
- low tack tape
- stamped and colored images
- alcohol markers or colored pencils
- liquid glue
- enamel dots (optional)
Steps
1. Cut the Cardstock for the Tunnel Card Base
Start with two pieces of cardstock cut to 5-1/2 x 8-1/2 inches. Therese cut both from an A4 sheet of pink, since her sister loves bright pink.
Tip: Letter size paper works the same way. Cut it to 5-1/2 x 8-1/2 inches.
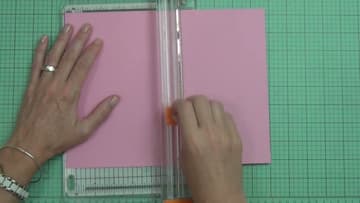
2. Score the Tunnel Card Strip at 1/2, 4 1/4 and 4 3/4 Inches
Lay the second piece on a scoring board with the long side across. Score three lines: one at 1/2 inch, one at 4-1/4 inches and one at 4-3/4 inches.
Tip: Press the stylus firmly. A deep score folds cleaner and squarer.
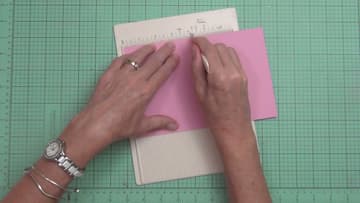
3. Fold and Burnish the Tunnel Card Score Lines
Fold along each of the three score lines. Then run a bone folder over every crease to burnish it flat.
Tip: Burnish from the middle of each fold out to the ends.
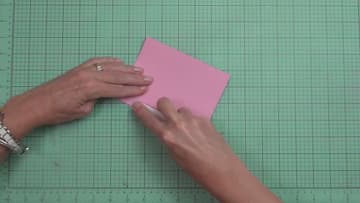
4. Score the Tunnel Window Panels 1/4 Inch From Each Side
Cut two more pieces of cardstock to 5-1/2 x 4-1/4 inches for the window panels. Therese used a darker pink here for contrast.
Tip: A darker color on the inner panels makes the tunnel look deeper.
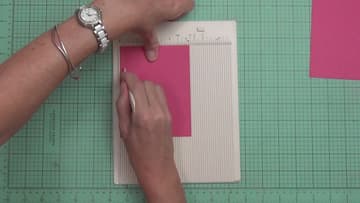
5. Tape a Rectangle Die to Each Tunnel Window Panel
Pick a set of nesting dies. Place a die on each window panel, using a smaller window on the panel that sits deepest in the tunnel.
Tip: Circles, ovals or arches work too. Keep each window smaller than the one in front.
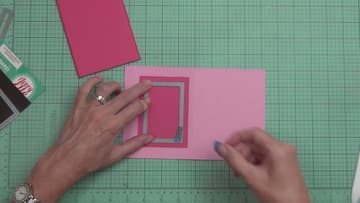
6. Add the Back Panel and Fold the First Tunnel Window Over
Glue a pale teal panel to the back section of the tunnel strip. This is the backdrop for your scene, so you could stamp a pattern on it first.
Tip: Score tape grabs at once, so line the panel up before it touches.
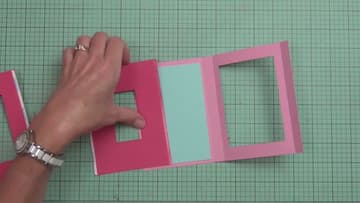
7. Fold the Window Layers Into the Tunnel Box
Repeat with the second window panel. Put the smallest window at the very back and the largest toward the front.
Tip: Check the order before peeling the tape. It is hard to undo.
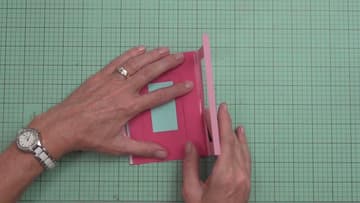
8. Attach the Tunnel Box to the Card Base
Pick up the card base you trimmed in step 1. Add score tape to its back panel.
Tip: If the box catches when closing, the fold lines are not aligned.
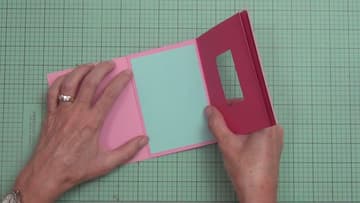
9. Add Score Tape to Hold the Front Tunnel Frame
Add two strips of 1/8 inch score tape on the box frame along the card's center score line. Peel the backing and fold the top layer of the tunnel in so it locks against the card base.
Tip: Press each seam with the bone folder for a stronger bond.
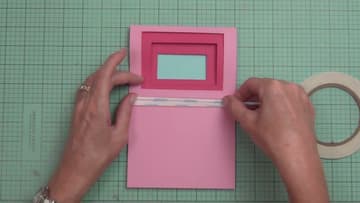
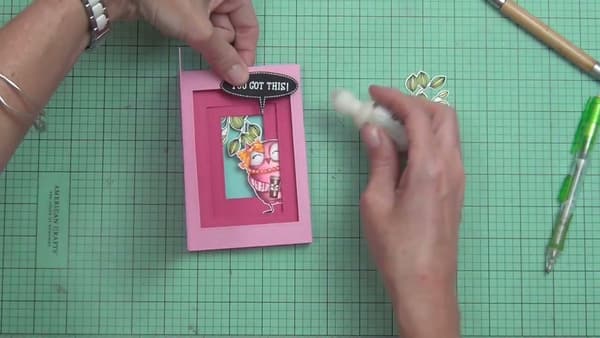
10. Decorate the Inside of the Tunnel Card
Now the fun part. Therese colored stamped leaves, flowers and an owl with alcohol markers and colored pencils, then fussy cut them.
Tip: Small dabs of glue on enamel dots keep them from sliding off.