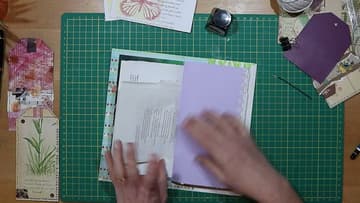
How to Make a Junk Journal: Step-by-Step Beginner Guide
Source: joie de fi • Full tutorial: www.craftingstepbystep.com/scrapbooking/how-to-make-a-junk-journal
- Difficulty
- Easy
- Hands-on time
- About 1 hour
- Cost
- About $10 to $20
- Makes
- 1 junk journal
Tools
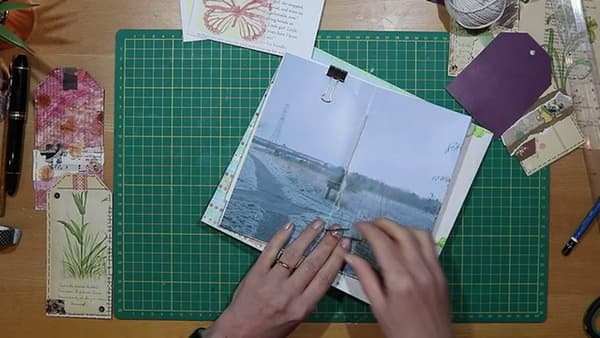
- Paper trimmer
- Scissors
- Hole punch
- Ruler
- Pencil
- Sewing needle
- Bulldog clip
- Cutting mat
Materials
- Old book pages
- Scrapbook paper
- 12x12 cardstock
- Cotton string
- Vintage ephemera
Steps
1. Gather Pages and Papers
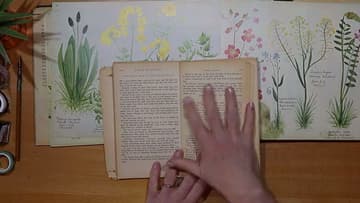
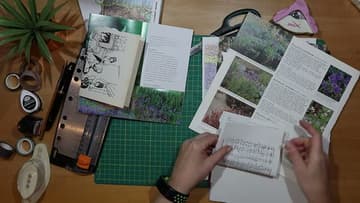
Pull pages from old books, vintage ephemera, scrapbook paper, anything in your stash with character. Mix smooth pages with textured ones, plain with patterned, classic with whimsical.
Tip: Charity shops, library book sales, and car boot sales are great cheap sources for older books that won't break your heart to cut up.
2. Pick a Cover That Folds Into a Pocket
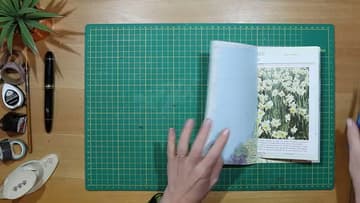
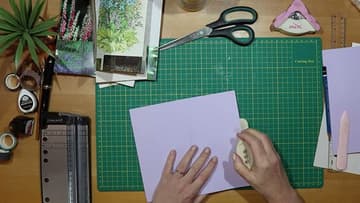
For the cover, use a piece of 12 by 12 cardstock or any sturdy decorative paper. Double-sided paper looks great because the pattern shows on both faces.
3. Trim Pages to Size
Decide on a finished size first. A traveler's notebook size of 11.5 by 21 cm (about 4.5 by 8 inches) is a classic choice; the inside pages then trim to roughly 10 by 19 cm so they fit inside the cover when folded.
4. Add Decorative Details
If a page feels plain or slightly oversized, dress it up. Run a decorative hole punch along one edge for a lacy border, fold an overlong sheet inward to form an interior pocket, or tear an edge for a deckled vintage look.
5. Order the Pages for Contrast
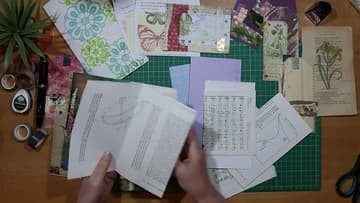
Spread the trimmed pages out and decide on the running order. The goal is contrast: light next to busy, smooth next to textured, image-heavy next to mostly text.
6. Mark Three Binding Holes
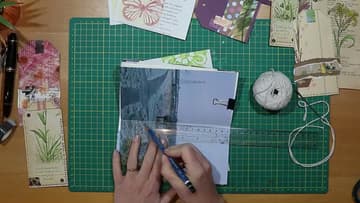
Fold the page stack in half along the spine and clip it with a bulldog clip so nothing shifts. With a ruler and pencil, mark three points on the fold: one in the exact center, plus one 6 cm above and one 6 cm below it.
7. Pierce the Holes
Push a sewing needle through each marked point. The signature pages are easy; the cover is a little stiffer but still gives way with steady pressure.
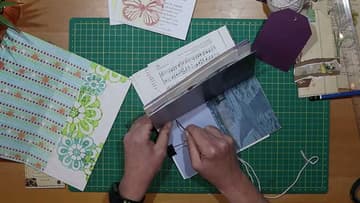
8. Sew the Figure-Eight Stitch
Cut a length of cotton string about three times the depth of the spine. Thread your needle.
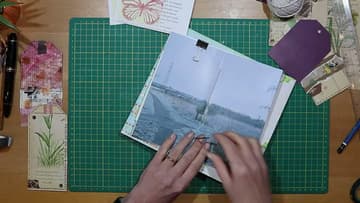
9. Tighten and Tie Off
Now pull the string tight. Make sure the long center stitch sits flat on the spine and the figure-eight has snugged up evenly.