How to Press Flowers - 2 Methods for Roses and More

Other CraftsEasy7:246 steps

By CraftingStepByStepPublished Updated

Based on a video by Sunday Sunshine.

Pressing flowers preserves the color and shape so you can use them in cards, framed art, resin crafts, or candles. Most beginners try the book-and-heavy-weight method and end up with crumpled or moldy petals. The two methods in this tutorial both work better because they treat the rose as a structure that can be either flattened (profile method) or rebuilt (petal-by-petal method).

The profile method is the faster of the two - you fluff the rose, remove the inner reproductive parts (which are too thick to press cleanly), and lay the whole rose flat in the press. After two weeks you have a beautifully pressed rose that looks like a flat silhouette.

The petal-by-petal method takes longer but gives you a dimensional flower with visible layers. You take the rose apart, press each petal individually so they all dry perfectly flat, then glue them back into a rose shape on cardstock. The reassembled rose has a depth that you can't get from any single-press method.

Both work for any rose variety - spray roses, garden roses, wild roses - and the same techniques work for any flat-petaled flower (daisies, gerbera, hydrangeas).

Step-by-Step Guide

1

Step 1: Choose Fresh Roses and Understand the Two Methods

0:15
Step 1: Step 1: Choose Fresh Roses and Understand the Two Methods

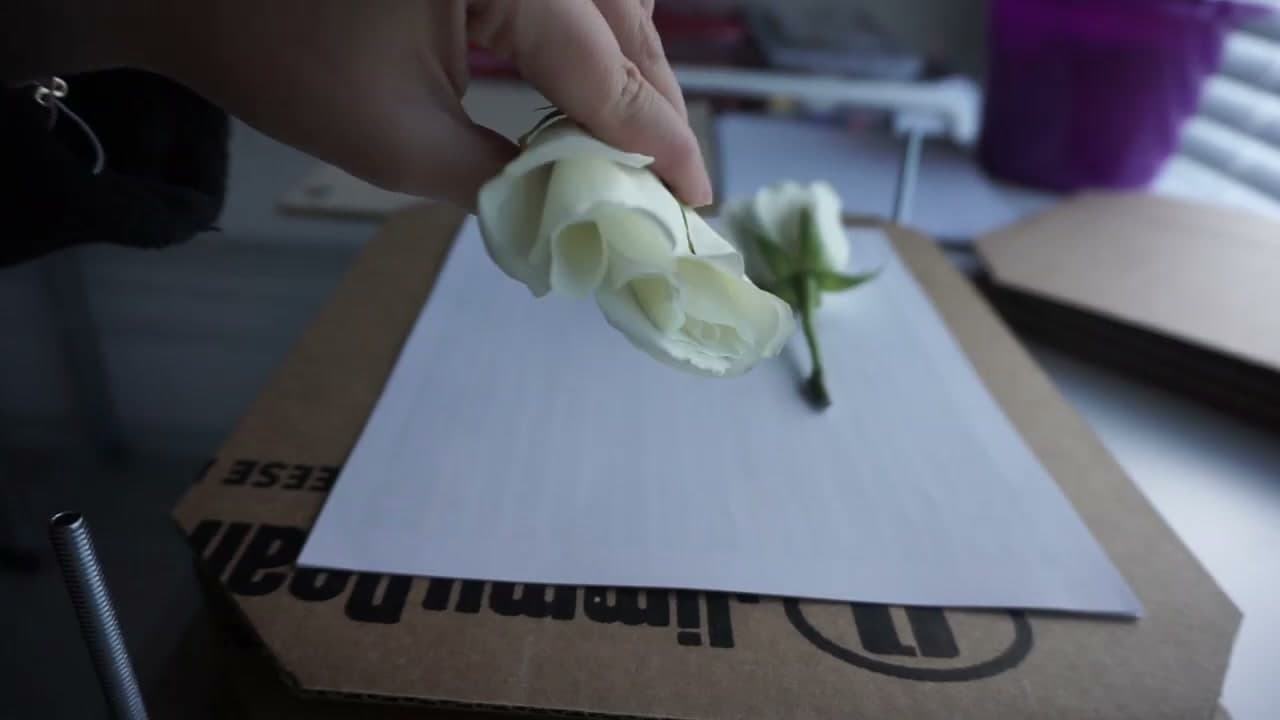
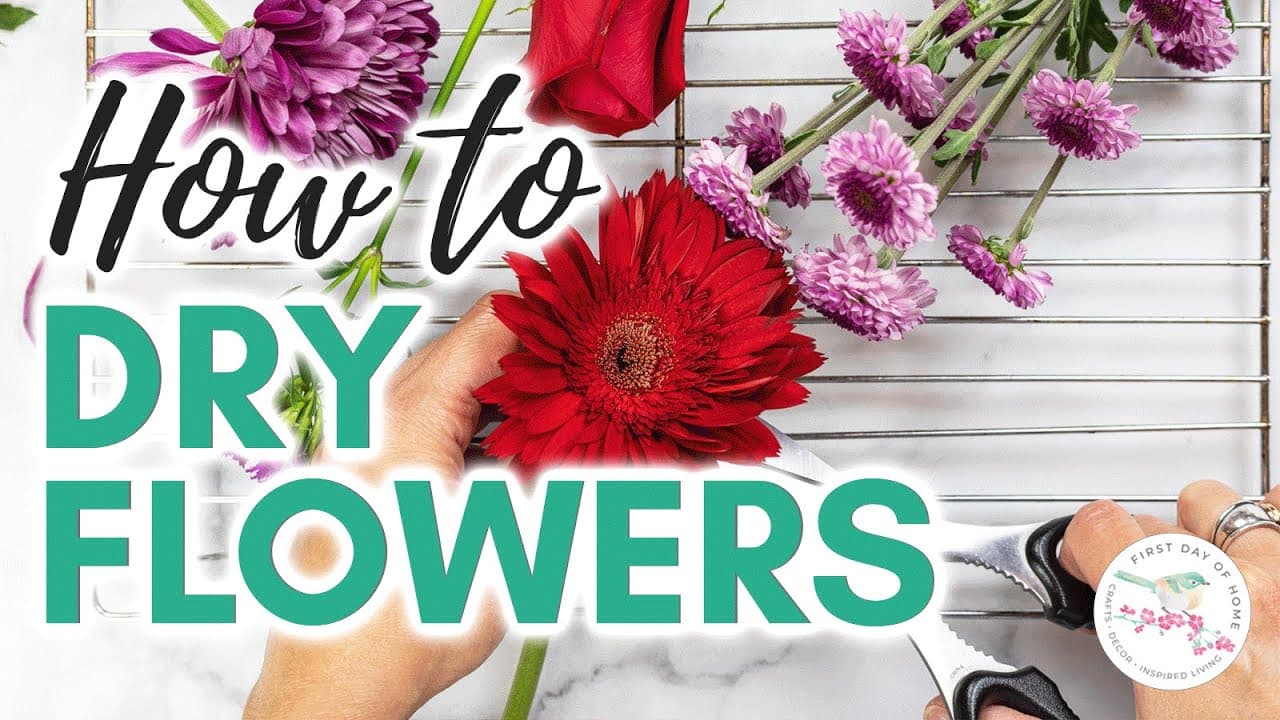
Start with the freshest roses you can - cut them in the morning if they're from your garden, or pick them up the day you plan to press. Wilted or droopy roses can still be pressed but they won't have the same vibrant final color.

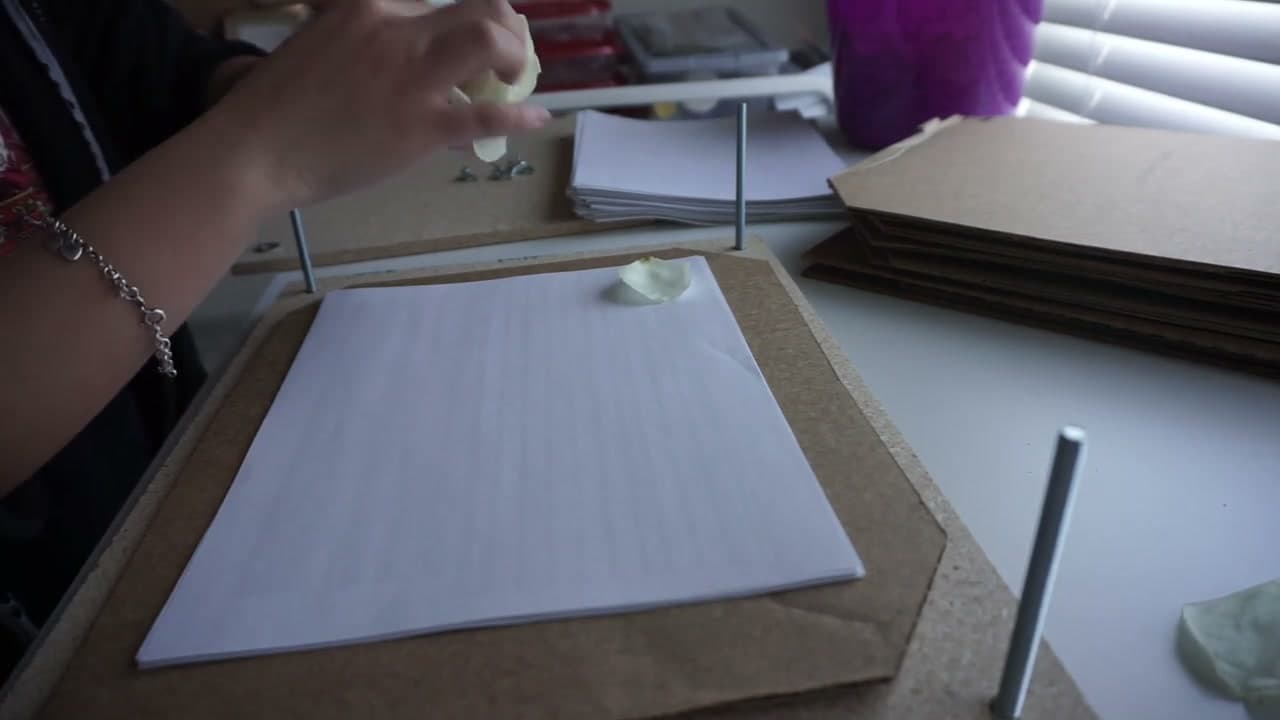
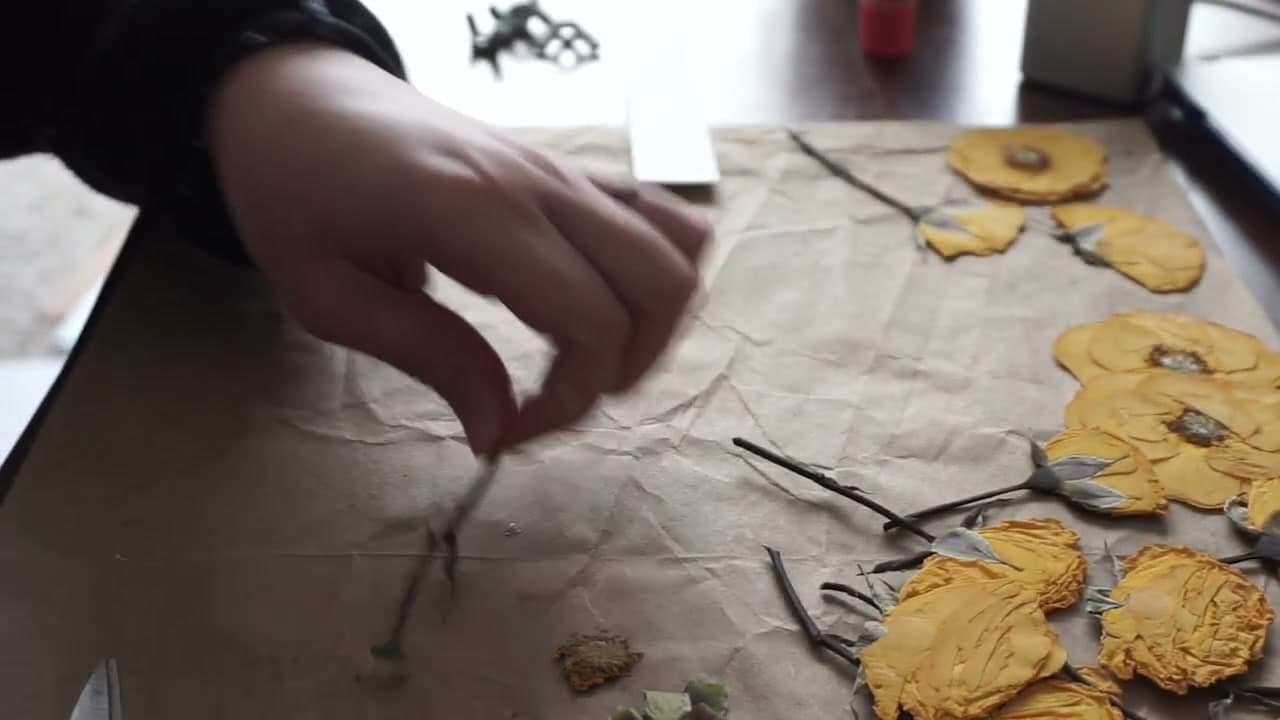
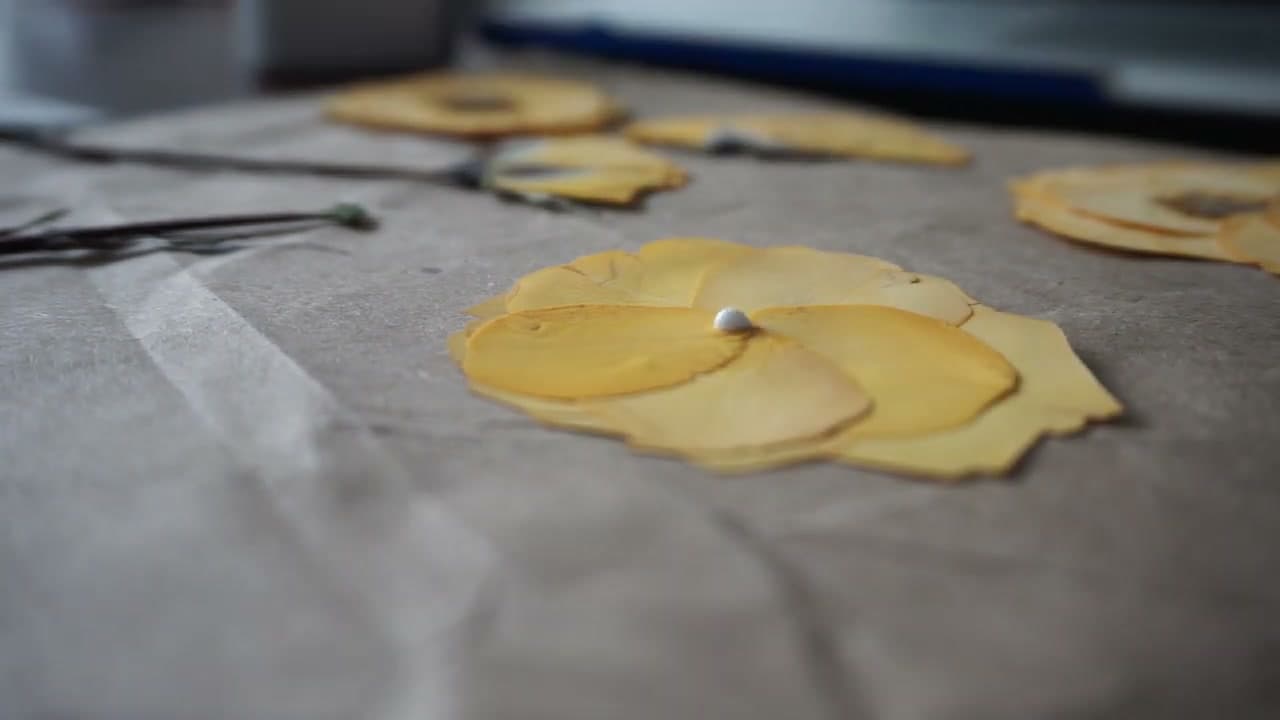
The two methods you'll learn here are method 1 (profile press - lay the whole rose flat) and method 2 (petal-by-petal reassembly - take it apart, press each piece separately, then glue back together). The method you pick depends on the look you want and how much time you have.

Tip

The two methods work for any flower with petals, not just roses. Daisies, gerbera, peonies, and even hydrangea florets press cleanly with either technique.

2

Step 2: Fluff the Rose and Remove the Center for Profile Pressing

1:10
Step 2: Step 2: Fluff the Rose and Remove the Center for Profile Pressing

Method 1 prep: gently wiggle your fingers around the outermost rose petals and work your way toward the center, fluffing the petals open so they spread flat. Don't fluff the very innermost petals - those will be removed.

Use your thumb and index finger to pinch out the innermost petals and the reproductive center (the pollen-bearing stamens and pistil). These parts are too thick to press cleanly and they'll create lumps and discoloration in the final piece. Only the outer ring of petals stays.

Tip

Save the removed center if you're doing method 2 next - those pieces can be pressed separately and used as a 3D center for a dimensional reassembled rose.

3

Step 3: Press the Rose Flat in a Wood Press or Heavy Book

1:55
Step 3: Step 3: Press the Rose Flat in a Wood Press or Heavy Book

Lay the fluffed rose flat on the bottom paper of your press, petals spread the way you want them to look once dry. Fold or cover with a second sheet of parchment paper. Close the press and tighten lightly - just enough pressure to hold the rose flat. Too much pressure on day one will split the petals.

Tighten the press a quarter-turn each day for the first week so the petals stay flat as moisture leaves them. After 2-3 weeks of pressing, the rose will be paper-thin and ready to use.

Tip

If you're using a hardcover book instead of a press, weight the closed book with another stack of books or a brick. Move the rose to a fresh page after 4-5 days to prevent moisture stains.

4

Step 4: Take the Rose Apart Petal by Petal (Method 2)

3:05
Step 4: Step 4: Take the Rose Apart Petal by Petal (Method 2)

Method 2 starts the same way as method 1 - fluff the outer petals to open them up. But this time leave the reproductive center intact because you'll press it too. Carefully pluck each petal off one at a time and lay each one flat on the press paper with space between them.

The more petals you press, the more layered your reassembled rose will look. Press the sepals (the green leafy base of the rose) separately. Press the center stamens and pistil separately so you can reattach them as the focal point of the rebuilt rose.

Tip

If a petal is too thick to lay flat (some garden roses have very meaty petals), slice it in half with a sharp blade before pressing. The thin-side-down half presses much cleaner than the whole petal.

5

Step 5: Reassemble the Dried Petals with Liquid Glue

3:35
Step 5: Step 5: Reassemble the Dried Petals with Liquid Glue

After 2-4 weeks of pressing, take all your dried petals out of the press carefully - they're paper-thin and brittle. Lay them on a clean surface and pick out the order: largest petals on the bottom, working up to the smallest.

Use a tiny dollop of liquid craft glue (less than a pin head) under each petal and press them onto a cardstock base in rose-shape layers. Glue the dried reproductive center on top last - that's your visual focal point. The finished reassembled rose has dimensional layers no single-press method can match.

Tip

Aleene's Tacky Glue and Mod Podge both work. Avoid hot glue (the heat melts pressed petals) and avoid water-based school glue (it warps the dried paper-thin petals).

6

Step 6: Pick the Method that Suits Your Project

4:15
Step 6: Step 6: Pick the Method that Suits Your Project

Compare the two finished roses side by side to see which suits the project you have in mind. Method 1 (profile press) gives a single flat silhouette with the rose intact - the clean look for greeting cards, bookmarks, and resin jewelry where you want the whole rose visible at once.

Method 2 (petal-by-petal reassembly) creates a dimensional flower with visible layered petals - the look you want for framed shadow-box art, dried-flower jewelry, and decor pieces where the depth and texture matter more than the silhouette.

Tip

Older roses with softer petals tend to press cleaner with method 1 because the petals flex without snapping. Fresher roses with rigid, glossy petals press cleaner with method 2 because each petal can be flattened individually before reassembly.

Products Used

☐ The Checklist

How to Press Flowers - 2 Methods for Roses and More

Tools
5
Materials
4
Steps
6
Video
7 min

Your Guide

Sunday Sunshine

As an Amazon Associate we earn from qualifying purchases. Links on this page may be affiliate links - clicking them and buying doesn't change your price, but helps support ShowMeStepByStep.

Tags

Related Tutorials