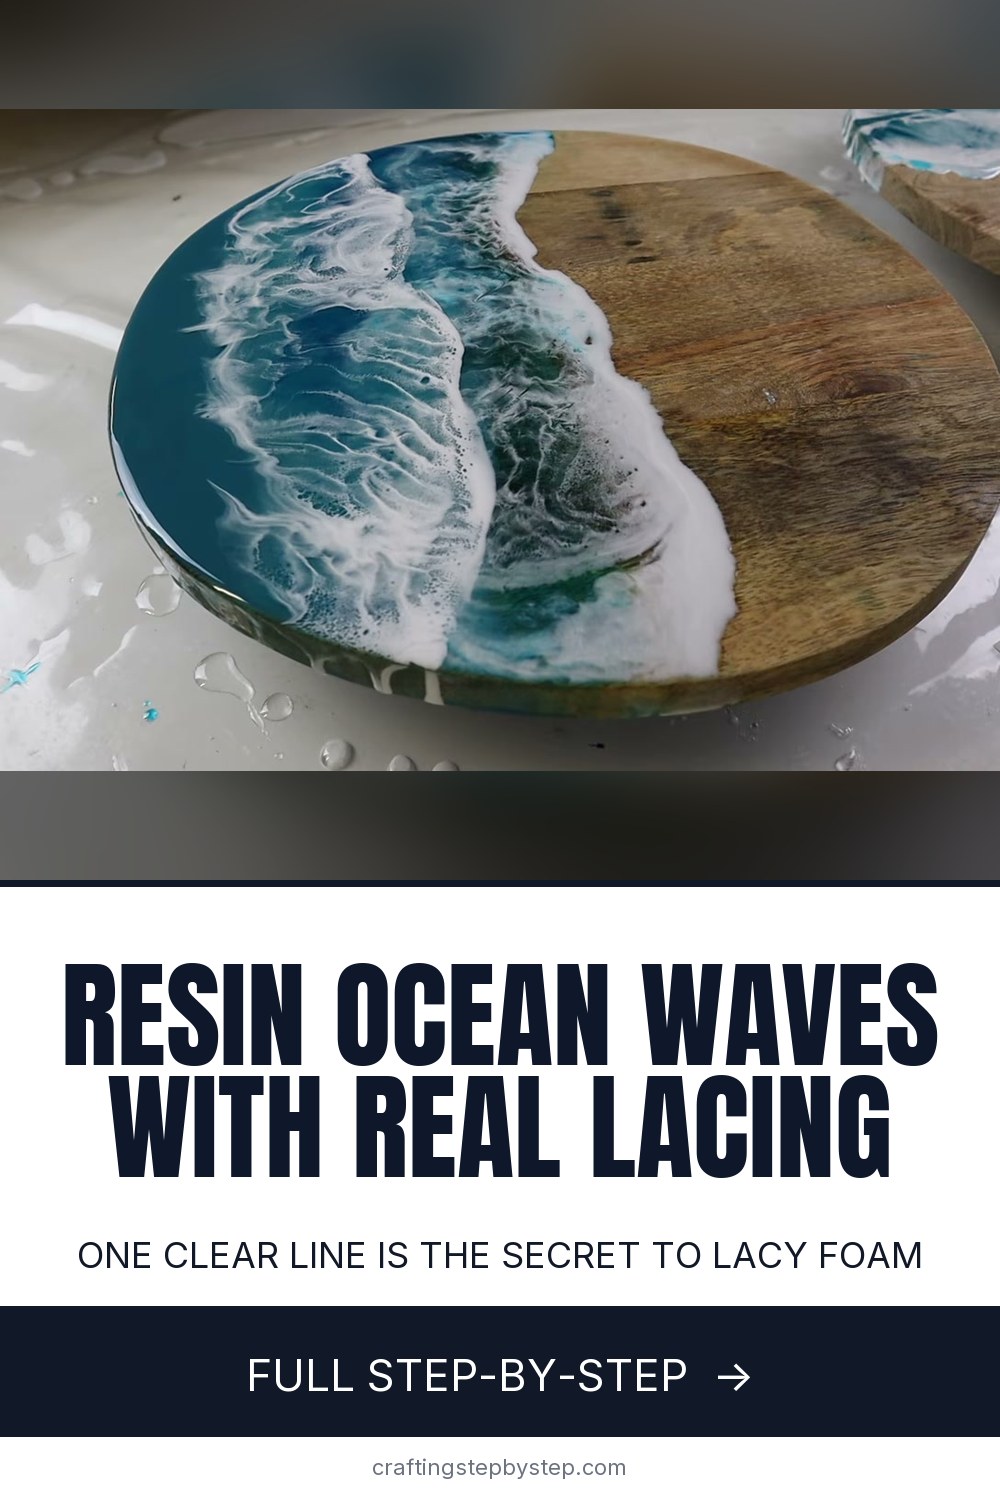
A resin ocean wave painting captures the moment a wave rolls up on the sand: deep teal water, a lacy white foam line and bare wood for the beach. Sheri Vegas pours two wood rounds side by side, one with cheap resin and the wrong white, and one done right, so you can see exactly what makes the lacing happen. This tutorial follows the method that works.
How to make a resin ocean wave: the short version
- Pour tinted blue and teal resin onto a wood round and spread it into an ocean.
- Run a line of clear resin along the shoreline as a barrier.
- Drizzle a thin line of titanium white on the clear.
- Wait 15 to 20 minutes, then blow the white across once with a heat gun.
- Let it set, then add more waves in layers.
The resin matters most
Lacing and cells are tiny breaks in the white where the colors below push through. Some resins make them easily and some barely make them at all. Sheri found a bargain resin gave her almost no lacing, while a quality art resin formed cells in the colors before she even touched it. Pick a resin sold for art and coating, not deep pours, and you are halfway there.
The right white
Use a heavy titanium white pigment made for resin. Its weight is what lets it stretch and break into lace. A thin alcohol ink white only tints the water a pale teal. Pour the line thin. A thick white line will not stretch across the colors, it only slumps.
Timing the heat gun
Resin keeps moving for 30 to 40 minutes after mixing. If you blow the white out in the first few minutes, the cells look great and then flow away. Wait until you are 15 to 20 minutes in, when the resin has thickened a little. Then pass across once. Going back over it stretches the lace into a flat white wash.
Safety
- Work in a ventilated room and wear a respirator rated for organic vapors.
- Wear nitrile gloves. Uncured resin irritates skin.
- Cover the table with plastic. Resin drips off the edges.
- Keep the heat gun moving so it does not scorch the resin or the wood.
Common problems
- No lacing. The resin is the wrong type or the white was too thick.
- Muddy white. The white went straight onto colored resin. Use the clear line between them.
- Waves blurred together. You poured several at once. Let each one set first.
Ideas for your waves
The same pour works on coasters, serving trays, cheese boards and wall art. Leave a strip of natural wood as the beach, or tint some resin sandy beige for a fuller beach. A matching pair of boards makes a lovely housewarming gift.
More resin projects
New to resin? Start with how to mix epoxy resin and how to add color to resin. Get rid of bubbles with this guide, rescue a tacky piece with how to fix sticky resin, or paint the same scene in acrylic with how to paint ocean waves.