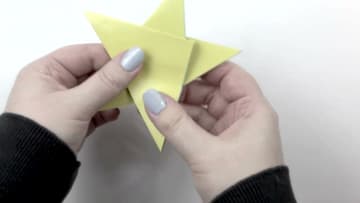
How to Make a Paper Star in 6 Easy Folds
Source: Paper Kawaii - Origami Tutorials • Full tutorial: www.craftingstepbystep.com/paper-crafts/how-to-make-a-paper-star
- Difficulty
- Easy
- Hands-on time
- About 15 minutes
- Makes
- 1 paper star
Tools
- Bone folder or fingernail for sharp creases
- Heavy book for pressing the finished star
Materials
- 1 square sheet of origami paper, 15 cm x 15 cm recommended
Steps
1. Crease the Square in Half and Diagonally
Start with a 15 cm square sheet, color side down. Fold it in half top to bottom, crease firmly, and open it back up.
Tip: Run a fingernail or bone folder along every crease. Loose creases at this stage are the number one reason the waterbomb collapse fights you in step two.
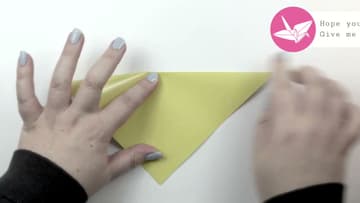
2. Collapse Into a Waterbomb Base
Pick the paper up by the two side points where the creases meet. Push those sides in toward each other and let the top flatten down.
Tip: If the paper resists collapsing, re-crease the diagonals as mountain folds and the horizontal as a valley fold, then try again.
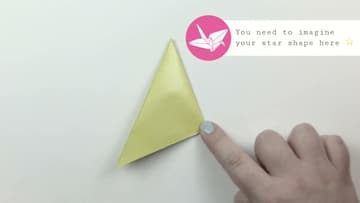
3. Fold the First Two Points Up to the Top
Position the triangle with the open edge at the bottom. Take the bottom-right corner of the front flap and fold it straight up to meet the top point.
Tip: Line the raw edge of the flap up with the center crease before pressing down.
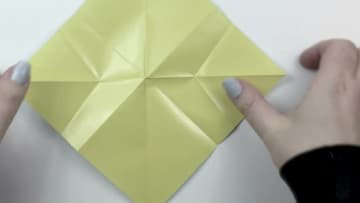
4. Form the Back Points and Shape the Diamond
Flip the model over. Repeat the same fold on the back flaps, bringing each lower corner up to the top point.
Tip: Match the angle of the four points by eye before you crease anything hard. Once the creases are set, the points are locked in and adjustments get fiddly.
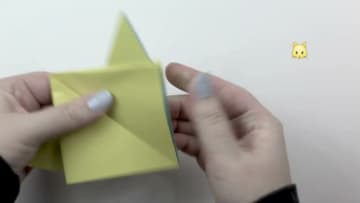
5. Pull Out the Fifth Point and Crimp the Tips
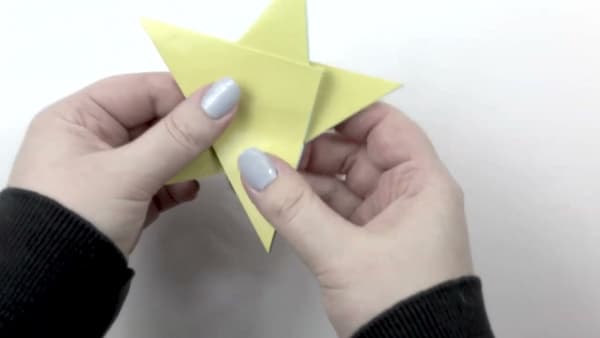
Find the hidden flap at the back and gently pull it down and out to form the fifth point. Adjust the spacing so all five points sit evenly around the center.
Tip: The fifth point hides behind the other four. Slide a fingernail in and coax it out gently rather than yanking, or you'll tear the paper at the center.
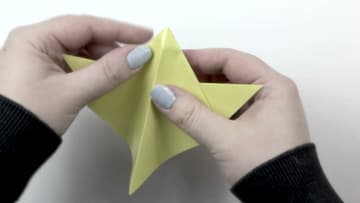
6. Flatten and Display the Finished Star
Press the whole star under a heavy book for a minute to set the creases. Flip it over to check that both sides look clean.
Tip: To hang the star, push a needle threaded with invisible thread through one point near the tip. The paper is sturdy enough to hold the thread without tearing.