How to Paint a Lavender Field with Acrylics

PaintingEasy10:167 stepsBrowse more →

By CraftingStepByStepPublished

Based on a video by Acrylic Arts Academy.

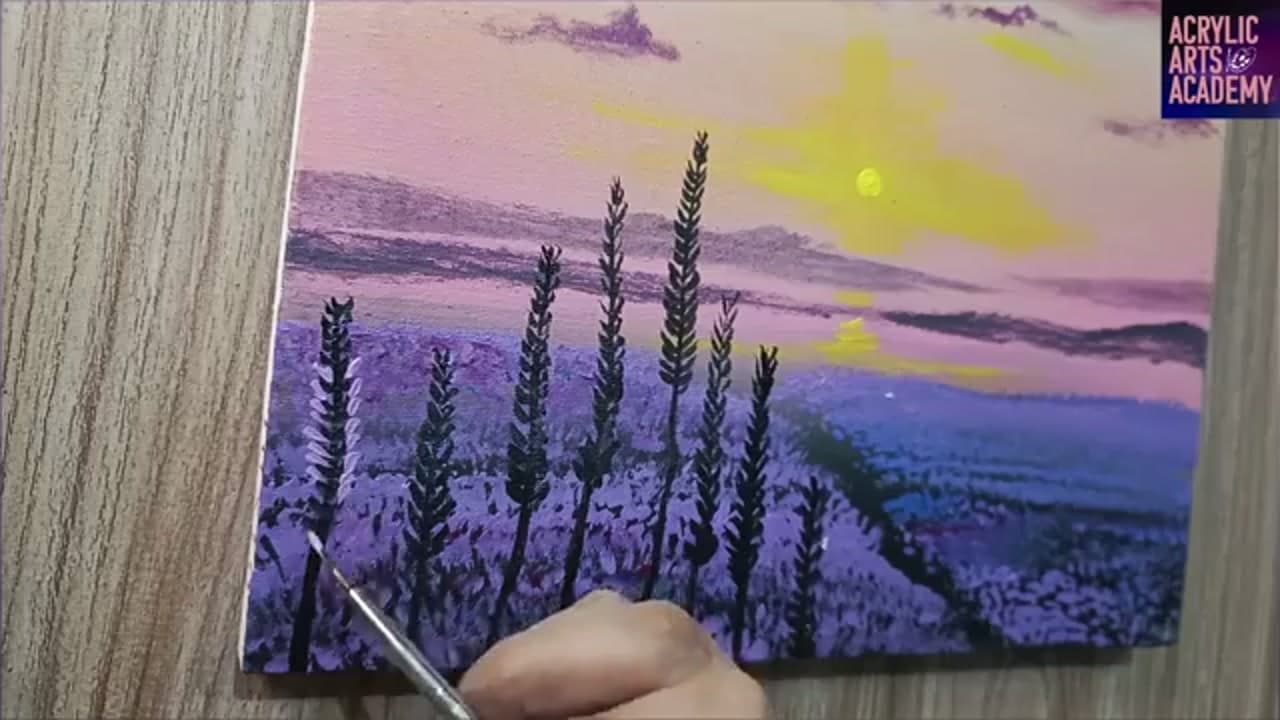
This is Acrylic Arts Academy's lavender field landscape, and it's one of the friendliest scenes a beginner can tackle. You'll blend a soft sunset sky, drop in hazy distant mountains, and build a whole field of purple lavender that stretches back to the horizon. It stays calm and relaxing from the first stroke to the last, and the finished piece looks far harder than it actually is.

The real lesson here is depth. You'll practice atmospheric perspective by keeping the far mountains and back rows soft and light while the foreground stays bold and detailed. A fan brush does most of the flower work with light tapping motions, and a small round brush handles the close-up stems that pull the viewer into the scene. Along the way you'll see how small shifts in color and density make a landscape feel believable instead of flat.

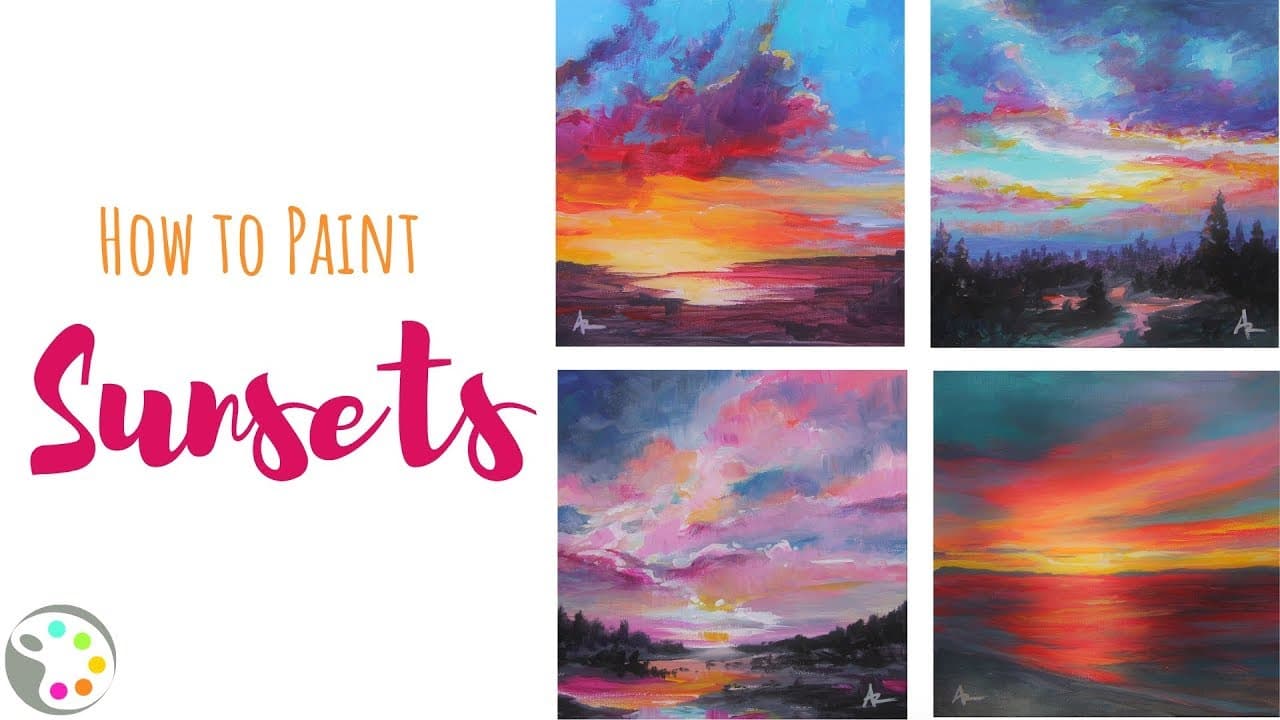
All you need is a stretched canvas, a handful of acrylic paints, and a few brushes. If you enjoy this one, try our how to paint a sunset and how to paint mountains with acrylics tutorials next - both use the same soft-blending and perspective techniques you'll pick up here.

Step-by-Step Guide

1

Step 1: Block In the Sunset Sky

1:50
Step 1: Step 1: Block In the Sunset Sky

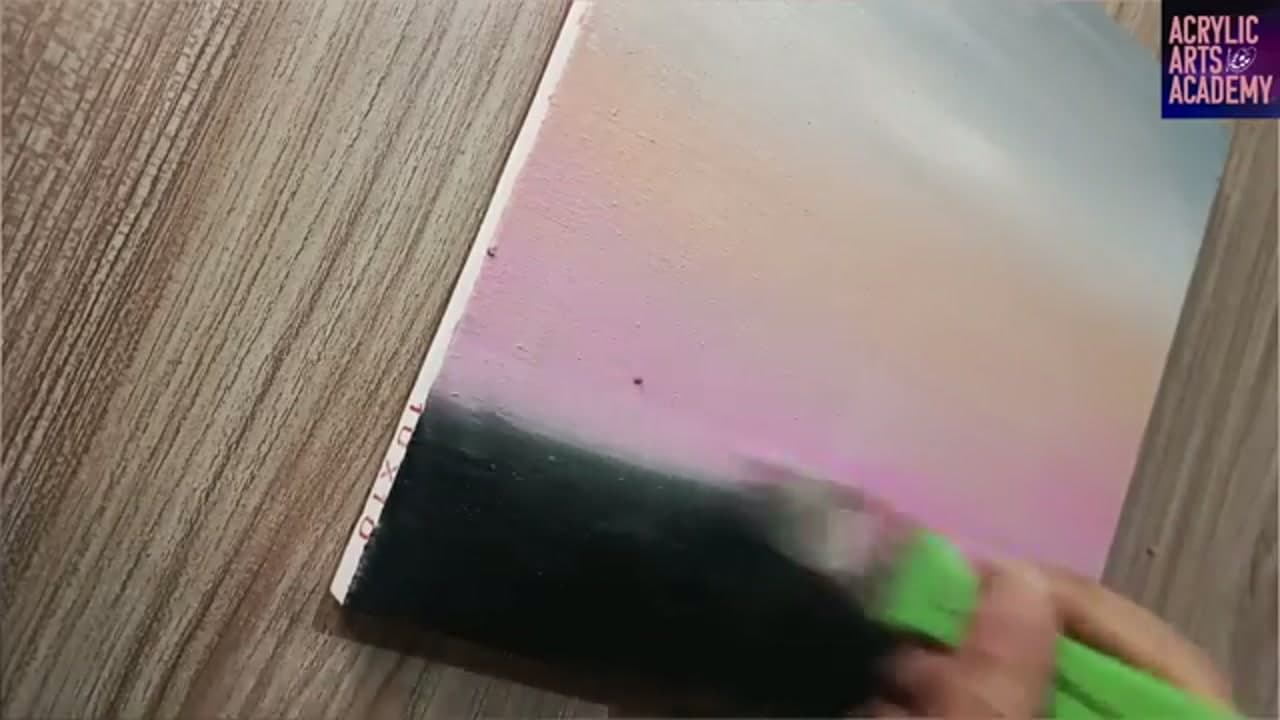
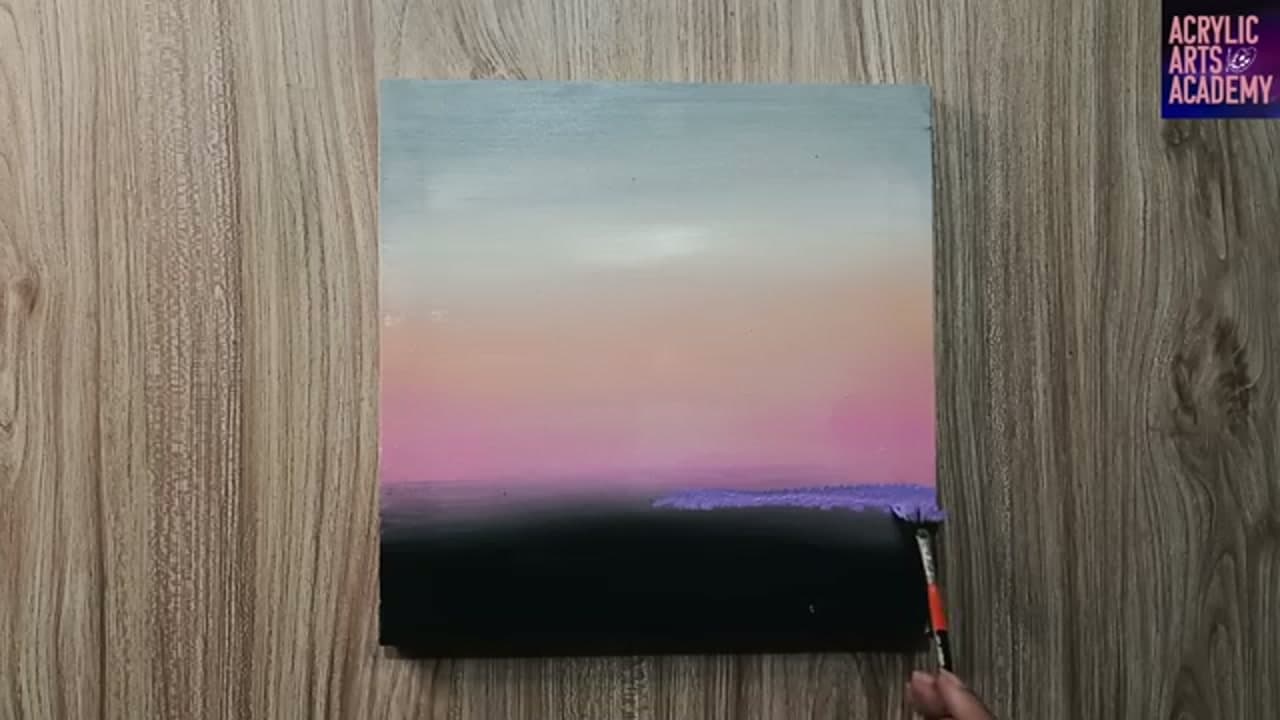
Squeeze gray, titanium white, portrait-tone pink, and a small touch of black onto the canvas. Dampen a flat brush and blend the colors with soft horizontal strokes, working from the top down so they melt into each other. You're after a warm evening glow, not sharp bands of color.

Don't overwork it. A little softness and variation in the sky reads as mood and depth later. Keep the upper area cooler and let the pink warm up toward the middle where the sun will sit.

Tip

Watch this step A damp flat brush pulls colors together far more smoothly than a dry one. If a color gets muddy, wipe the brush on a rag and keep going with lighter pressure. For more sky practice, our how to paint a sunset tutorial walks through this same blend.
2

Step 2: Soften the Sky Transition

1:58
Step 2: Step 2: Soften the Sky Transition

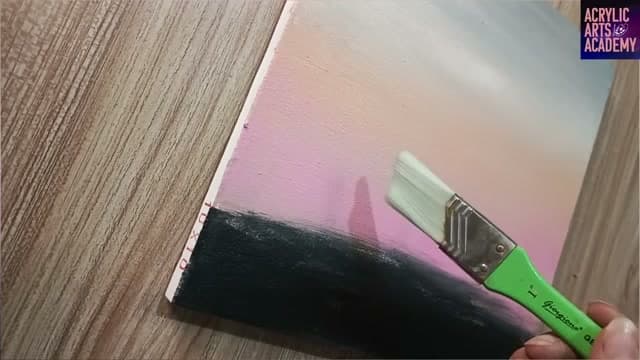
Switch to a clean angular brush and gently work the seam where the pink meets the darker tones near the bottom. The firmer bristles keep the dark color from creeping up and swallowing the softer upper sky.

This one small adjustment is what turns two stacked colors into a believable atmospheric gradient. Feather it back and forth until the edge disappears and the sunset starts to feel like real evening light.

Tip

Watch this step An angular brush gives you more control on a hard edge than a flat. Barely touch the canvas here - you're blending, not repainting. New to acrylics? Start with acrylic painting for beginners.

3

Step 3: Start the Lavender Field

2:39
Step 3: Step 3: Start the Lavender Field

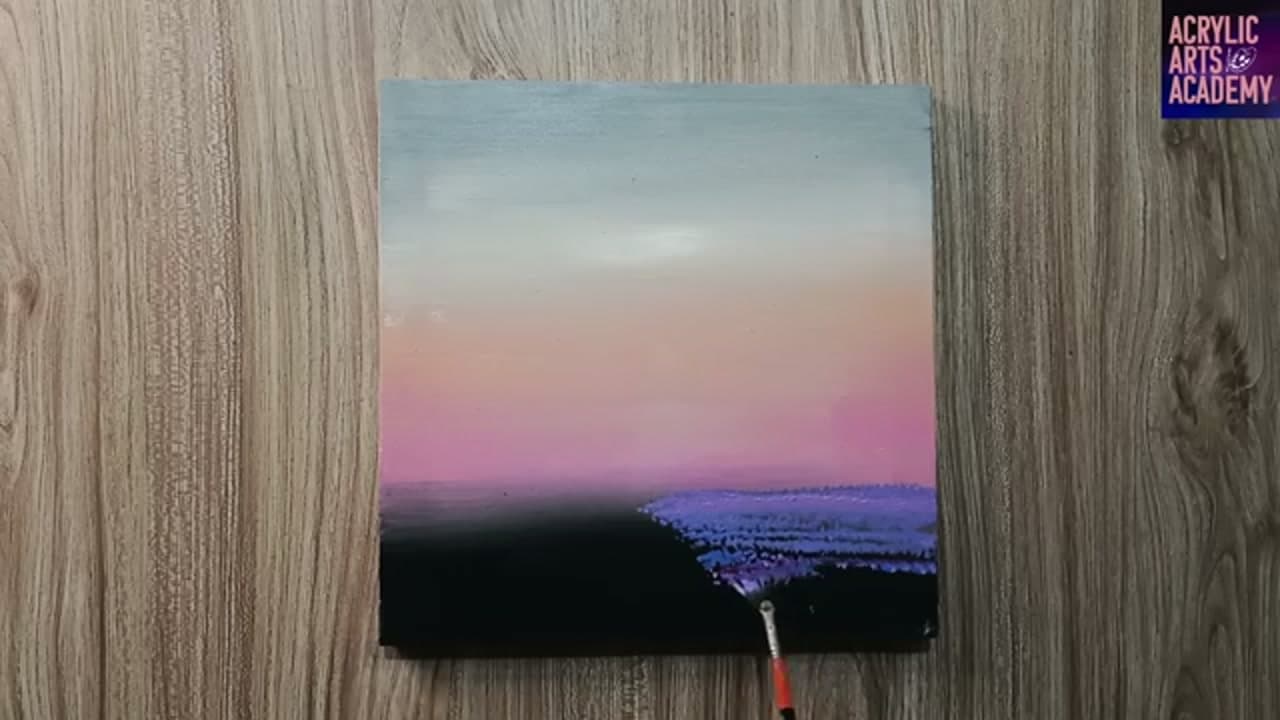
Load a fan brush with cobalt blue and purple. Using soft tapping motions and short horizontal strokes, begin laying rows of lavender across the lower part of the canvas. Keep the pressure light. You don't need to press hard for the flowers to show up.

That gentle touch is the whole trick. It lets the fan brush leave a soft, broken texture that reads as thousands of tiny blooms instead of a solid block of purple.

Tip

Watch this step A fan brush is worth buying for exactly this kind of foliage and flower texture. Tap, don't drag, and reload with paint often so the marks stay crisp.

4

Step 4: Build Depth Toward the Horizon

3:10
Step 4: Step 4: Build Depth Toward the Horizon

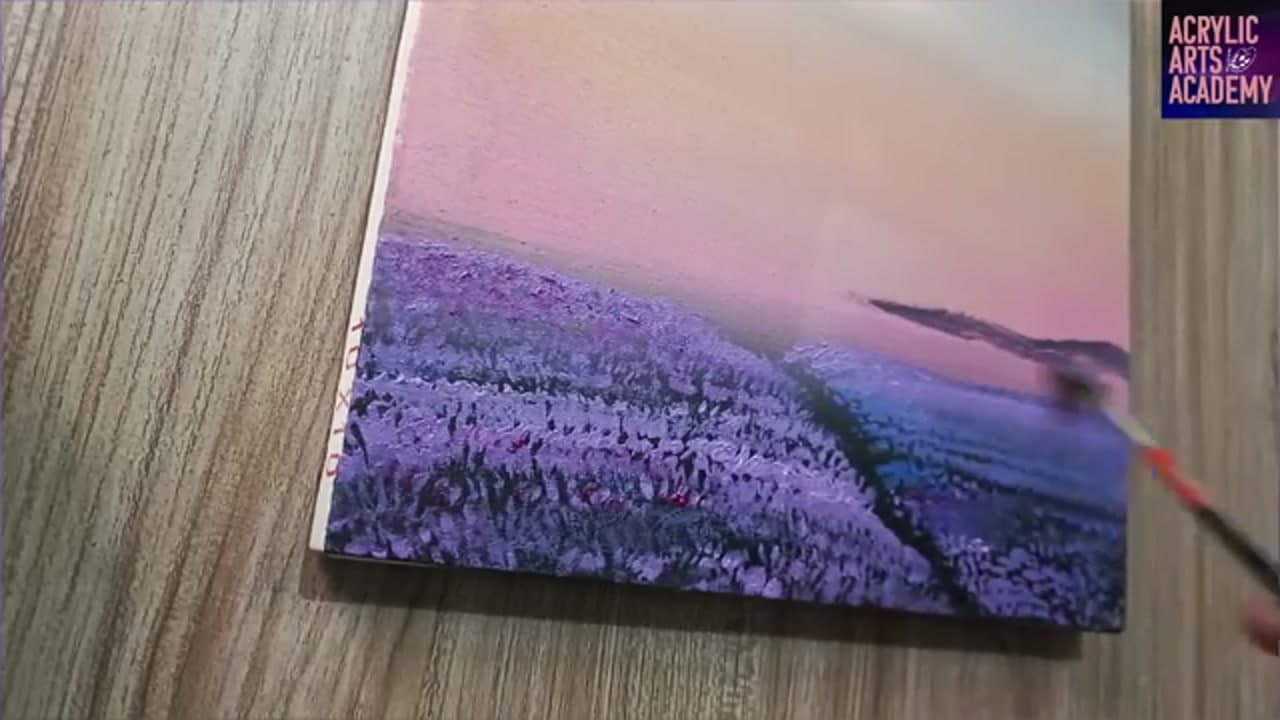
Now create the illusion of rows receding into the distance. Keep the foreground fuller and more textured, then make the flowers near the horizon lighter and less defined. That contrast in density does the heavy lifting for perspective.

Tap a little magenta into parts of the field too. Real landscapes are full of small shifts in color and spacing, and those variations keep the whole thing from looking flat or stamped-out.

Tip

Watch this step Squint at your canvas. If the far rows still look as bold as the front, lighten them with a touch more sky color mixed into the purple. Distance always means less contrast.

5

Step 5: Add Distant Mountains and Sunlight

4:50
Step 5: Step 5: Add Distant Mountains and Sunlight

With the same fan brush and color mix, lay in a range of soft mountains above the field. Paint one range slightly darker, then a lighter, hazier range behind it. That simple front-to-back contrast is one of the easiest ways to create distance in a landscape.

Then switch to a small round brush and lemon yellow. Softly paint a glowing area near the center of the horizon and let it spread outward. That warm glow becomes the focal point against all the cool purple around it.

Tip

Watch this step Keep the far mountains close in value to the sky - the less contrast, the farther away they read. A palette knife is handy here too if you want to scrape in a crisp ridge line.

6

Step 6: Paint the Foreground Lavender Stems

8:00
Step 6: Step 6: Paint the Foreground Lavender Stems

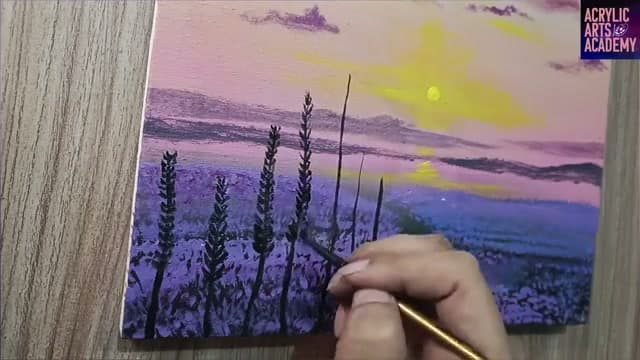
Take a small round brush and black paint. Pull a few thin, upright stems along one side of the field, right up close to the viewer. Vary their heights so they don't look like a fence.

Then dab tiny clustered petal shapes along each stem, tapering toward the tip like a real lavender spike. These sharp foreground details create scale and pull the eye into the scene, which makes the soft field behind them feel even deeper.

Tip

Watch this step A liner or small round brush holds the fine point you need for stems. Load it a little thin so the paint flows off the tip in one smooth pull instead of dragging.

7

Step 7: Add Highlights and Finish

8:25
Step 7: Step 7: Add Highlights and Finish

Layer soft purple and pink highlights over portions of the foreground flowers, letting bits of the darker base peek through underneath. That contrast between light and dark gives the blooms depth and definition without any fussy detail work.

For the last touch, brush a little white into parts of the sky and the sun to lift the glow. Step back. You now have a complete lavender field at sunset, with real depth from the close stems all the way out to the hazy mountains.

Tip

Watch this step Those final highlights are where a flat painting comes to life, so save them for the end. Want to dry and display real stems next to your art? See how to dry lavender, or stitch a version with how to embroider lavender.

Products Used

☐ The Checklist

How to Paint a Lavender Field with Acrylics

Tools
8
Materials
9
Steps
7
Video
10 min

Your Guide

Acrylic Arts Academy

As an Amazon Associate we earn from qualifying purchases. Links on this page may be affiliate links - clicking them and buying doesn't change your price, but helps support ShowMeStepByStep.

Tags

Sunday How-To

New painting tutorials, every Sunday

One short email with the week's best step-by-step guides. Free, no spam, unsubscribe anytime.

Did this work for you?

What's next

Related collections

Curated theme pages that include this tutorial.

Weekly Digest

Liked this painting tutorial?

Pick the categories you want to hear about. Weekly digest of new step-by-step tutorials. No spam, easy unsubscribe.

Send me tutorials about

We only email about new tutorials. Easy unsubscribe anytime.