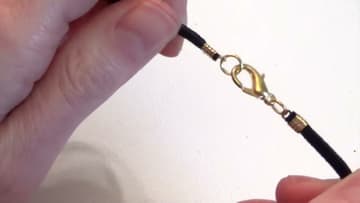
How to Open a Jump Ring the Right Way
Source: JewelryTutorialHQ • Full tutorial: www.craftingstepbystep.com/jewelry-making/how-to-open-a-jump-ring
- Difficulty
- Easy
- Hands-on time
- About 10 minutes

Tools
- chain nose pliers
- bent chain nose pliers
- flat nose pliers
Materials
- jump rings
- lobster clasp
- leather or cord necklace
Steps
1. Get Two Pairs of Pliers in Your Hands
You need two, and they need smooth jaws. Chain nose and bent chain nose is the classic pairing, but two chain nose pairs work fine, and so does one of each.
Tip: Wrap a strip of masking tape around the jaws when you are working on soft gold-filled or sterling rings. It costs nothing and saves the finish. Watch this step
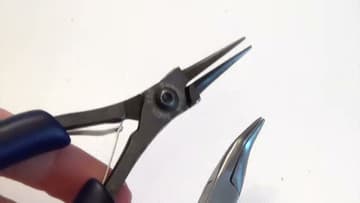
2. Grip the Ring With the Opening at the Top
Pick the ring up with your first pliers and turn it so the split sits at twelve o'clock. You want to see exactly where the two ends meet before you touch anything, because that seam is the only part of the ring that moves.
Tip: Working over a bead mat or a folded towel means the ring you inevitably drop stays where you can find it. Watch this step
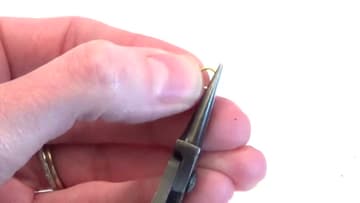
3. Take the Other Side With the Second Pliers
Bring the second pair in on the opposite side of the split so the two jaws sit close together with the seam between them. Both pairs should be holding a good portion of the ring, not just clipping the tips.
Tip: Keep your hands close together. The further apart the pliers sit, the more leverage you have and the easier it is to overdo the twist. Watch this step
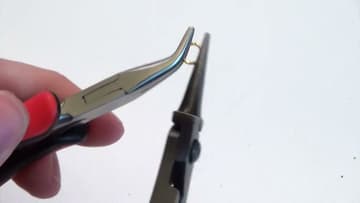
4. Twist One Hand Forward and One Hand Back
Here is the whole technique. Push one pair away from you while you pull the other toward you.
Tip: If the gap looks like a wide U, you went too far. Twist it most of the way back and open it again with a shorter motion. Watch this step
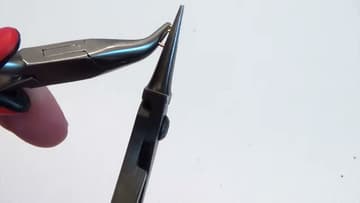
5. The Same Motion From Another Angle
Watching it from the side makes the movement obvious. The plane of the ring never changes.
Tip: Buy a bag of inexpensive rings in a mixed size assortment specifically to practise on. They cost less than a coffee. Watch this step
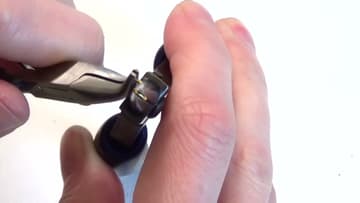
6. Slide the Component Onto the Open Ring
With the ring held open, feed on whatever you are attaching: a cord end, a charm, a link of chain, an earring hook. Push it all the way past the gap so it sits at the bottom of the ring and cannot slide back out while your hands are busy.
Tip: Charms with a tight loop go on easier if you turn them so the loop lines up with the gap rather than fighting it sideways. Watch this step
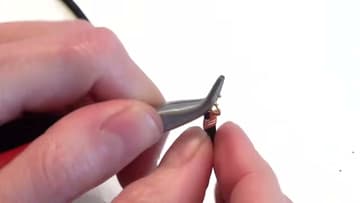
7. Add the Clasp
Bring the clasp onto the same open ring. A lobster clasp has a fixed loop on the back, and that loop is what your jump ring passes through, not the moving trigger.
Tip: Gold-filled or sterling clasps are worth the upgrade on anything you wear often. Plated triggers wear through and stick. Watch this step
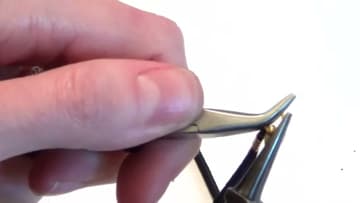
8. Twist It Back and Wiggle Until the Ends Meet
Reverse the motion. The hand that went forward comes back, the hand that came back goes forward.
Tip: Run a fingernail across the join. If it catches, the ends are not level yet - twist once more instead of pressing harder. Watch this step
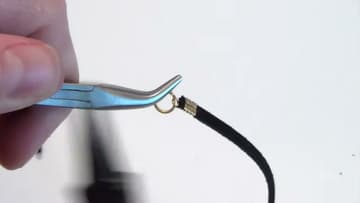
9. Check the Finished Join
Hold the piece up and look at the ring. It should still be a true circle, with the two ends touching and no step between them.
Tip: If a ring keeps springing open no matter what, the wire is too thin for the job. Move up a gauge rather than fighting it. Watch this step