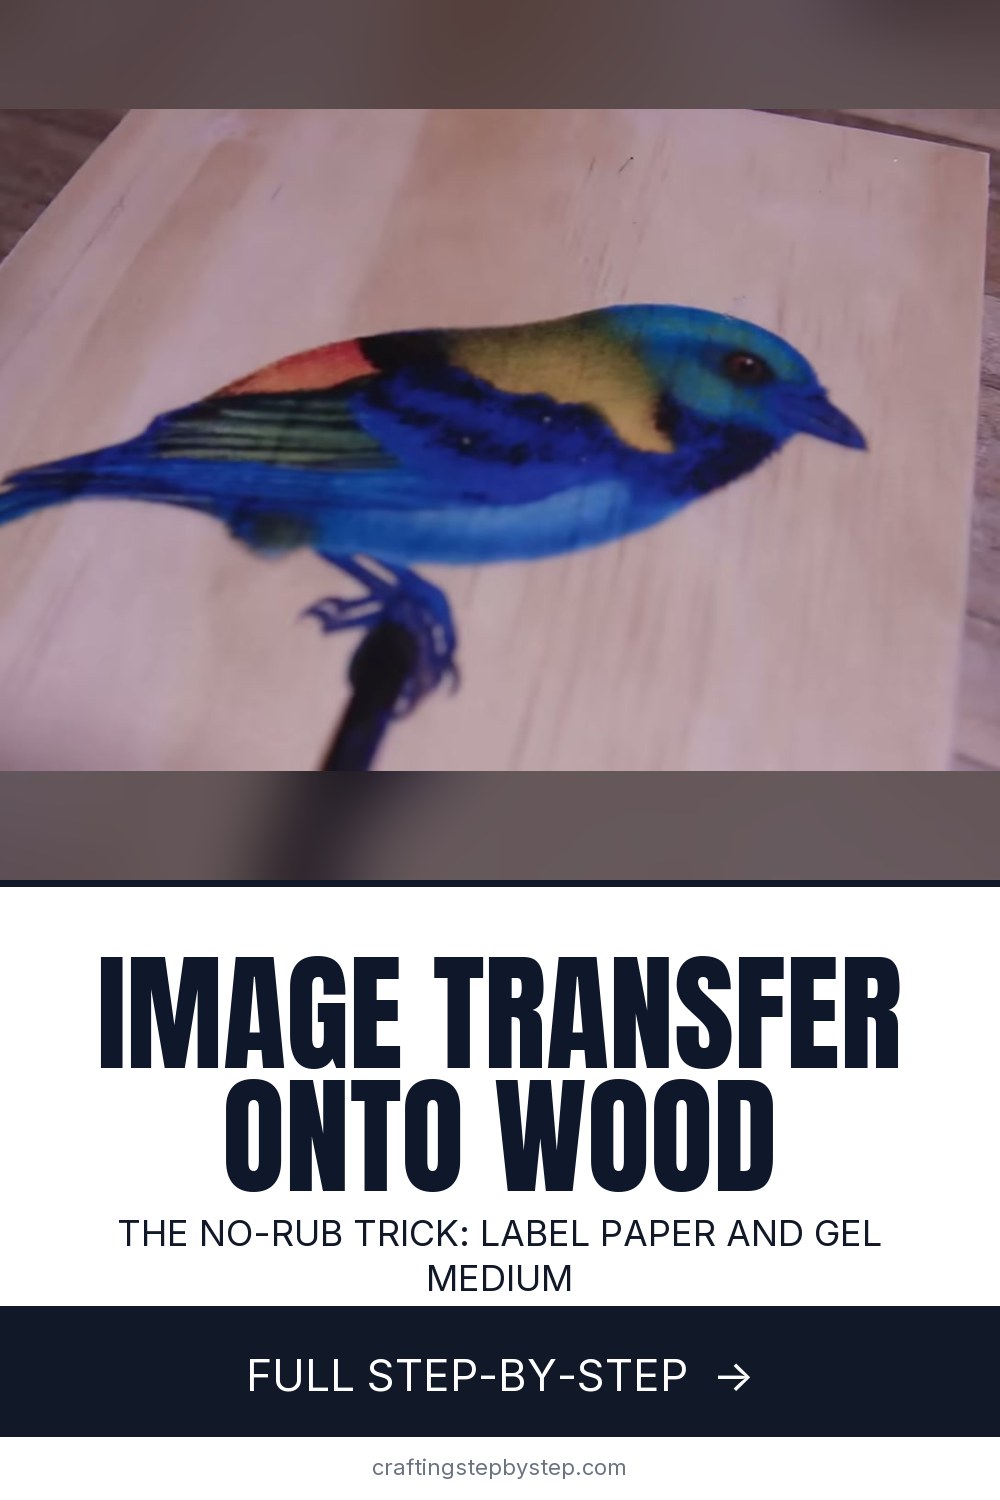
How to Do an Image Transfer Onto Wood (Easy Label Paper Method)

Save it for later. We'll email you a link, no password.

Find it again on your phone or computer, with your finished steps ticked.

You tapped Save

Save this project for later

We'll email you a link, no password.

How to Do an Image Transfer Onto Wood (Easy Label Paper Method)

  • Your saved projects in one list
  • Your ticked steps on any device

Check your inbox for an email from us. Not there? Look in your spam folder.

  • 9 steps
  • 7:18 video
  • Difficulty: Easy
  • About 20 minutes, plus 8 hours to dry or set
  • Materials about $3 to $8
  • Crafts

Based on a video by The Crafsman Steady Craftin

Opens their YouTube channel

Steps written out by Crafting Step by Step · Published

The finished result: How to Do an Image Transfer Onto Wood (Easy Label Paper Method)

An image transfer moves a printed picture onto bare wood so it looks printed right into the grain. No special transfer paper, no rubbing away soggy paper pulp. The host of The Crafsman Steady Craftin shows a clever shortcut: laser print on the glossy backing sheet of a shipping label, glue it face down with gel medium, and peel it off once dry. The toner stays on the wood.

How to do an image transfer onto wood: the short version

  • Laser print your image, mirrored, on the shiny backing of a label sheet.
  • Brush a thin, even coat of gel medium on clean, bare wood.
  • Lay the print face down, squeeze out every bubble and let it dry.
  • Peel the backing away. The ink stays behind on the wood.

Why the label backing works

The backing on a sheet of labels is coated so the sticker peels off. That same slick coating lets toner release cleanly too. You print on it, the gel grabs the toner, and the backing lifts away in one piece. You keep the stickers for mailing, or hand them to the grandkids.

Laser printer, not inkjet

This method needs toner from a laser printer or a copy shop. Inkjet ink sits wet on the slick backing and tends to bleed. If you only have an inkjet, print your picture and photocopy it on a laser copier first.

Mirror the image

The print goes on face down, so whatever you print comes out reversed. For a photo of a bird it does not matter much. For words, house numbers or a family name, flip the image horizontally in your print settings first, or the sign will read backwards.

Choosing wood and gel

Pale, smooth wood shows the image best: pine, birch plywood, basswood or a craft plaque. Sand off any rough spots and wipe away the dust. Gloss heavy gel medium gives the cleanest transfer and is easy to find in craft stores. Acrylic polyurethane and Mod Podge also work, with slightly different results.

Drying time

The Crafsman waited about 45 minutes with a little help from a heat gun. Overnight is safer. If you peel too soon, patches of the image lift with the paper. A thin coat of gel dries faster and gives a sharper image than a thick one.

When it goes wrong

  • Blank patches mean trapped air or a dry spot in the gel. Smooth harder next time and keep the coat even.
  • Smudged lines mean the print slid after it touched the gel.
  • Cloudy film over the image means the gel went on too thick or was not fully dry when you peeled.
  • Faded color usually means an inkjet print. Use laser toner.

Finishing and gift ideas

Once dry, seal the board with a coat of matte or satin polyurethane to protect the image. Sand the edges lightly for a worn, vintage look. Try a family photo on a slice of wood, a recipe on a cutting board for display, a grandchild's drawing, or a house number sign.

More ways to decorate wood: wood burning, Mod Podge projects, or a wooden box with a transferred lid. For a softer keepsake, try a pressed flower frame.

Free printable

Print the steps and supply list for this project

One page you can take to the table. Free with a free account, no password.

Get the free printable

What you'll need

Free, for this project

Get this checklist by email

  • All 9 tools and materials, with tick boxes
  • A link to print all 9 steps on paper, to keep by you while you craft

No password. The whole tutorial stays free on this page.

Quick answer

Image transfer onto wood the easy way: laser print on label backing, glue it down with gel medium and peel. An easy project: about 20 minutes, plus 8 hours to dry or set. Materials cost about $3 to $8. You need 9 things, including gloss heavy gel medium, shipping label sheets and unfinished wood board. The 9 steps start with gather Gel Medium and Supplies for the Wood Image Transfer and peel the Labels Off the Shipping Label Backing.

Step-by-step guide

9 steps, about 7 minutes. Tap a picture to jump to that step. Your progress saves automatically.

Tick each step off as you go.

  1. Step 1: Gather Gel Medium and Supplies for the Wood Image Transfer

    Watch this step · 1:28

    You need very little for this transfer. A cheap paint brush, paper towels, a piece of bare wood and a scrap of wood or a card to push out air bubbles. For the glue, the Crafsman uses Liquitex gloss heavy gel medium, which most craft stores carry. Acrylic polyurethane works too. Put on gloves if you like to keep the gel off your hands.

    Tip:

    A dollar store chip brush is plenty for spreading gel medium.

    Back to all steps

  2. Step 2: Peel the Labels Off the Shipping Label Backing

    Watch this step · 3:06

    The secret ingredient is a sheet of shipping labels. You are not using the sticker part. Peel the labels away and keep the slick backing paper underneath. Save the labels for mailing, or give them to the kids to decorate. Look at the backing and you will see one dull side and one glossy, shiny side. The glossy side is the one you print on.

    Tip:

    Half sheet labels are cheap and fit a small board without trimming.

    Back to all steps

  3. Step 3: Laser Print the Image on the Glossy Label Backing

    Watch this step · 4:04

    Feed the backing sheet into a laser printer so the image lands on the glossy side. Color or black and white both work. This method needs laser toner. Inkjet ink tends to smear on the slick surface. Remember the image will come out reversed on the wood, so mirror any words in your print settings. Trim the print to the size of your board.

    Tip:

    Free vintage images from sites like The Graphics Fairy make lovely transfers.

    Back to all steps

  4. Step 4: Prepare a Clean Bare Wood Board for the Transfer

    Watch this step · 4:10

    Choose a smooth piece of wood with no paint, stain or finish. Light-colored woods like pine or birch show the image clearest. Sand any rough patches, then wipe the board with a dry paper towel so there is no sawdust left on it. Dust caught under the print shows up as specks and gaps in the finished transfer.

    Tip:

    Unfinished craft plaques come pre-sanded and ready to use.

    Back to all steps

  5. Step 5: Brush a Thin Layer of Gel Medium Over the Wood

    Watch this step · 4:36

    Scoop out a generous amount of gel medium and spread it over the board with the brush. Then keep working it, brushing it out into a thin, even film that covers the whole area where the picture will go. The thinner the film, the quicker it dries and the clearer your image. Thick spots leave cloudy patches.

    Tip:

    Brush with the grain so streaks blend into the wood.

    Back to all steps

  6. Step 6: Lay the Printed Image Face Down on the Gel Medium

    Watch this step · 5:00

    Hold the print by its edges, image side down, and line it up over the board. Lower it gently onto the wet gel. Get it where you want it the first time. Once it touches, try not to slide it around, because moving it even a little can smear the toner. Press it down lightly with your palm to tack it in place.

    Tip:

    Curl the print slightly and lay it from the middle out to trap less air.

    Back to all steps

  7. Step 7: Scrape Out Air Bubbles From Under the Wood Transfer

    Watch this step · 5:44

    Take a thin strip of scrap wood, an old gift card or a plastic scraper. Press it across the back of the print and push from the center out to the edges. Work slowly in overlapping passes. Every bubble you leave becomes a blank spot in the picture, so take your time. You will see the image show through the paper as it bonds.

    Tip:

    Do not press so hard that the gel squeezes out from under the print.

    Back to all steps

  8. Step 8: Wipe Excess Gel From the Edges and Let the Transfer Dry

    Watch this step · 5:48

    Gel medium squeezes out around the edges as you smooth. Wipe it away with a paper towel so it does not dry into a shiny ridge. Then leave the board alone. The Crafsman sped things up with a heat gun and waited 45 minutes. He suggests leaving it overnight to be safe, which gives the gel time to grip all the toner.

    Tip:

    Peeling a corner too early lifts the image with it. Wait.

    Back to all steps

  9. Step 9: Peel the Backing Off to Reveal the Image on Wood

    Watch this step · 6:24

    Once the gel is fully dry, lift a corner of the backing paper and peel it back slowly and evenly. No water and no rubbing needed. The slick backing lets go and the printed image stays on the wood, crisp and bright. If a spot sticks, stop and let it dry longer. Seal the finished board with a clear coat to protect it.

    Tip:

    A satin polyurethane topcoat keeps the image from scratching.

    Back to all steps

How to Draw a Raven (Realistic Pencil Sketch)

Keep going

How to Draw a Raven (Realistic Pencil Sketch)

You reached the last step

Save this project to come back to it

Your ticked steps, the free printable and your other saved makes, together in My Projects. Free, no password.

You tapped Save

Save this project for later

We'll email you a link, no password.

How to Do an Image Transfer Onto Wood (Easy Label Paper Method)

  • Your saved projects in one list
  • Your ticked steps on any device

Check your inbox for an email from us. Not there? Look in your spam folder.

Free printable

Printable sheet for this project

The bonus is hidden until you sign up.

Free with a free account, no password. Every step above stays open to everyone.

Products Used

The Checklist

How to Do an Image Transfer Onto Wood (Easy Label Paper Method)

Tools
4
Materials
5
Steps
9
Video
7 min

Tools we recommend

As an Amazon Associate we earn from qualifying purchases. Links on this page may be affiliate links - clicking them and buying doesn't change your price, but helps support Crafting Step by Step.

Tags

The Crafter's Weekly

New crafts tutorials, every Sunday

One short email with the week's best step-by-step guides. Free, no spam, unsubscribe anytime.

Did this work for you?

What's next

Related collections

Curated theme pages that include this tutorial.

Similar tutorials

Hand-picked next reads based on the one you just finished.

Liked this crafts tutorial?

Pick the crafts you want to hear about. One email every Sunday with new step-by-step tutorials. No spam, easy to unsubscribe.

Get more like this in your inbox

Weekly digest. Pick the categories you want. Unsubscribe anytime.

Send me tutorials about

We only email about new tutorials. Easy unsubscribe anytime.