How to Press Flowers (4 Methods: Microwave, Iron, Book, and Press)

CraftsEasy8:008 stepsBrowse more →

By CraftingStepByStepPublished

Based on a video by Shmoxd.

Pressed flowers go from fresh-cut to art-ready in anywhere from 15 seconds to four weeks, depending on the method you pick. The slow ones look the best. The fast ones get you a frame-able flower today. This tutorial shows all four side by side so you can pick the one that fits the time you have.

The four methods covered here are a microwave press, an iron press, a heavy book, and a DIY wooden flower press you build from two scraps of pine. Each one starts with the same flower laid face-down between two sheets of plain paper. What changes is how the pressure and heat get applied.

Credit goes to Shmoxd for the four-method comparison this tutorial is built on. The favorite combo most of the time turns out to be a hybrid - two days under a heavy book to lock the shape, then 30 seconds in the microwave to lock the color. You'll see that trick in the last step.

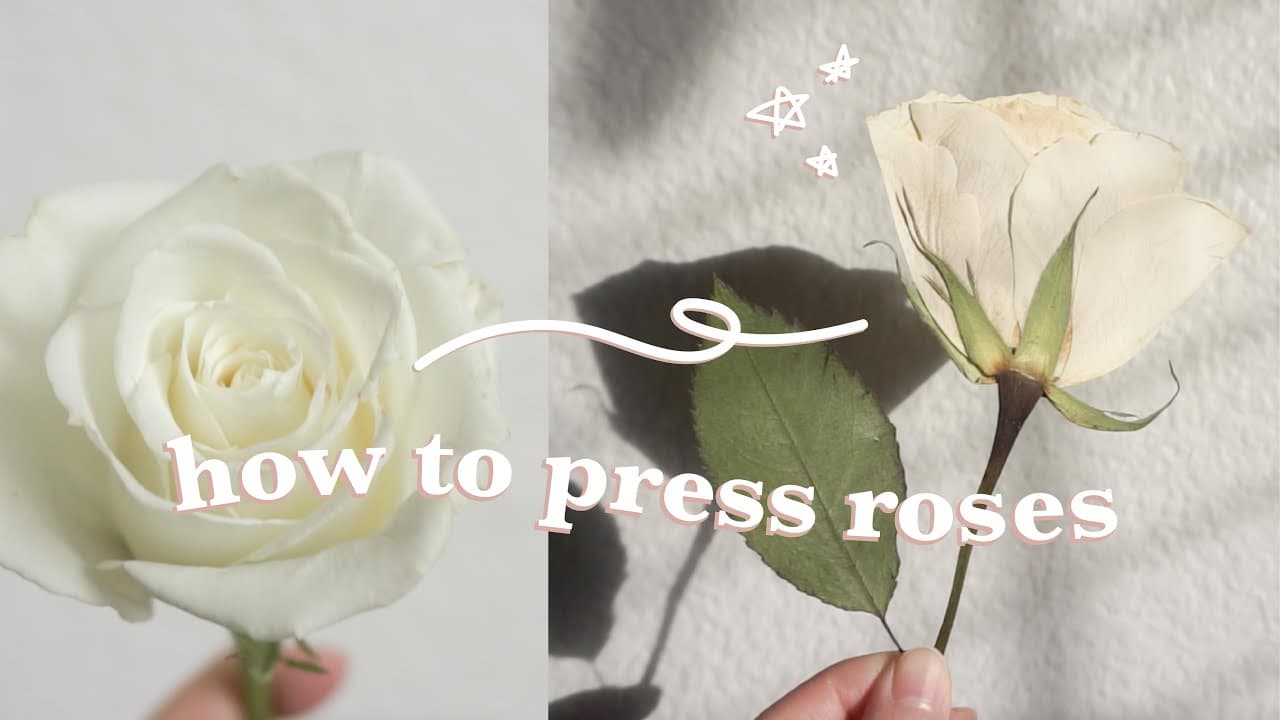
If you came here looking for rose-specific technique, our how to press flowers - 2 methods for roses guide covers the petal-by-petal approach. Once your flowers are pressed, the natural next step is paper crafts - try origami or use them on a card. Drying herbs the same way? See how to dry lavender.

Step-by-Step Guide

1

Pick Your Flowers and Choose a Method

0:13
Step 1: Pick Your Flowers and Choose a Method

Fresh flowers press best. Cut them in the morning when the petals are firm and the color is at its peak. Daisies, pansies, violets, and small wildflowers all press cleanly. Thick blooms like roses and peonies work better when you slice them in half first.

Four methods are in this tutorial. The microwave gives you a finished flower in about a minute. The iron takes about 15 seconds per pass. A heavy book takes around two weeks. A DIY wood press takes about four weeks but gives the cleanest result. The favorite turns out to be a hybrid - two days under a book, then 30 seconds in the microwave - because it holds both shape and color.

Pick the method that matches the time you have. Then grab the matching materials in the steps below.

Watch this moment in the video.

Tip

Skip flowers with thick centers (sunflowers, gerbera daisies) unless you cut the back flat. The center pops back up under any of these methods.
Products used in this step

2

Build a DIY Wood Flower Press (Method 1)

1:25
Step 2: Build a DIY Wood Flower Press (Method 1)

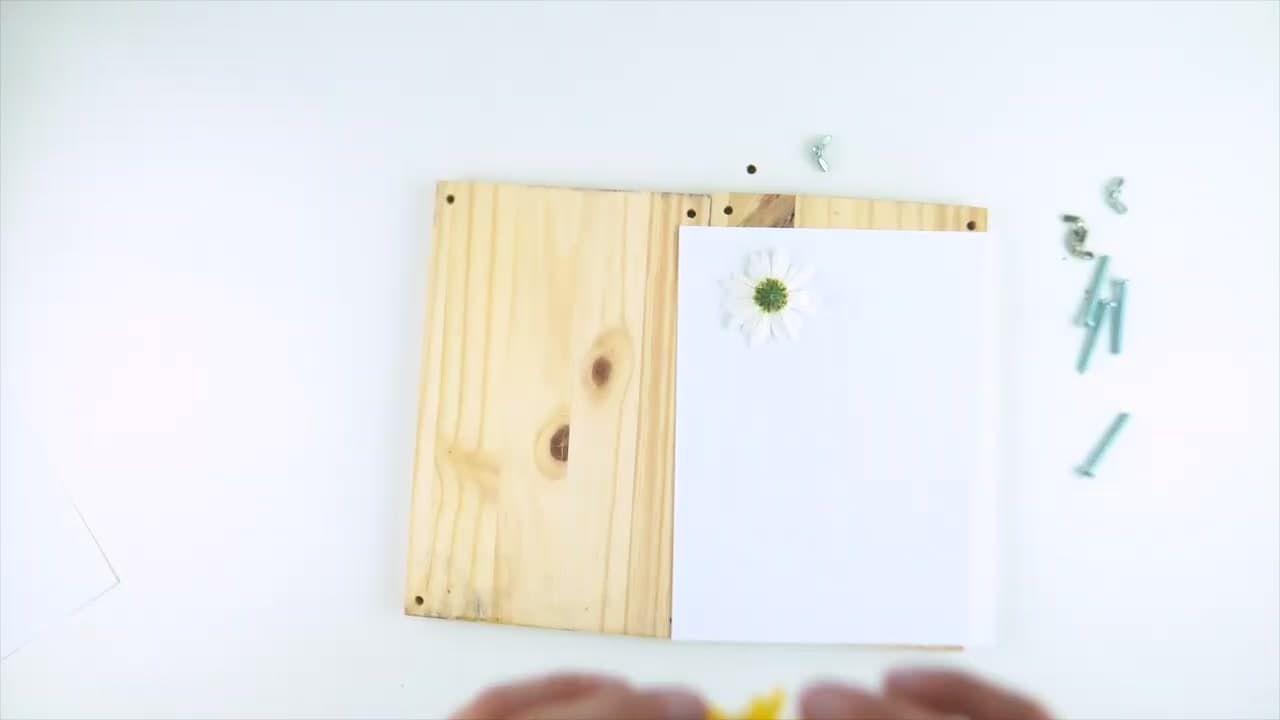
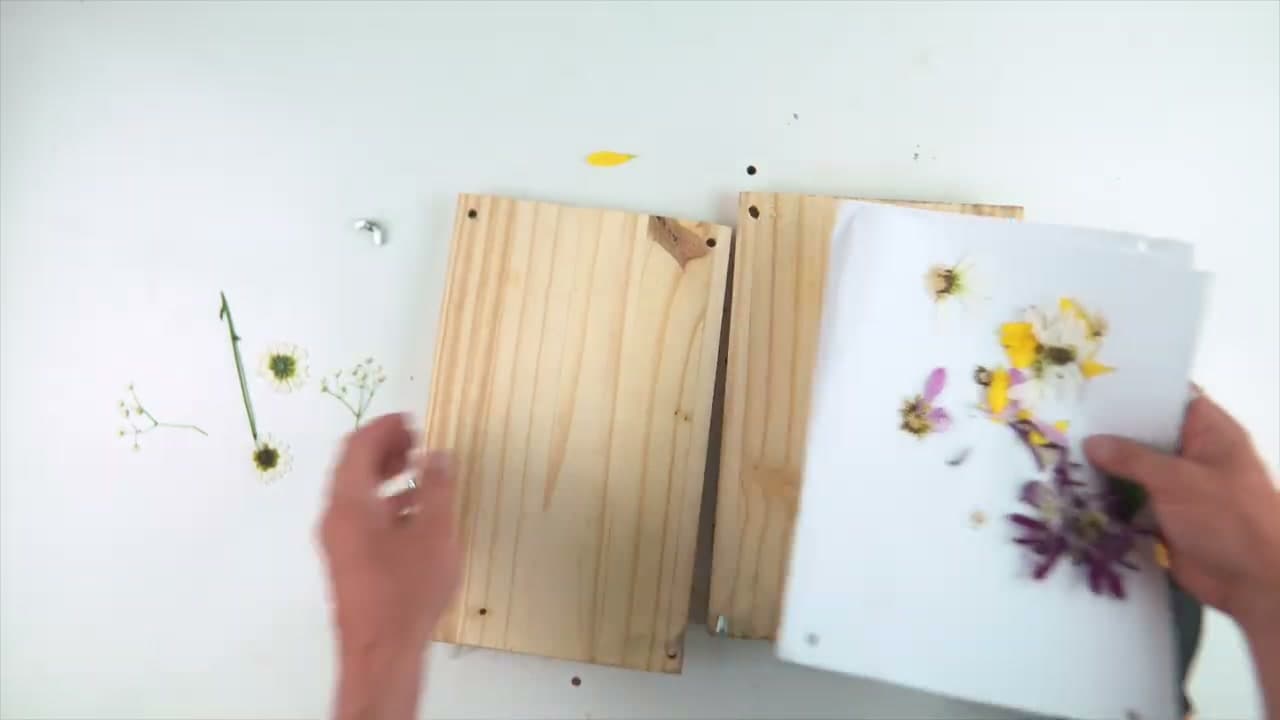
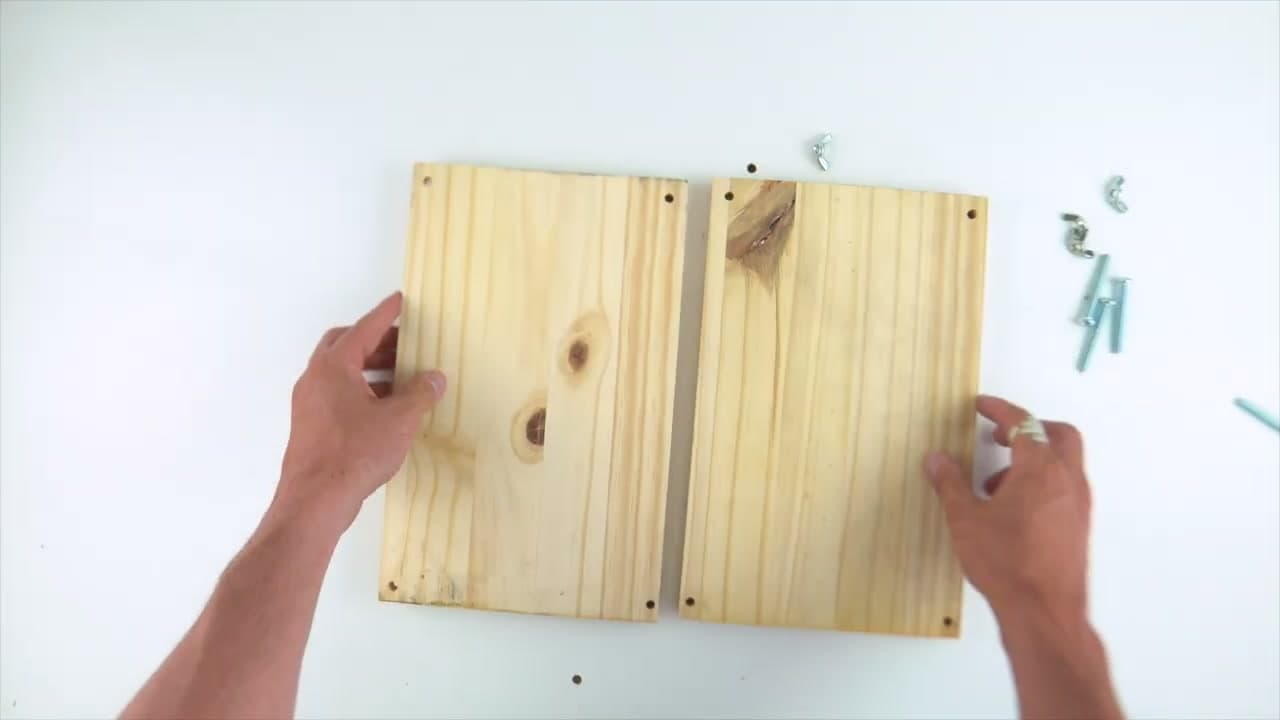
Cut two pieces of flat pine roughly the same size - 8 by 10 inches works for most flowers. Stack them on top of each other and drill matching holes through both boards in all four corners. Use a drill bit slightly larger than your bolt diameter.

Push a bolt up through each hole from the bottom board, then drop the top board down over the bolts. Add washers if the wing nuts dig into the wood. Spin a wing nut down onto each bolt and hand-tighten.

This press will hold flowers for four weeks before you open it back up. The slow timeline is what gives this method the cleanest pressed result.

Watch this moment in the video.

Tip

Match the wood drill holes by stacking the boards and drilling through both at once. Holes that don't line up cock the press sideways when you tighten the wing nuts.

3

Press Flowers in the Wood Press

1:35
Step 3: Press Flowers in the Wood Press

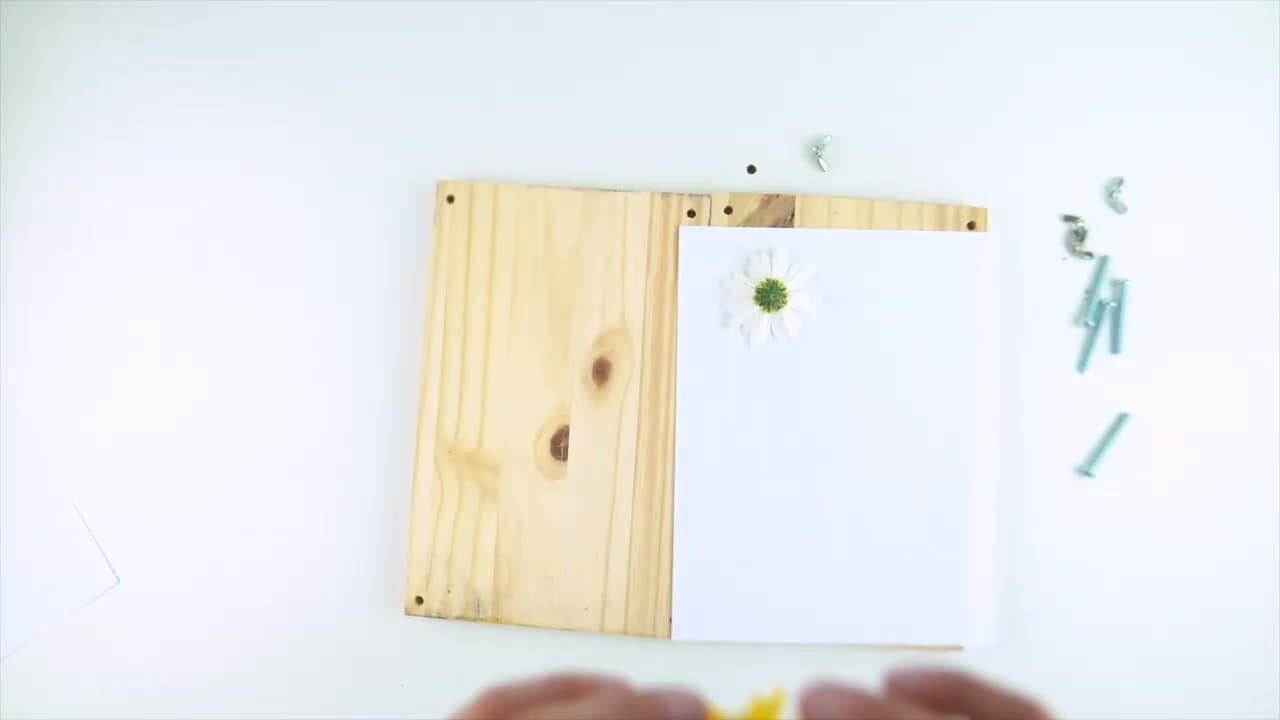
Lay a piece of paper across the bottom board of the press. Cut the head off each flower so it sits flat, then place each flower face-down on the paper. Use your fingertips to gently open the petals out so they don't fold under themselves.

Top with another sheet of paper, drop the top board down over the bolts, and spin the wing nuts down evenly. Snug them - don't crank them. Over-tightening squashes petals into a smear instead of pressing them flat.

Walk away for four weeks. Check after the first week; if a petal looks bunched, loosen, adjust, and re-tighten.

Watch this moment in the video.

Tip

If you tighten too hard right away, the flower bruises and turns brown. Hand-tight is enough on day one. You can tighten a quarter-turn every few days as the moisture leaves the flower.

4

Use the Heavy Book Method (Method 2)

2:05
Step 4: Use the Heavy Book Method (Method 2)

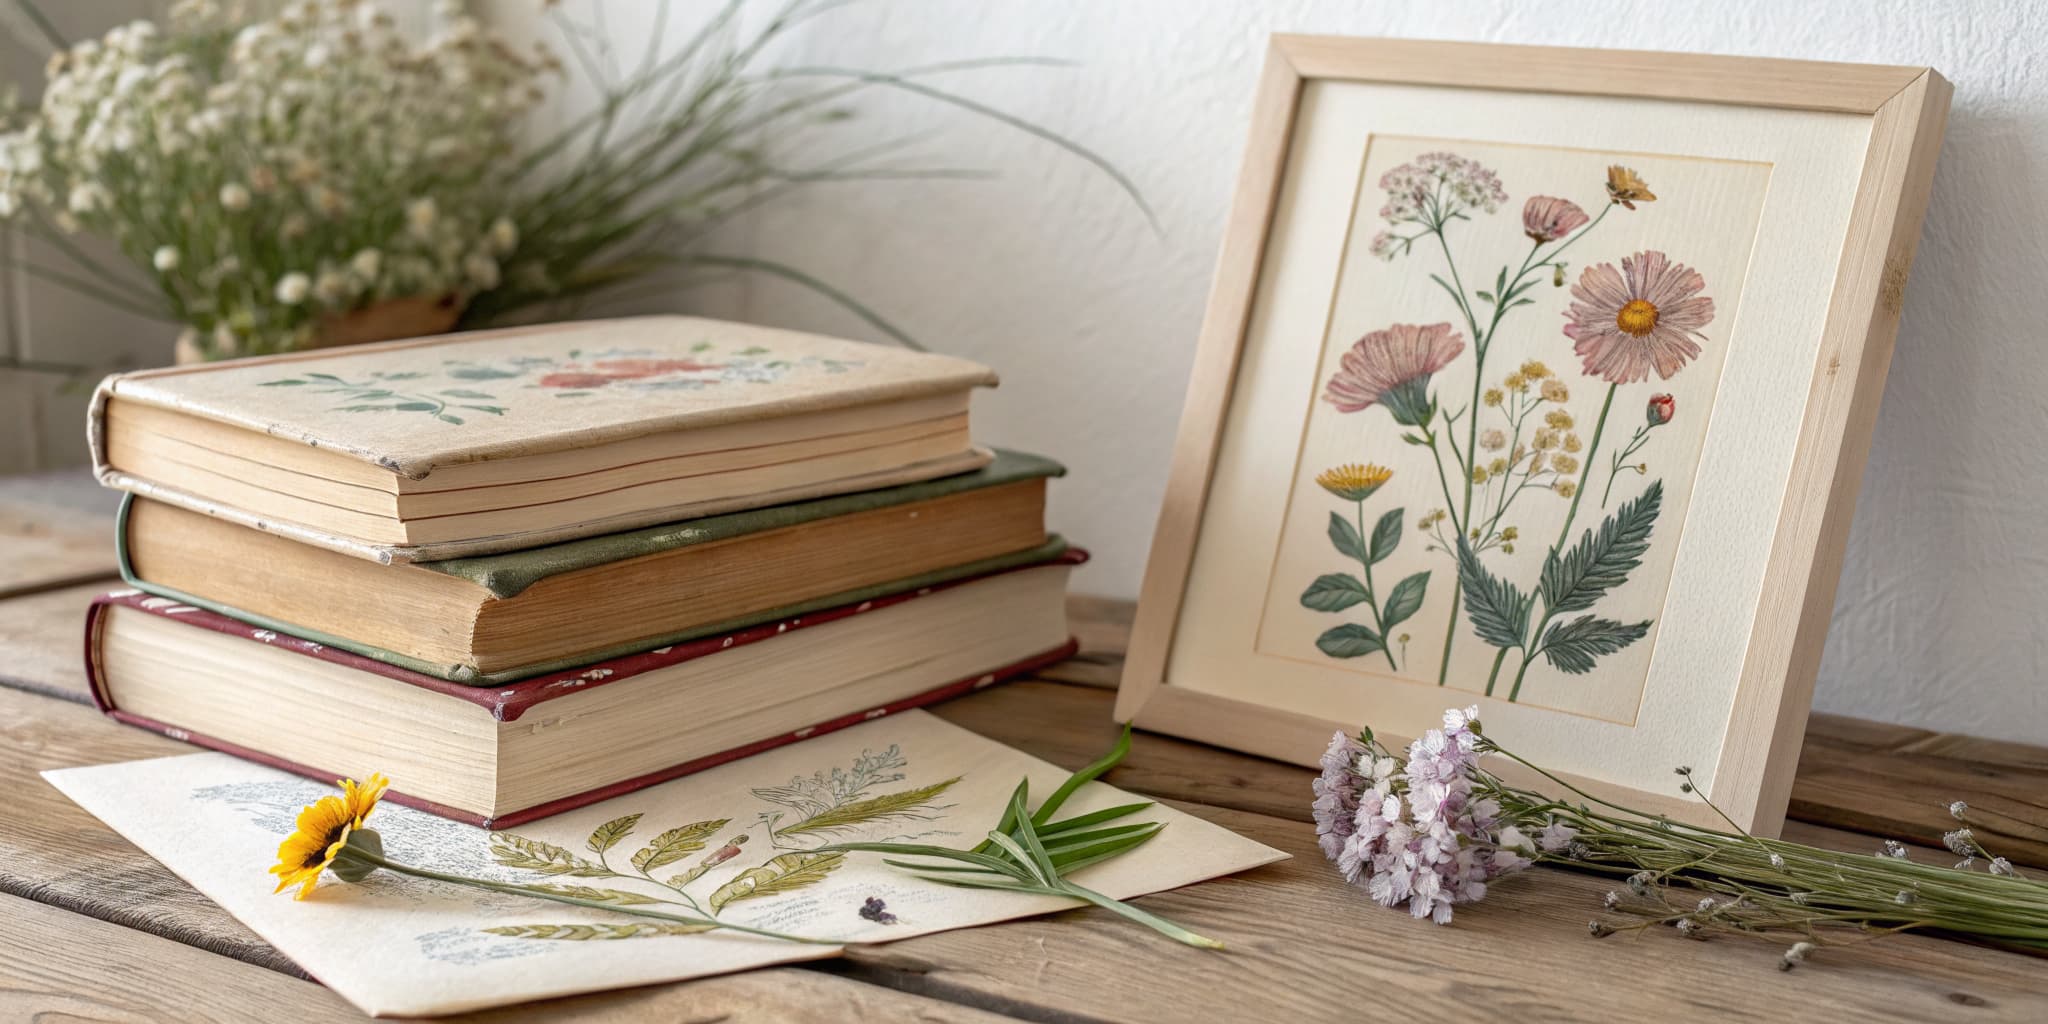
Open a thick hardcover book to the middle. Lay a sheet of plain paper or blotting paper on the open pages. Place flowers on the paper face-down, then top with another sheet of paper. Close the book gently.

Stack two or three more heavy books on top and walk away for about two weeks. Change the blotting paper every four days if the flowers were damp when you started - moisture trapped against the petals turns them brown.

No spare books? Slide the open book under your mattress and sleep on it. The whole-body weight presses evenly for the same result.

Watch this moment in the video.

Tip

Don't use a treasured book. Even with blotting paper, moisture and pollen can stain the page. A thrift-store phone book or old textbook is ideal.

5

Try the Microwave Method (Method 3 - Fastest)

3:20
Step 5: Try the Microwave Method (Method 3 - Fastest)

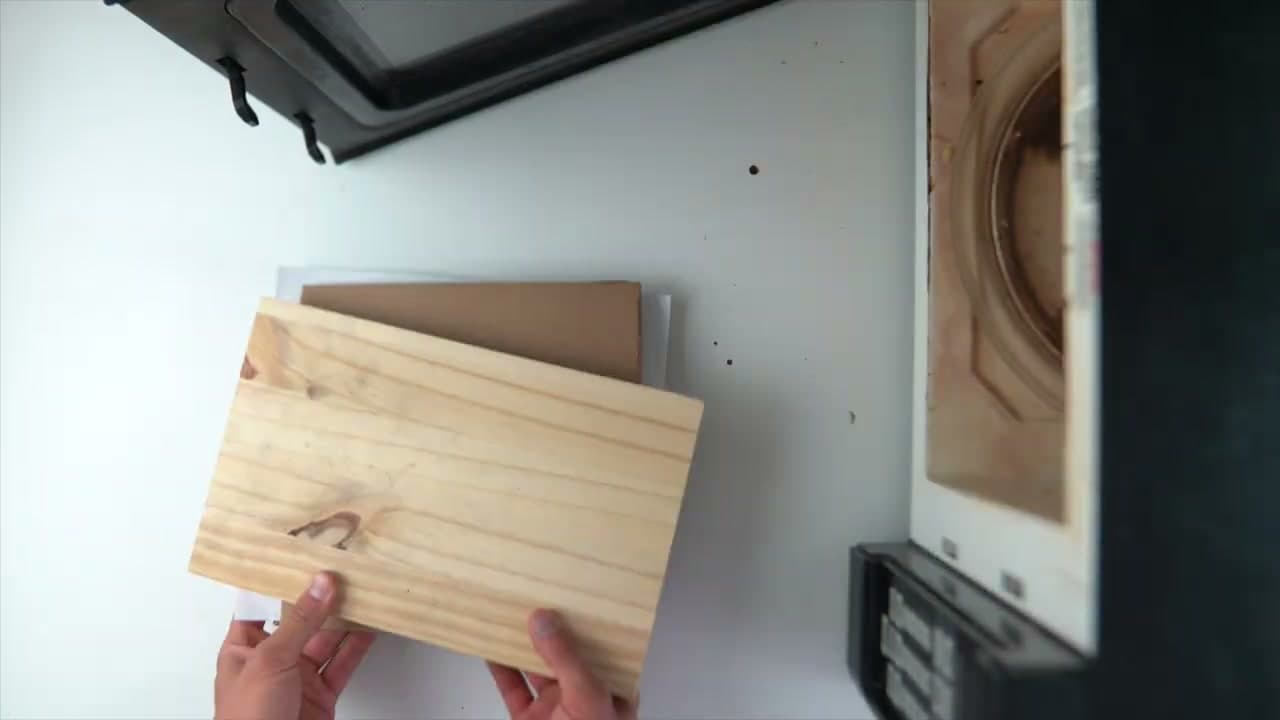
Build a small stack: cardboard square, paper, flower face-down, paper, cardboard square. Top with something flat and heavy that's microwave-safe - a small ceramic plate or a piece of untreated wood. No metal.

Microwave for 30 seconds. Open and peek. If the flower still feels damp, hit it for another 15-30 seconds. Stop at 60 seconds total - past that the petals scorch and turn brown.

This is the fastest method by far. One flower done in under two minutes. The trade-off: color sometimes shifts darker than the slower methods.

Watch this moment in the video.

Tip

Run the microwave in 15-second bursts after the first 30 seconds. The petals can go from perfect to burnt in five seconds at the end.

6

Use the Iron Method (Method 4 - 15 Seconds)

4:20
Step 6: Use the Iron Method (Method 4 - 15 Seconds)

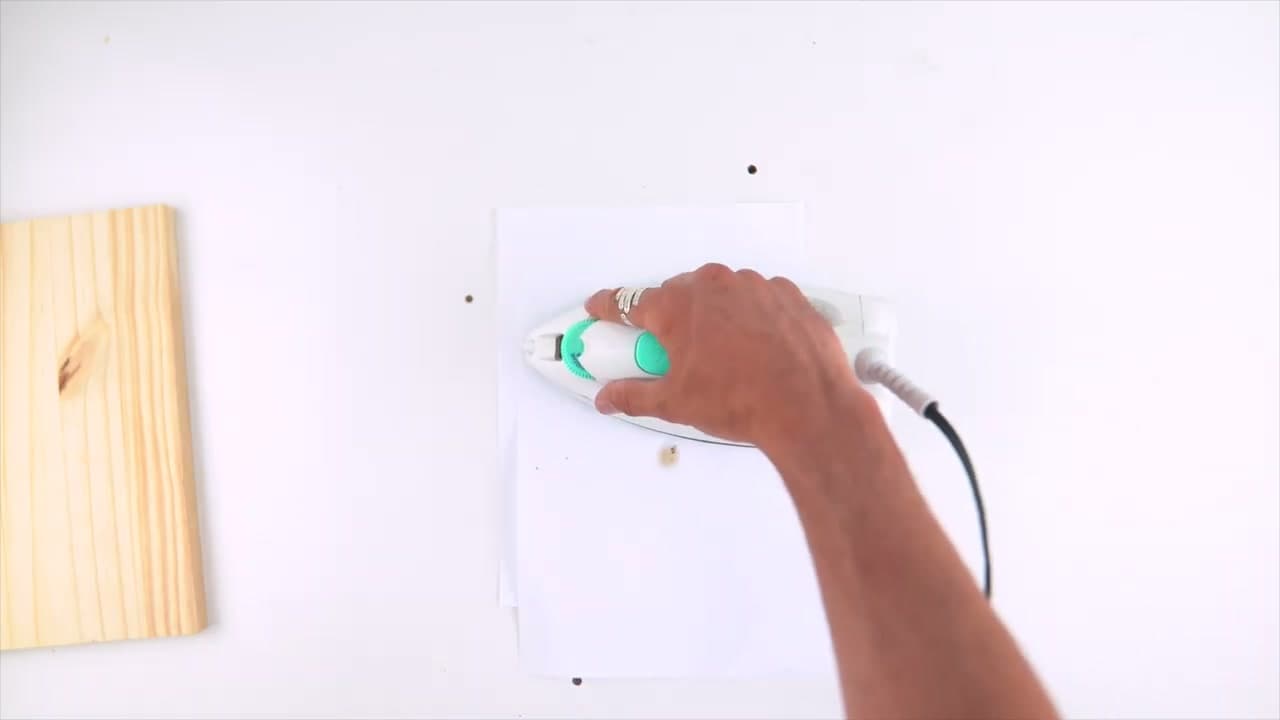
Set a clothes iron to low or wool heat with no steam. Lay your flower face-down on a flat heat-safe surface, top with a sheet of plain paper, then press the iron straight down for 15 seconds. Don't slide the iron - that drags petals and tears them.

Lift the iron, let everything cool for 15 seconds, then press again. Three or four repetitions usually get the flower fully dried and flat. If the flower is thick, slice it in half first and lay the cut side down.

Don't bear down hard. Light contact and a few extra repetitions beat one heavy press. Pressing too hard breaks the petals into pieces.

Watch this moment in the video.

Tip

Steam ruins this method. Empty the iron's water tank before you start so a stray drip doesn't soak the paper and smear pigment across your flower.

Products used in this step

7

Compare the Results (The Favorite Combo)

5:15
Step 7: Compare the Results (The Favorite Combo)

Open up each batch and lay the pressed flowers side by side. The wood press gives the cleanest, flattest finish but takes the longest. The book press comes in close behind. The microwave is the fastest but can over-cook the color. The iron is fast but breaks petals if you push too hard.

The combo that wins most of the time: start a flower in a heavy book for two days, then finish it with 30 seconds in the microwave. Two days under the book locks the flat shape. The quick microwave hit at the end locks in the color before it can fade.

That hybrid is what produced the colorful pressed flowers in the layout shown here. Wild flowers from the yard, two days in a sketchbook, 30 seconds in the microwave - finished.

Watch this moment in the video.

Tip

Weigh the book stack with at least 10 pounds. A single book on top of a single book isn't enough pressure - the petals stay 3D and won't lay flat on a card later.

8

Use Your Pressed Flowers

6:40
Step 8: Use Your Pressed Flowers

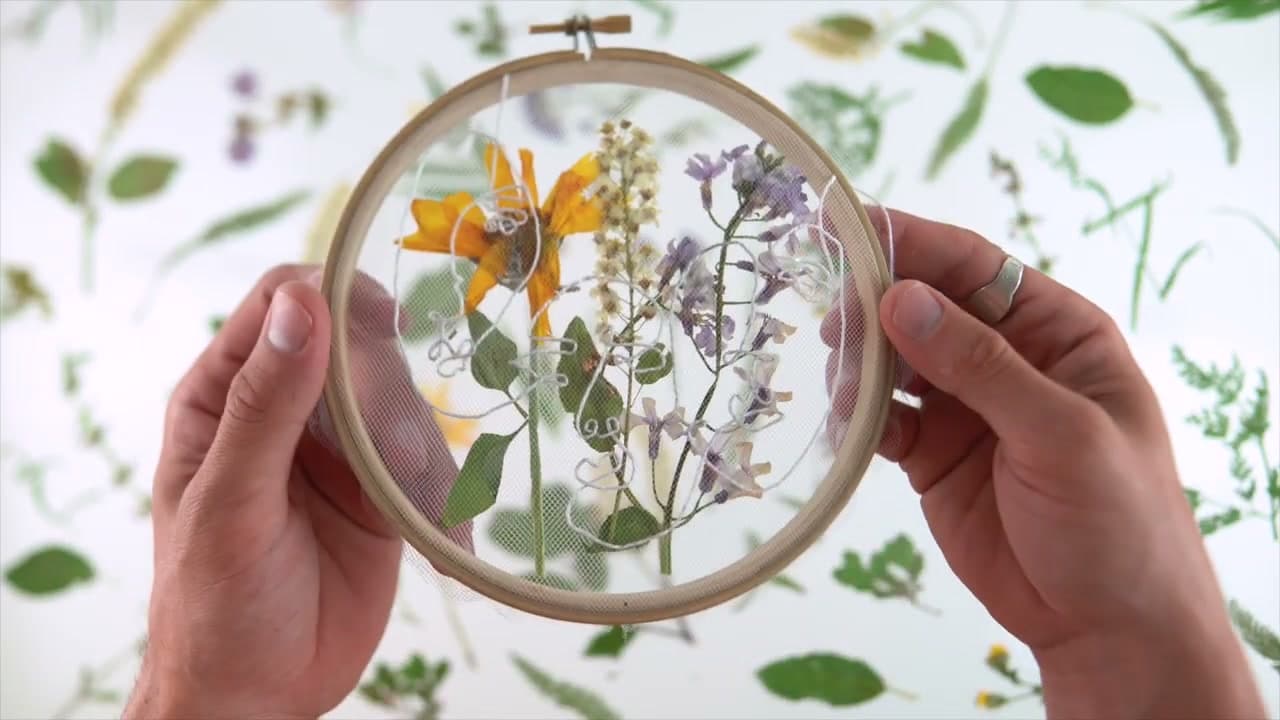
Pressed flowers belong in things you make. The most popular three: a picture frame with the flowers laid between two panes of glass, contact paper sandwiches stretched inside an embroidery hoop (shown here), and resin pours where the flowers are suspended in clear epoxy.

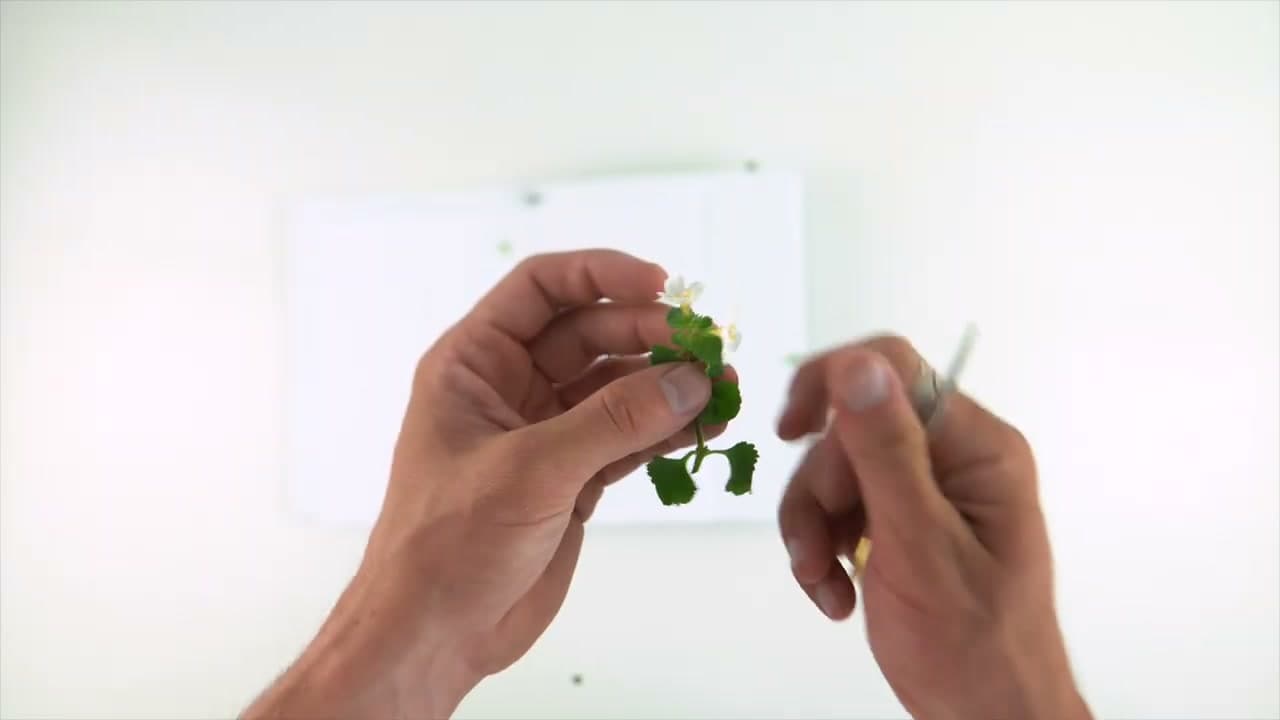
Lay the pressed flowers out on the surface first to plan the composition before you commit. Once they're under glass or in resin, you can't move them. A pair of tweezers helps when the petals are paper-thin.

Other options: greeting cards with the flowers glued under a clear sticker, bookmarks laminated front and back, candles with flowers pressed into the wax, and journal pages where flowers go straight onto the paper under washi tape.

Watch this moment in the video.

Tip

For the embroidery hoop project: cut a piece of clear contact paper, lay the pressed flowers sticky-side-up, top with a second sheet sticky-side-down, then stretch the contact paper sandwich inside the hoop. The clear layers hold the flowers flat and visible from both sides.

Products Used

☐ The Checklist

How to Press Flowers (4 Methods: Microwave, Iron, Book, and Press)

Tools
5
Materials
5
Steps
8
Video
8 min

Your Guide

Shmoxd

As an Amazon Associate we earn from qualifying purchases. Links on this page may be affiliate links - clicking them and buying doesn't change your price, but helps support ShowMeStepByStep.

Tags

What's next

Weekly Digest

Liked this crafts tutorial?

Pick the categories you want to hear about. Weekly digest of new step-by-step tutorials. No spam, easy unsubscribe.

Send me tutorials about

We only email about new tutorials. Easy unsubscribe anytime.