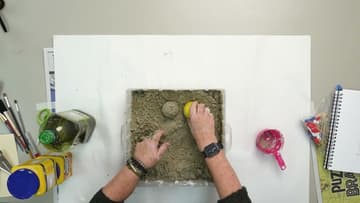
How to Make Kinetic Sand
Source: Alameda Arts • Full tutorial: www.craftingstepbystep.com/crafts/how-to-make-kinetic-sand
- Difficulty
- Easy
- Hands-on time
- About 20 minutes
- Cost
- About $8 to $15
- Makes
- about 9 cups of kinetic sand

Tools
- Large clear storage bin
- Dry measuring cups
- Liquid measuring cup
- Sand molds or plastic cups
- Drop cloth
- Disposable gloves (optional)
Materials
- Play sand (5 cups)
- Cornstarch (3 cups)
- Cooking oil (1 cup)
Steps
1. Scoop Five Cups of Play Sand into a Bin
Set a wide plastic bin on a drop cloth or take the whole job outside. Scoop five level cups of dry play sand into it with a one cup measure, counting out loud as you go so you do not lose your place.
Tip: A bin wider than it is deep makes the mixing far easier. Anything around the size of an under-bed storage box gives your hands room to work.
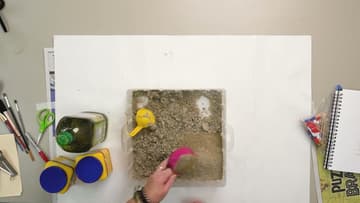
2. Add Three Cups of Cornstarch to the Sand
Measure three cups of cornstarch and tip them straight onto the sand in one pile in the middle. Keeping it in a heap rather than scattering it lets you see at a glance how much has gone in.
Tip: Cornstarch goes by cornflour in the UK and Australia. Same product, same box, different name on the label.
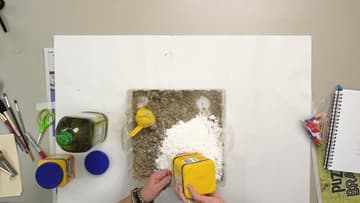
3. Mix the Play Sand and Cornstarch Together
Put both hands in and turn the two together. Rake your fingers along the bottom of the bin and lift, rather than stirring across the surface, because the cornstarch sinks and hides down there.
Tip: Gloves are fine if you would rather not get coated. The creator goes bare handed, and the cornstarch brushes straight off dry skin.
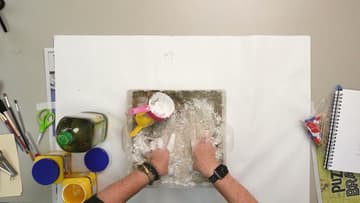
4. Pour One Cup of Oil into a Well in the Middle
Fill a one cup measure with cooking oil and pour it into the well. Olive, vegetable, canola, whatever is open in the cupboard.
Tip: Measure the oil over the sink or over the bin. A cup of oil tipped onto a table is a worse mess than the sand ever makes.
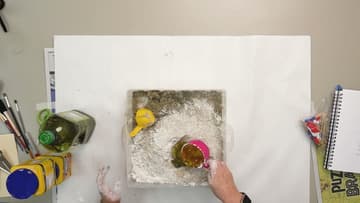
5. Rub the Oil Through the Sand with Your Hands
Pull the dry mix in over the oil and start rubbing handfuls between your palms. For the first minute it looks wrong, wet in one place and powdery an inch away, and that is exactly what it should look like.
Tip: Do this over a drop cloth or outdoors. Sand and oil together get into carpet in a way neither one does on its own.
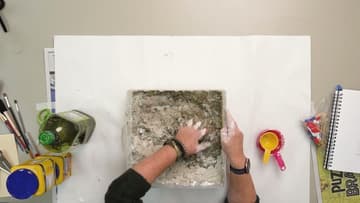
6. Keep Mixing Until No Dry Cornstarch Is Left
Work the whole bin, corner to corner. Lift from underneath and let the mix fall back through your fingers so you can see what is in there.
Tip: Give it a good five minutes of honest mixing. Most batches that come out wrong were stopped too early, not measured wrong.
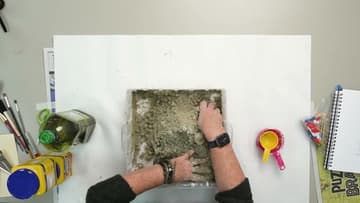
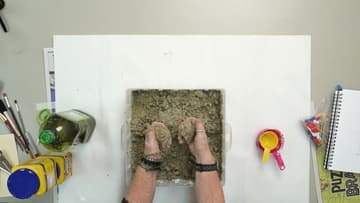
7. Press the Kinetic Sand Flat to Check It Packs
Flatten the surface with your palms and lean on it. Finished kinetic sand takes the print of your hand and keeps a clean edge, and a fistful squeezed and opened stays in one lump instead of falling apart.
Tip: The mix keeps for months in a lidded bin. If it dries out over the winter, a teaspoon of oil worked through brings it back.
8. Press a Cup into the Kinetic Sand to Mold a Dome
Push an upturned cup or a sand mold down into the packed surface, give it a small twist, then lift it straight up. A dome should stand there on its own.
Tip: Kids will play with this longer than they play with the store bought version, because there is enough of it to build with.