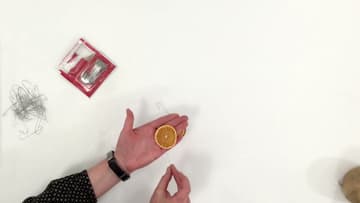
How to Dry Orange Slices
Source: Jan Howell • Full tutorial: www.craftingstepbystep.com/crafts/how-to-dry-orange-slices
- Difficulty
- Easy
- Hands-on time
- About 35 minutes
- Wait time
- 11 hours 30 minutes
- Cost
- About $5 to $12
- Makes
- a garland of dried orange slices plus a few hanging ornaments

Tools
- Chef's knife
- Cutting board
- Two half sheet pans
- Wire cooling rack
- Yarn needle
- Scissors
- Mandoline slicer (optional)
Materials
- 4 navel oranges
- Parchment paper
- Paper towels
- Jute twine (8 feet)
- Ornament hooks
Steps
1. Slice the Oranges a Quarter Inch Thick
Pick oranges with smooth, unblemished skin. Set one on the cutting board and cut it crosswise into rounds about a quarter inch thick.
Tip: Keep the knife straight up and down. An angled cut gives you a slice that is thick on one side and thin on the other, and the thin edge browns before the thick side dries.

2. Blot the Slices and Lay Them on Parchment-Lined Sheet Pans
Line two sheet pans with parchment paper. Pick up each slice and press it between paper towels to soak up the juice on the surface.
Tip: Wipe the cutting board and knife between oranges. Juice pooling on the board ends up back on the slices you already blotted.

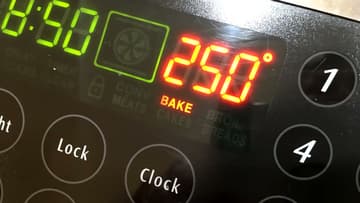
3. Bake at 250F for 3 to 4 Hours
Set the oven to 250F and slide both pans in. Low and slow is the whole method.
Tip: Ovens run hot or cold. If yours tends to run hot, drop to 225F and add an hour rather than risk browning. An oven thermometer removes the guesswork.
4. Flip Every Slice After the First Hour
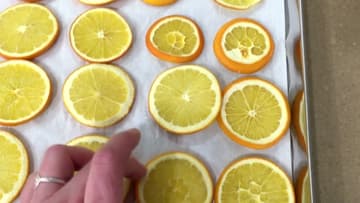
After the first hour, pull the pans out and turn each slice over. The edges start to curl as the rind dries faster than the flesh, and flipping flattens them back out.
Tip: Use your fingers, not tongs. The slices are soft at this point and tongs tear the segments out of the rind.
5. Move the Dried Slices to a Wire Rack Overnight
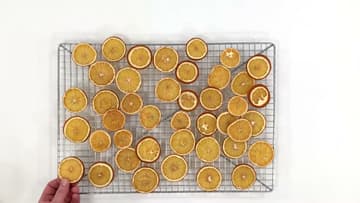
At three and a half hours Jan Howell's slices were dry to the touch but not bone dry, and that is the moment to pull them. Leave them in until they are crisp all the way through and they go brown.
Tip: Any slice still sticky in the middle the next morning can go back in the oven at 200F for another 30 to 45 minutes.
6. Thread Jute on a Yarn Needle and Poke Holes at 11 and 1 O'Clock
Cut about eight feet of thin jute and thread it onto a yarn needle. A nail or skewer also works for the holes.
Tip: Poke through the rind or the thick white pith right inside it, not the segments. The rind holds the twine. The dried flesh tears.
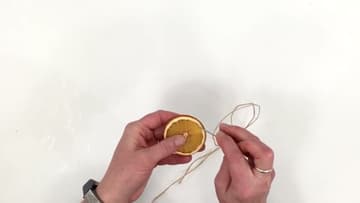
7. String the Slices and Leave Space Between Them
Take the next slice and repeat the same move, in from behind at one o'clock and out at eleven. Slide it down the jute until it sits near the first one.
Tip: Check the hang every foot or so. Lift the garland by both ends and see whether any slice flips backward. If one does, its holes are too low. Re-thread it higher.
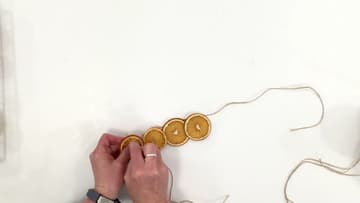
8. Tie a Hanging Loop and Trim the Twine
When the garland is as long as you want, you should have a decent tail of twine left at the end. Double it back on itself to form a loop, then tie a knot a couple of inches below the loop so it holds.
Tip: Make both loops before you cut anything. It is easy to trim too short and lose the loop on one end.
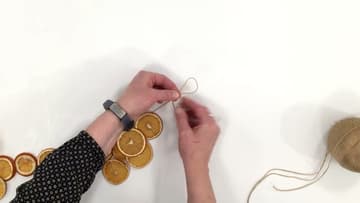
9. Hang Single Slices on Ornament Hooks
The extra slices become tree ornaments with no twine at all. Take an ornament hook, the cheap wire kind sold by the hundred, and push the pointed end through the rind near the top edge of a dried slice.
Tip: Store leftover slices in a paper bag, not plastic. Plastic traps any remaining moisture and they mold.