How to Make a Marbled Polymer Clay Dish With Gold Leaf Edge

Also in:Crafts

By CraftingStepByStepPublished

Based on a video by Alisa Hopper.

These marbled polymer clay dishes look like little watercolor agate slices, and they cost about as much as a fancy coffee. Alisa Hopper of Timber and Chain bakes hers right side up on an upside-down oven-safe bowl, so the shape is set by the bowl form rather than your fingers - much easier than pinching every wall by hand.

The trick that lifts these out of the craft-fair pile is the gold leaf. Two kinds: sheets of synthetic gold leaf rolled directly into the translucent clay so flecks float through the marbling, then liquid gold leaf brushed along the rim once the dish is baked and glazed. The result reads as finished, not handmade in a good way.

If you've done polymer clay before, the only new move here is the drape-and-bake. If you're new to polymer clay, this is a forgiving first project - oven-baked, no kiln, and the marbling forgives a lot of pattern accidents. For more clay starters, see how to make polymer clay earrings, how to bake polymer clay, and how to smooth polymer clay.

Step-by-Step Guide

1

Step 1: Roll Out Each Clay Color

0:35
Step 1: Step 1: Roll Out Each Clay Color

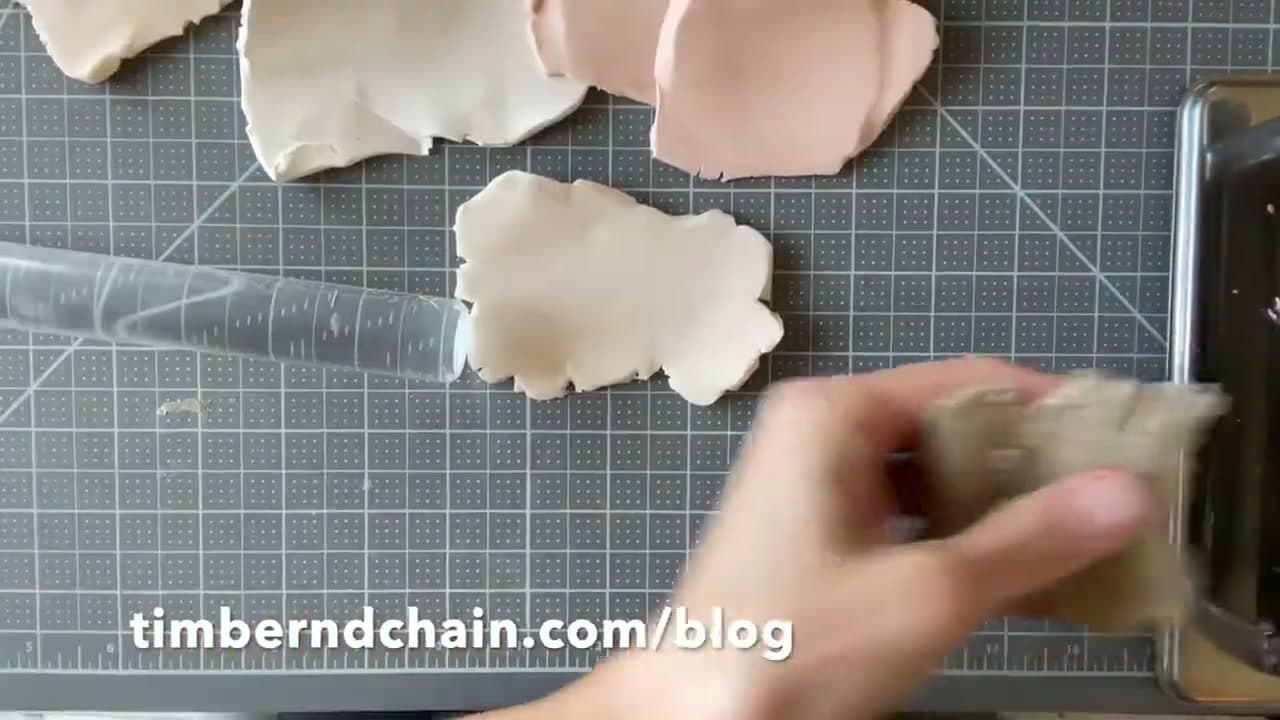
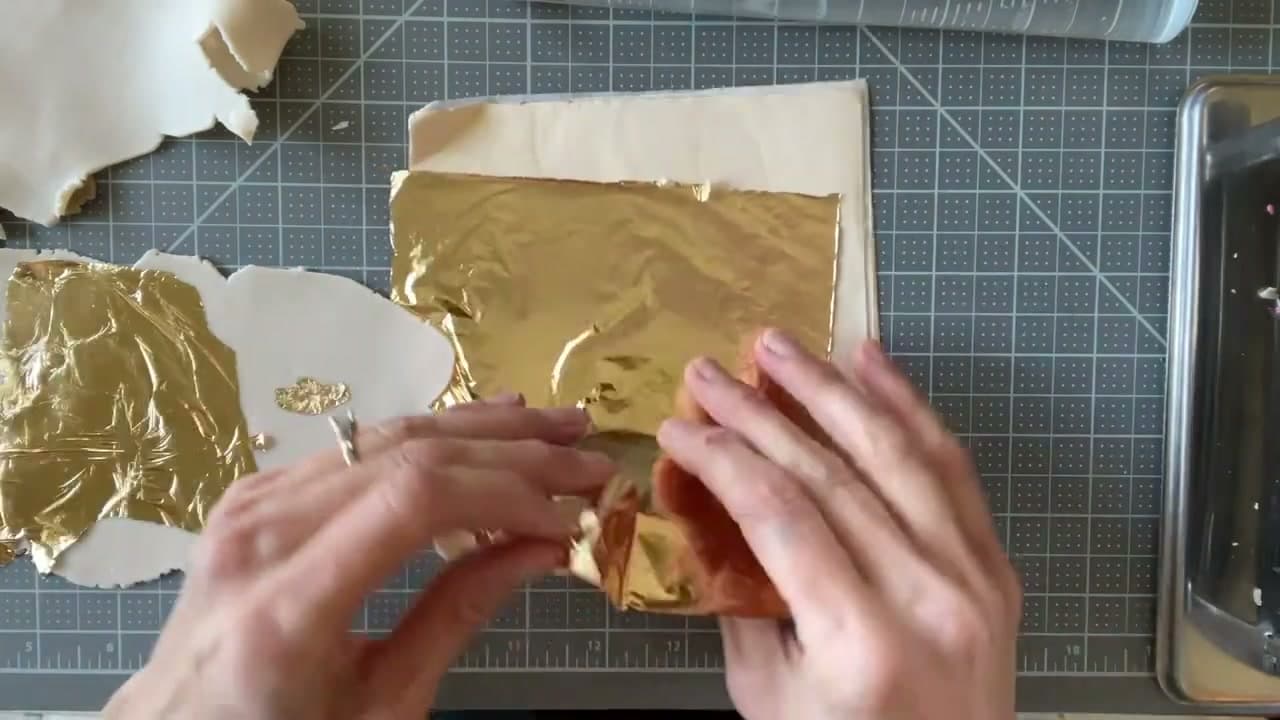
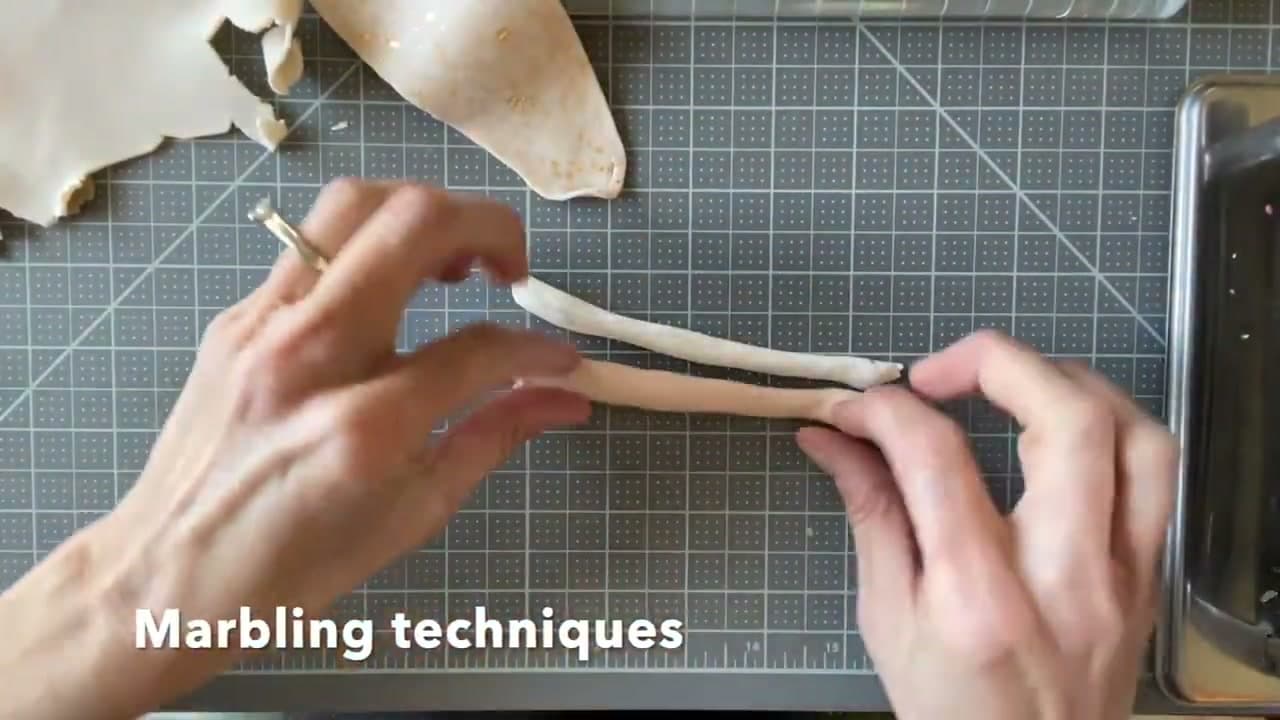
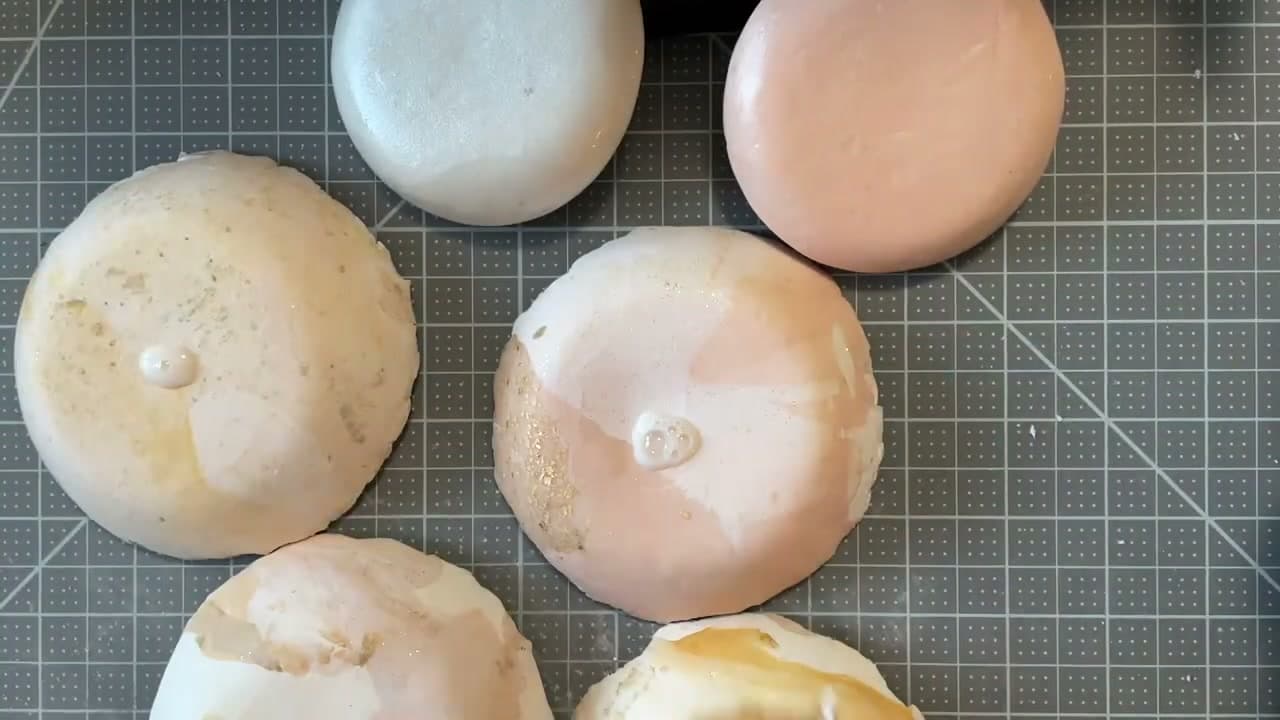
Condition each color of polymer clay in your hands until it's soft and workable, then roll each one out into a thin even sheet. A pasta machine gives you the most consistent thickness, but an acrylic roller or wooden rolling pin works too.

Aim for roughly an eighth of an inch thick. Inconsistent thickness shows up later as muddy marbling, so this is worth a minute of care. Lay the sheets out on your work mat so you can see your color palette before you start blending.

2

Step 2: Roll Gold Leaf Into the Translucent Clay

1:00
Step 2: Step 2: Roll Gold Leaf Into the Translucent Clay

Lay synthetic gold leaf sheets onto a piece of translucent clay. Keep the leaf in its plastic bag until the second you use it - any breath of wind sends it everywhere, and dry hands matter because moisture makes it stick to skin.

Roll the leaf into the clay with your pasta machine or roller. The more passes you do, the smaller the flakes get and the deeper they sink in. Once baked, those flakes glint through the surface instead of sitting on top.

Tip

Synthetic gold leaf is inexpensive and behaves the same as real gold leaf for this purpose. The translucent clay is what makes the gold pop - opaque clay buries it.

3

Step 3: Twist and Marble the Colors

1:20
Step 3: Step 3: Twist and Marble the Colors

Roll each color into a thick rope, lay the ropes side by side, and twist them together. Twist again the opposite direction. Then flatten the twisted bundle with your roller into a single marbled sheet.

Use as many colors as you want. The more passes you make with the roller, the more the colors blend into each other - so stop sooner if you want bold, distinct swirls. Check both sides of the sheet before you pick a winner; the patterns rarely match.

Products used in this step

4

Step 4: Tear and Reassemble for Variation

2:02
Step 4: Step 4: Tear and Reassemble for Variation

Once you have a marbled sheet you like, tear it into chunks and rearrange the pieces. Press them back together, then roll once more. This shifts the pattern unpredictably - new lines appear, others soften.

Add a few specks of glitter clay here if you want extra shimmer. Roll it in just enough to embed the flakes; over-rolling smears the glitter into a flat haze. Keep your scraps - they marble together into a base layer for the next dish.

Products used in this step

5

Step 5: Drape Over an Oven-Safe Bowl

3:50
Step 5: Step 5: Drape Over an Oven-Safe Bowl

Pick an oven-safe form: the outside of a Pyrex measuring cup, the inside of a small ceramic bowl, or a glass measuring cup all work. The form shapes your dish, so pick something the size and depth you want.

Lay your marbled sheet over the upside-down bowl and press down all the way around the rim. Push out any air bubbles trapped between the clay and the bowl, or they expand in the oven and crack the surface.

Tip

A baking scraper helps lift the clay sheet off your mat if it's gone tacky. Flip the dish onto the bowl in one motion to avoid stretching the pattern.

6

Step 6: Bake at 275, Then Glaze

4:10
Step 6: Step 6: Bake at 275, Then Glaze

Bake the bowl-and-clay together at 275 degrees Fahrenheit for 45 minutes. Let everything cool fully before lifting the dish off the form - polymer clay is brittle while hot. A gentle tap upside down on your palm usually pops it loose.

When cool, brush a thin coat of satin glaze on the bottom, let it dry, then glaze the top. Satin gives a soft sheen without the plastic look of high gloss. This step also seals the surface before the gold leaf goes on the rim.

7

Step 7: Brush Liquid Gold Leaf on the Edge

4:28
Step 7: Step 7: Brush Liquid Gold Leaf on the Edge

Open your liquid gold leaf paint and load a small firm synthetic brush. Pull the brush along the rim of the dish in short overlapping strokes. The organic edge of the clay gives you a raw, gilded look - perfect imperfection.

Liquid gold leaf takes a couple of hours to set and a full overnight to cure. Don't stack or wrap the dishes until they're completely dry. Once cured, the gold edge is durable and resists chipping.

Tip

An acrylic sealer over the dried gold leaf prevents tarnish over time, especially if the dishes will hold metal jewelry that might react with the leaf.

Products Used

☐ The Checklist

How to Make a Marbled Polymer Clay Dish With Gold Leaf Edge

Tools
6
Materials
5
Steps
7
Video
5 min

Your Guide

Alisa Hopper

As an Amazon Associate we earn from qualifying purchases. Links on this page may be affiliate links - clicking them and buying doesn't change your price, but helps support ShowMeStepByStep.

Tags

Test your knowledge

Did the lesson stick? Find out in 2 minutes.

5 quick questions covering what you just read. No signup, no score saved — just a gut check.

Quick reference

Key takeaways from How to Make a Marbled Polymer Clay Dish With Gold Leaf Edge

5 questions, answers, and one-line explanations. Tap to expand.

  1. 1.What's the target thickness when rolling each clay color?

    Answer: About 1/8 inch

    1/8 inch keeps the marbling clean - inconsistent thickness shows up later as muddy patches.

  2. 2.Why keep the gold leaf in its plastic bag until the second you use it?

    Answer: Any breath of wind sends it everywhere, and moisture on hands sticks it to skin

    Gold leaf is delicate; keep it bagged until the exact second you need it.

  3. 3.How do you actually create the marble pattern?

    Answer: Roll each color into ropes, twist them together, then flatten with a roller

    Ropes-twist-flatten gives the swirl; more roller passes blend the colors more.

  4. 4.What temp and time do you bake at?

    Answer: 275°F for 45 minutes

    275°F / 45 min is polymer clay's bake spec; let everything cool fully before lifting the dish off the form.

  5. 5.Why brush SATIN glaze (not high-gloss) on the finished dish?

    Answer: Satin gives a soft sheen without the plastic look of high gloss

    Satin keeps the finish refined; high-gloss makes polymer read as plastic.

What's next

Weekly Digest

Liked this pottery tutorial?

Pick the categories you want to hear about. Weekly digest of new step-by-step tutorials. No spam, easy unsubscribe.

Send me tutorials about

We only email about new tutorials. Easy unsubscribe anytime.