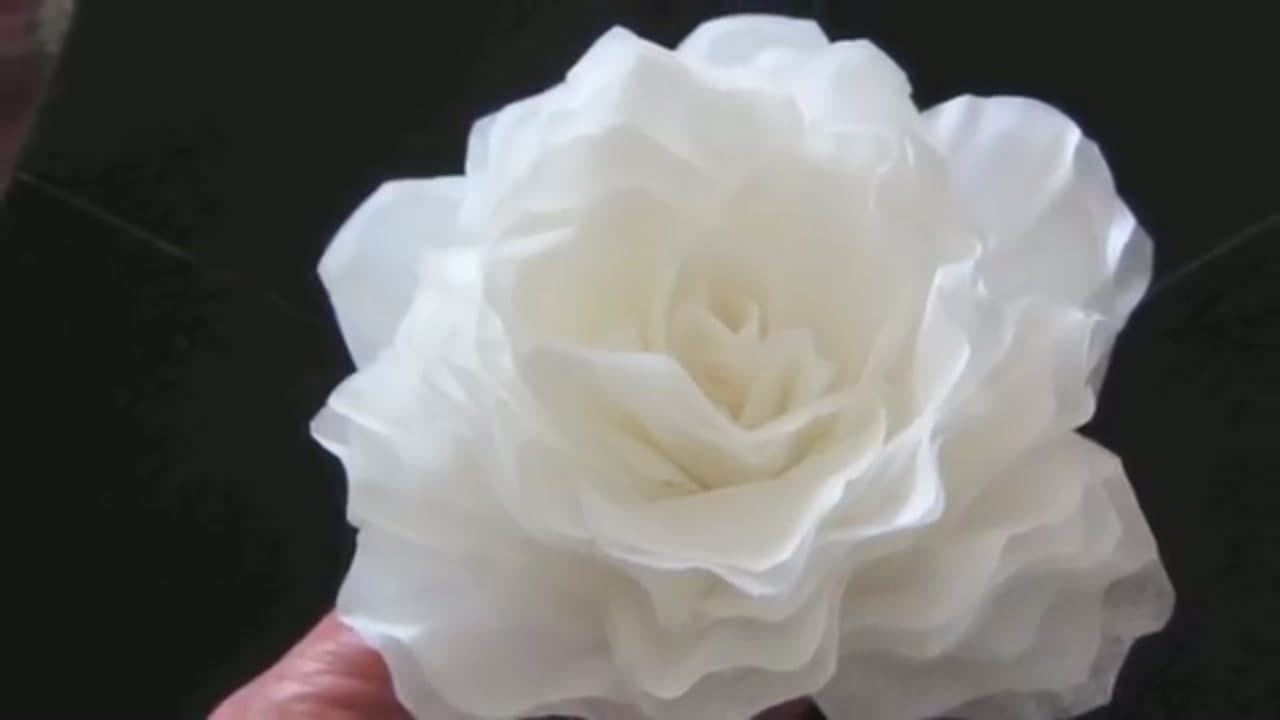
How to Make Coffee Filter Flowers (Elegant Rose Method)

Also in:Other Crafts

By CraftingStepByStepPublished

Based on a video by Margaret's Everyday.

Coffee filter roses cost about a dollar to make and they look like the silk roses you'd pay $8 for at a craft store. The trick is in the layering - you fold nine plain white basket filters into petal shapes, cut a couple of them into hearts for the center, and glue them one at a time around a hooked floral wire until the rose fans into a full bloom. No dye, no paint, no fancy tools. A package of 200 filters at the dollar store makes about 22 roses.

Margaret from Margaret's Everyday walks through the whole rose in about ten minutes. The folds and cuts are simple enough that this is a perfect craft to do with grandkids, especially with regular tacky glue instead of the hot glue gun. Plan on five or ten minutes per rose once you've made one. A dozen of them in a colored vase looks like a centerpiece you'd see at a bridal shower.

For more paper-flower projects, see our guides on making paper roses, making paper flowers, and all paper-flowers tutorials.

Step-by-Step Guide

1

Step 1: Fold Nine Coffee Filters - Seven in Eighths, Two in Twelfths

0:15
Step 1: Step 1: Fold Nine Coffee Filters - Seven in Eighths, Two in Twelfths

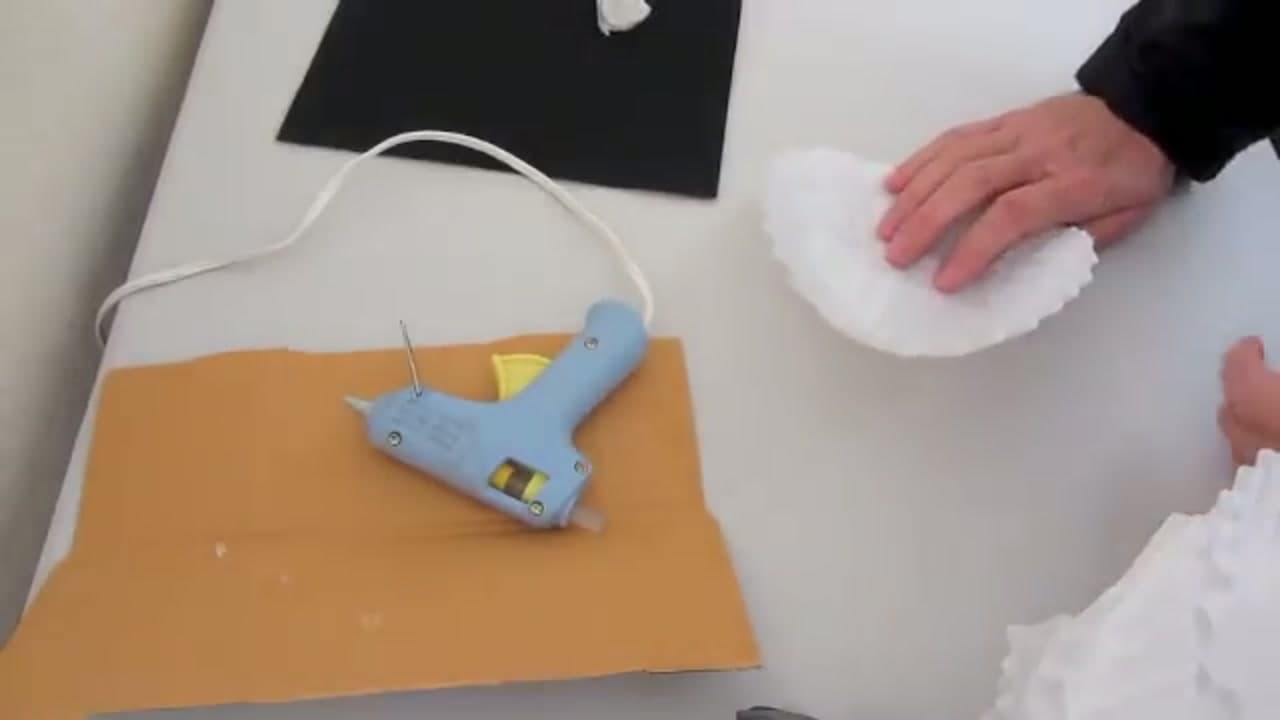
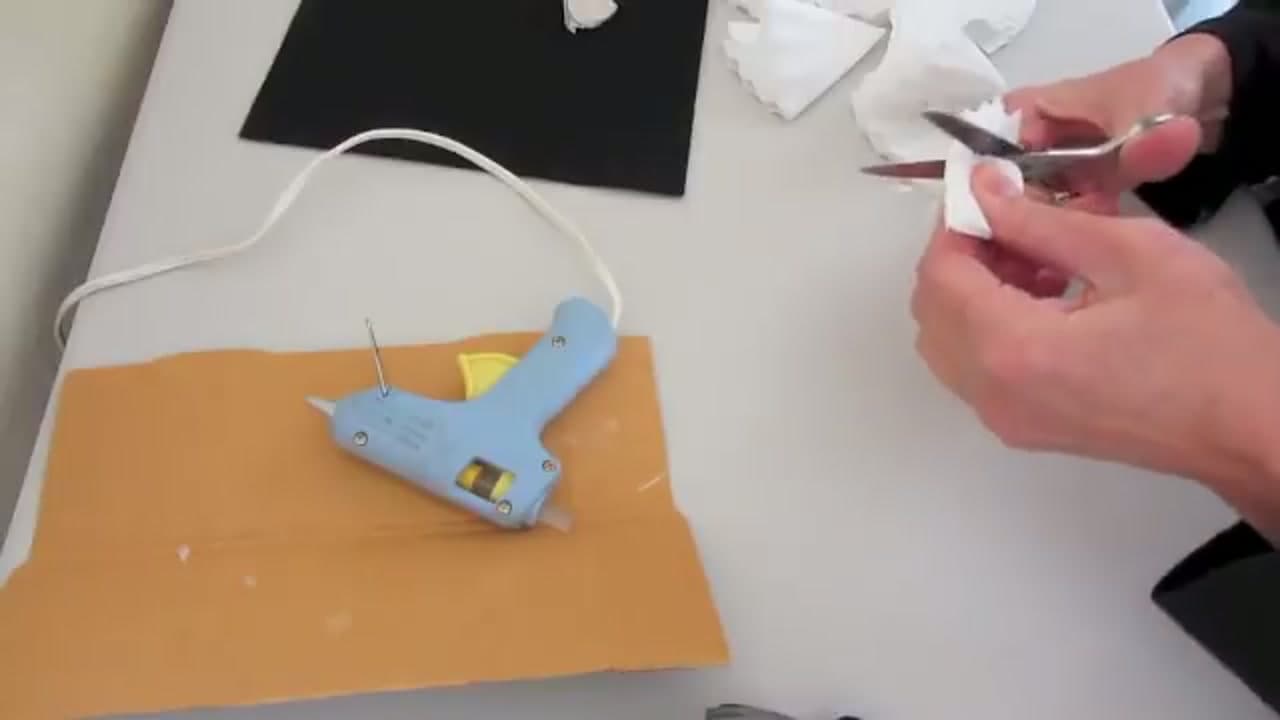
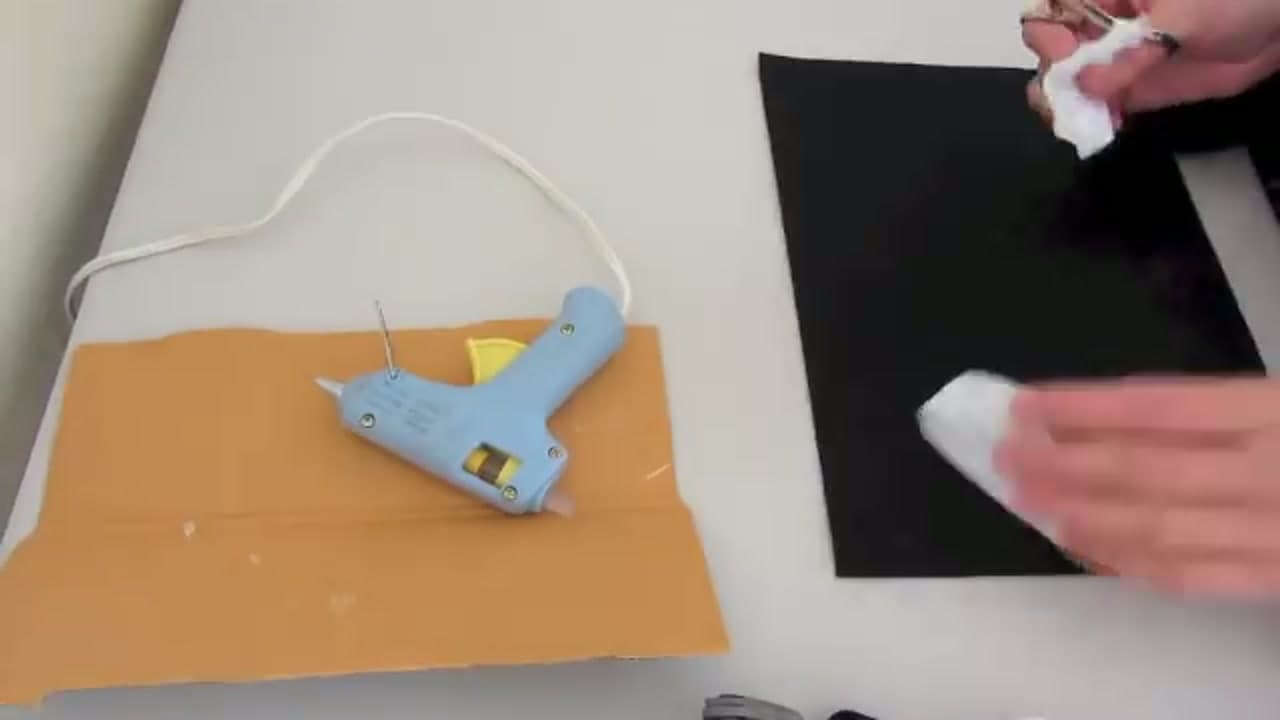
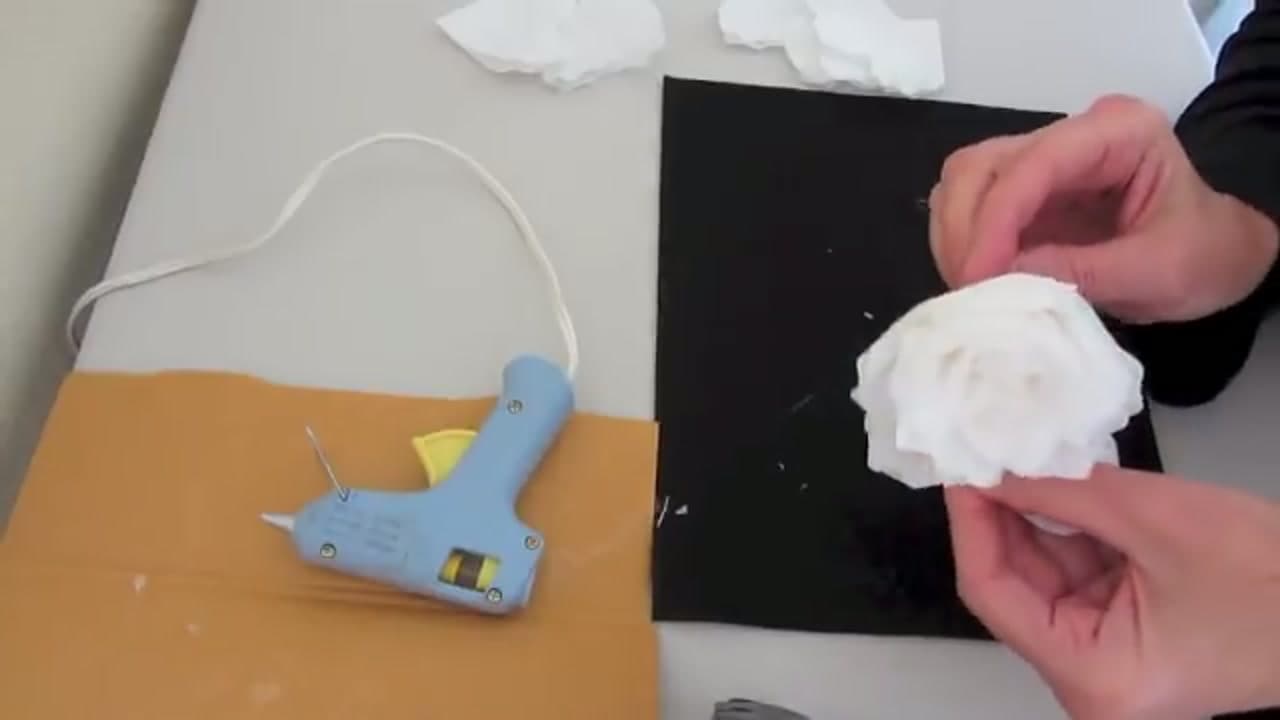
Pull nine white basket-style coffee filters from the pack. Seven of them become the outer petals. Two become the inner heart of the rose.

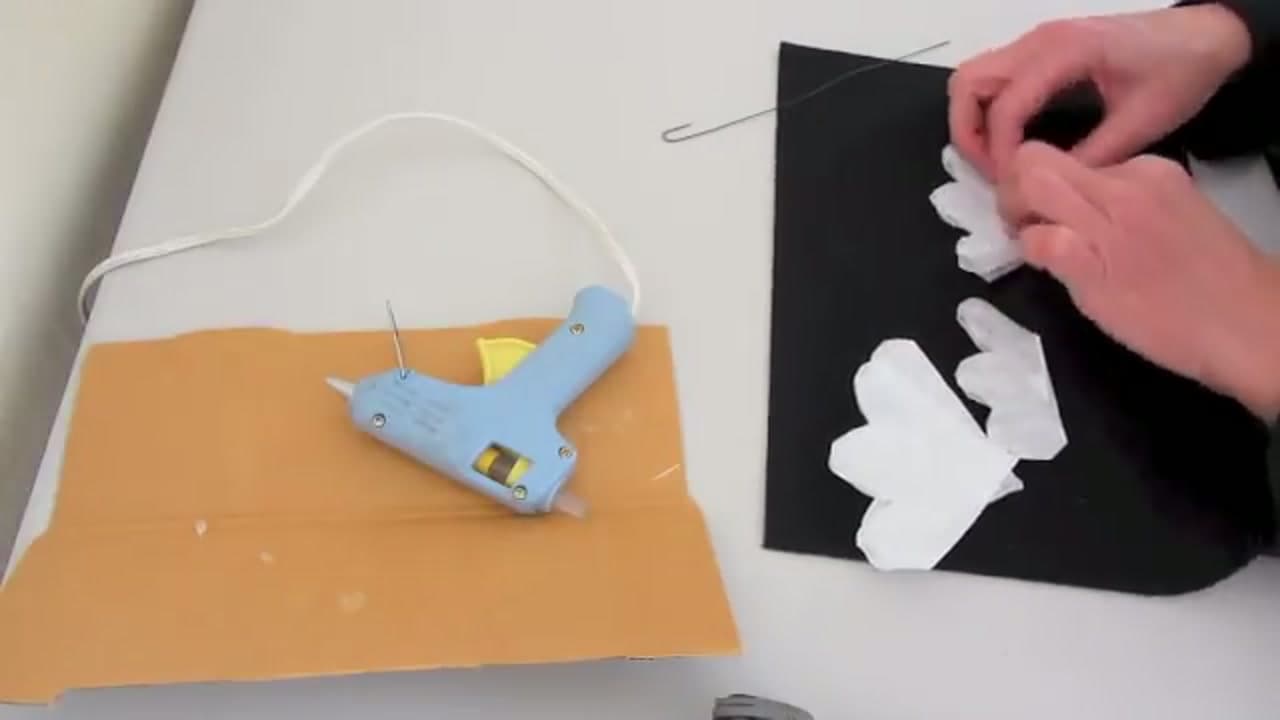
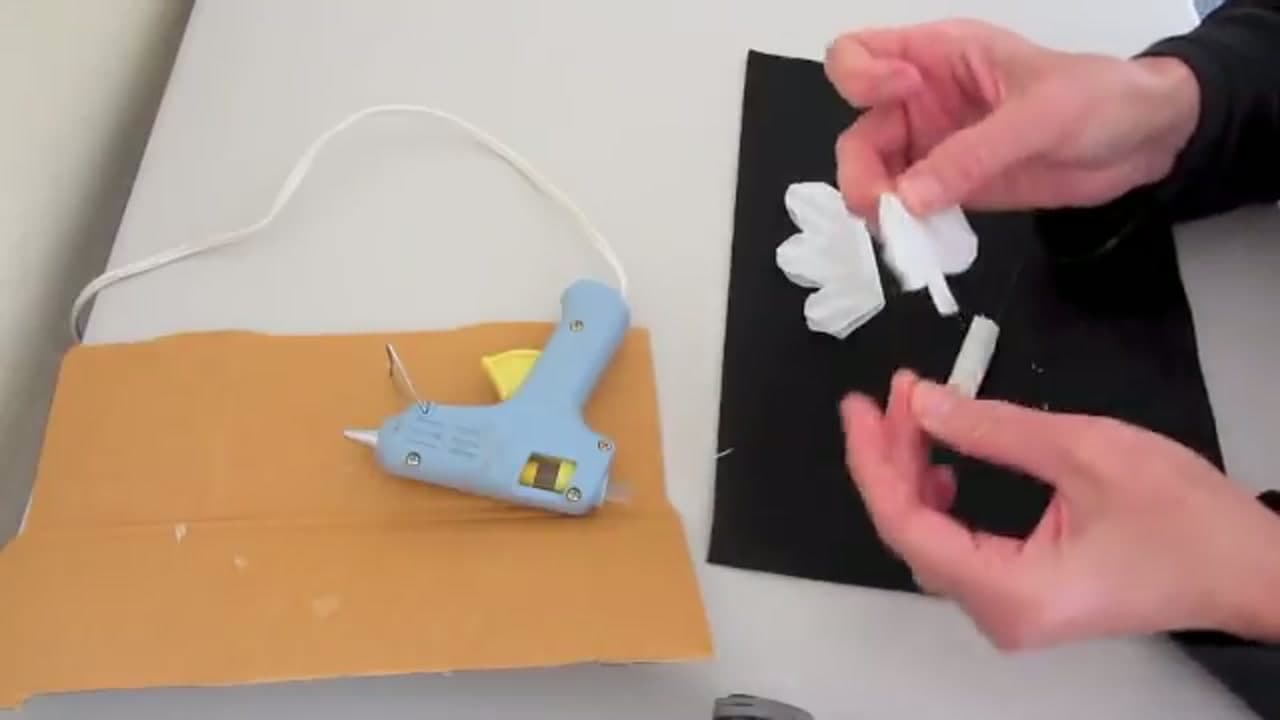
For the seven outer-petal filters: fold each one in half, then in half again, then in half again. That's three folds, which divides the filter into eighths. You'll end up with a long, narrow wedge.

For the two center filters: fold in half, fold in half again, then fold the last stage into thirds instead of halves. That gives you twelve sections instead of eight - a tighter, more concentrated middle for the rose.

Tip

Keep your folds crisp - sharper folds mean cleaner petal edges later. Run a fingernail or the edge of a bone folder along each crease as you go.

2

Step 2: Cut an Ice-Cream-Cone Petal Shape From Each Filter

1:15
Step 2: Step 2: Cut an Ice-Cream-Cone Petal Shape From Each Filter

Hold the folded filter narrow-tip down and round-edge up. Cut from the round edge in toward the narrow tip in a curved arc, then around back to the other side. The shape you're cutting is like an ice cream cone - rounded scoop at the top, a point at the bottom.

Do this for all nine filters. Because the filters are folded into eighths (or twelfths for the two center pieces), one cut produces eight or twelve identical petals at once. Margaret keeps the petals attached at the bottom fold for now - they'll get separated in the next step.

Tip

Don't stress about precision. A rose has irregular petals in nature. Slightly wonky cuts make the finished flower look more organic, not less.

3

Step 3: Cut the Joined Bottoms Into Little Heart Notches

2:15
Step 3: Step 3: Cut the Joined Bottoms Into Little Heart Notches

Each folded filter still has its petals joined at the very bottom by the original fold. Snip a small V or heart shape out of that bottom seam. The V cuts through the connection and gives each petal a slight scallop at the base.

This step does two things. It separates the petals so they fan out individually when the filter is opened. It also gives each petal a soft heart-shaped silhouette instead of a hard point at the base, which makes the rose look more natural.

Tip

Cut shallow - you only need a small notch, not a deep slice. Cutting too far up the fold weakens the petal where it meets the stem and makes it harder to glue.

4

Step 4: Bend a Hook on a Piece of Floral Wire

3:20
Step 4: Step 4: Bend a Hook on a Piece of Floral Wire

Take a length of floral wire - any 18 to 22 gauge length works. Bend the very top into a small loop or U-shape, like a tiny shepherd's crook. The hook catches the first coffee filter and gives the center of the rose something solid to wrap around.

Needle-nose pliers make the bend easier and tidier, but you can do it with your fingers if the wire is soft enough. The hook only needs to be about a quarter inch across - just enough to grab and hold a folded filter.

Tip

If your floral wire is brittle and snaps when you bend it, try a thinner gauge or substitute a paper-covered florist stem - it's softer and bends without breaking.

5

Step 5: Form the Center Bud With One of the Twelfth-Folded Filters

4:30
Step 5: Step 5: Form the Center Bud With One of the Twelfth-Folded Filters

Open one of the two center filters (the ones folded into twelfths). Pinch the bottom together to form a teardrop shape - rounded petals at the top, gathered point at the bottom. Slide the gathered point into the wire hook and bend the hook closed around it.

Now fold the petals down and inward in a couple of overlapping wraps, like you're forming a tight rosebud. Add a tiny dab of hot glue at the base of each wrap to hold it in place. The shape you want is a cone or teardrop - tight in the middle, opening just slightly at the top.

Tip

Low-temp glue guns are friendlier on fingers and plenty strong for paper. The full-temp guns work too but they burn fast - keep a bowl of cold water nearby just in case.

6

Step 6: Glue the First Outer Petals Around the Center

6:45
Step 6: Step 6: Glue the First Outer Petals Around the Center

Pick up one of the seven outer-petal filters. Open it flat, then gather the bottom edge to give it a slight cone shape. Wrap it around the center bud you just made, glue along the bottom seam, and pinch the base to hold it tight.

The trick is to keep the tops of the new petals roughly even with the top of the center. You don't want one filter standing way taller than the others - it makes the finished rose look lopsided. Add the next filter on the opposite side of the bud so the petals fan out evenly.

Tip

Margaret holds the rose upside down while she glues. Gravity pulls the petals into a natural rose shape and you can see exactly where to add glue along the base.

7

Step 7: Layer the Remaining Petals Fanning Loosely Outward

9:00
Step 7: Step 7: Layer the Remaining Petals Fanning Loosely Outward

As you add the last few filters, attach them more loosely. Don't pinch the base as tight - let the petals fan outward instead of pulling them upright like the center wraps. This is what gives the finished rose its full, blown-open shape.

Stagger each new filter around the bud so the seams aren't all stacked on the same side. By the time you've added all seven outer filters, the rose should look like a fully opened bloom with ruffled petals layered in concentric rings.

If a petal pops loose later, just add a small dab of glue along the base and press it back into place. The filters are forgiving.

Tip

You don't have to use all seven outer filters. Stop at four or five for a tighter rosebud, go all the way to seven or eight for a generous garden-rose bloom.

8

Step 8: Finish, Curl the Edges, and Wrap the Stem

10:45
Step 8: Step 8: Finish, Curl the Edges, and Wrap the Stem

The rose is essentially done. For an extra touch, run a small wooden dowel or knitting needle along the outer edge of each petal to give it a soft curl - it makes the rose look even more like the real thing.

To finish the stem, paint a strip of coffee filter green and wrap it around the wire, or use a length of green floral tape. Both options hide the wire and give the rose a clean, finished base ready to drop into a vase.

Make a dozen of these in white and one or two in a dyed color and arrange them in a tight-fitting vase. That's a centerpiece for under five dollars.

Tip

To dye the filters before folding, dip them in a shallow bath of water mixed with a few drops of food coloring or watered-down acrylic paint. Let them dry flat overnight. Soft pinks, dusty rose, and pale yellows look most realistic.

Products Used

☐ The Checklist

How to Make Coffee Filter Flowers (Elegant Rose Method)

Tools
3
Materials
4
Steps
8
Video
11 min

Your Guide

Margaret's Everyday

As an Amazon Associate we earn from qualifying purchases. Links on this page may be affiliate links - clicking them and buying doesn't change your price, but helps support ShowMeStepByStep.

Tags

What's next

Related collections

Curated theme pages that include this tutorial.

Weekly Digest

Liked this paper crafts tutorial?

Pick the categories you want to hear about. Weekly digest of new step-by-step tutorials. No spam, easy unsubscribe.

Send me tutorials about

We only email about new tutorials. Easy unsubscribe anytime.