1
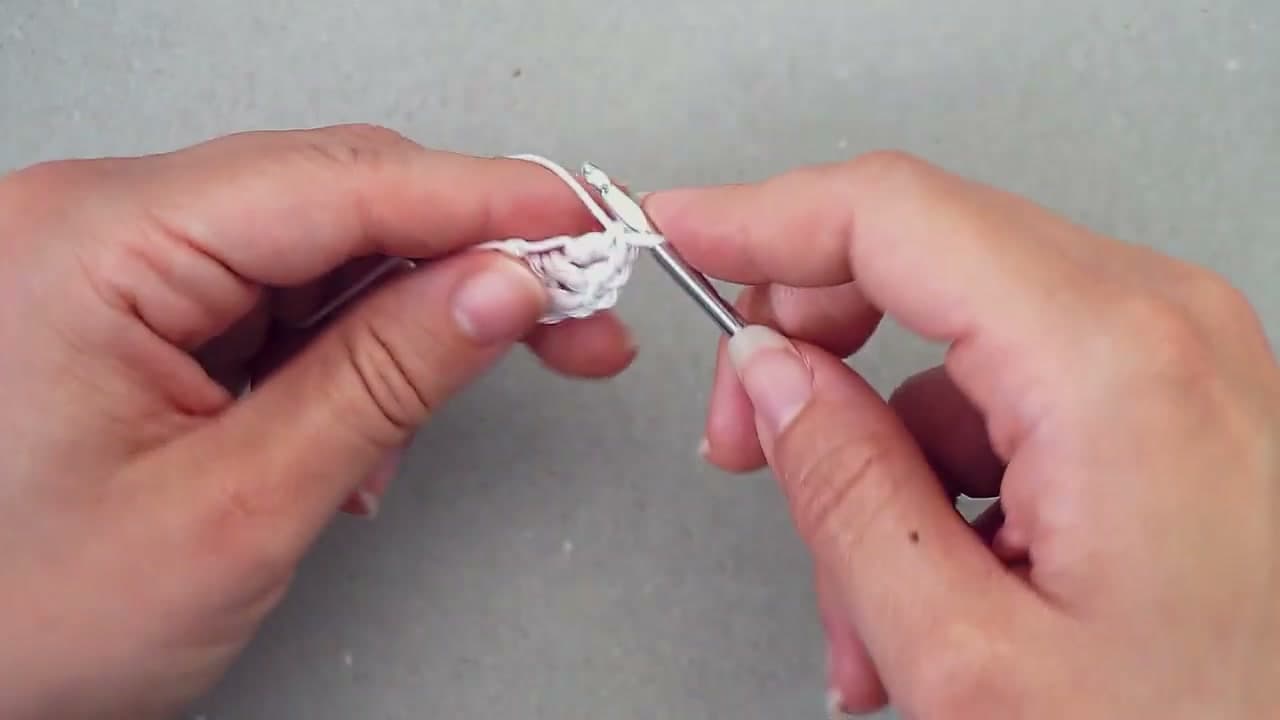
Step 1: Gather your supplies
0:50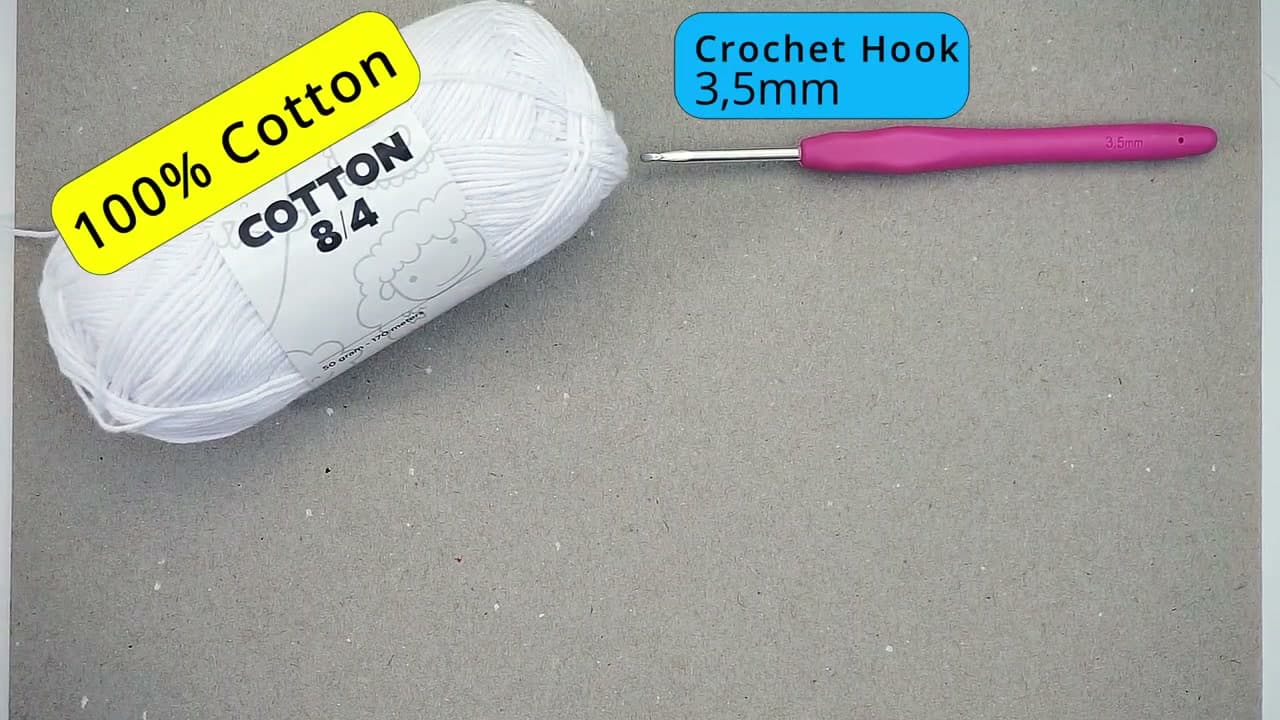
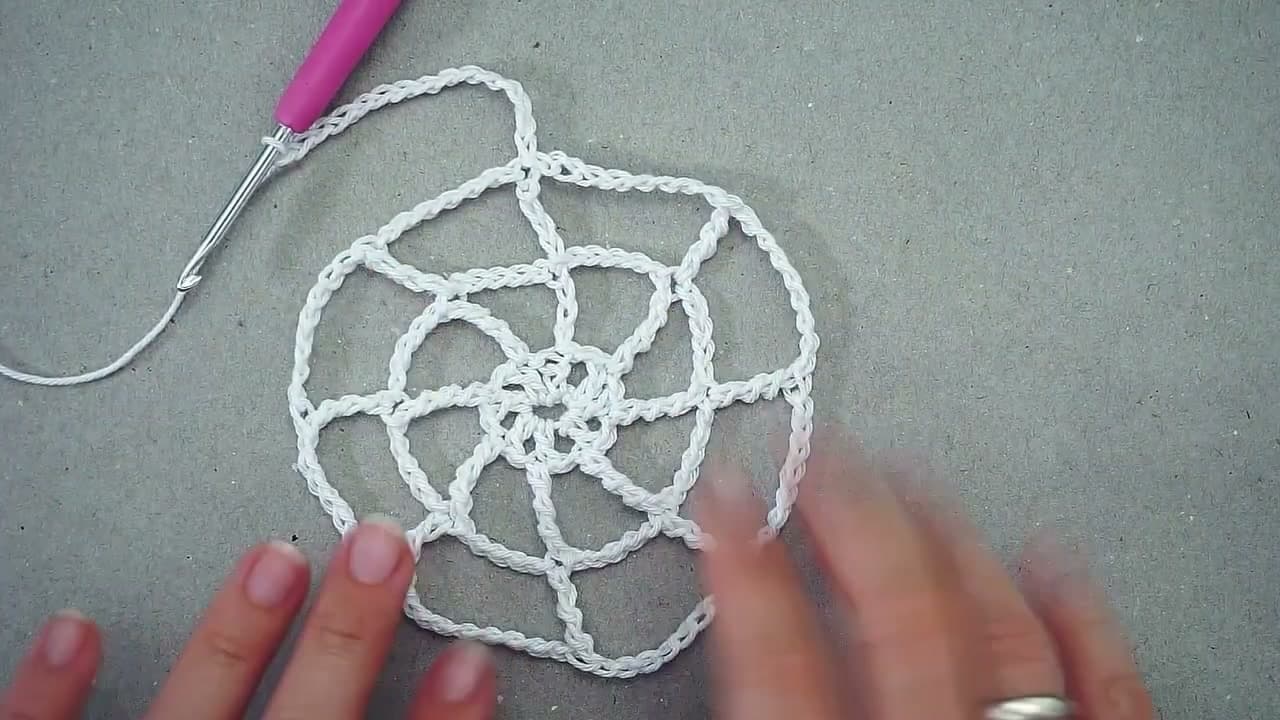
You need a ball of cotton or worsted yarn, a 3.5mm crochet hook (size E), a small tapestry needle, and a pair of scissors. The video uses white 100% cotton 8/4 because the stiffer fiber holds the open web shape after a quick block. For the spookiest Halloween look, swap in a black worsted weight like Lion Brand Vanna's Choice in Black.
One 50g ball is enough for a decoration-sized web. You will also want three or four command hooks ready for hanging once you are done.
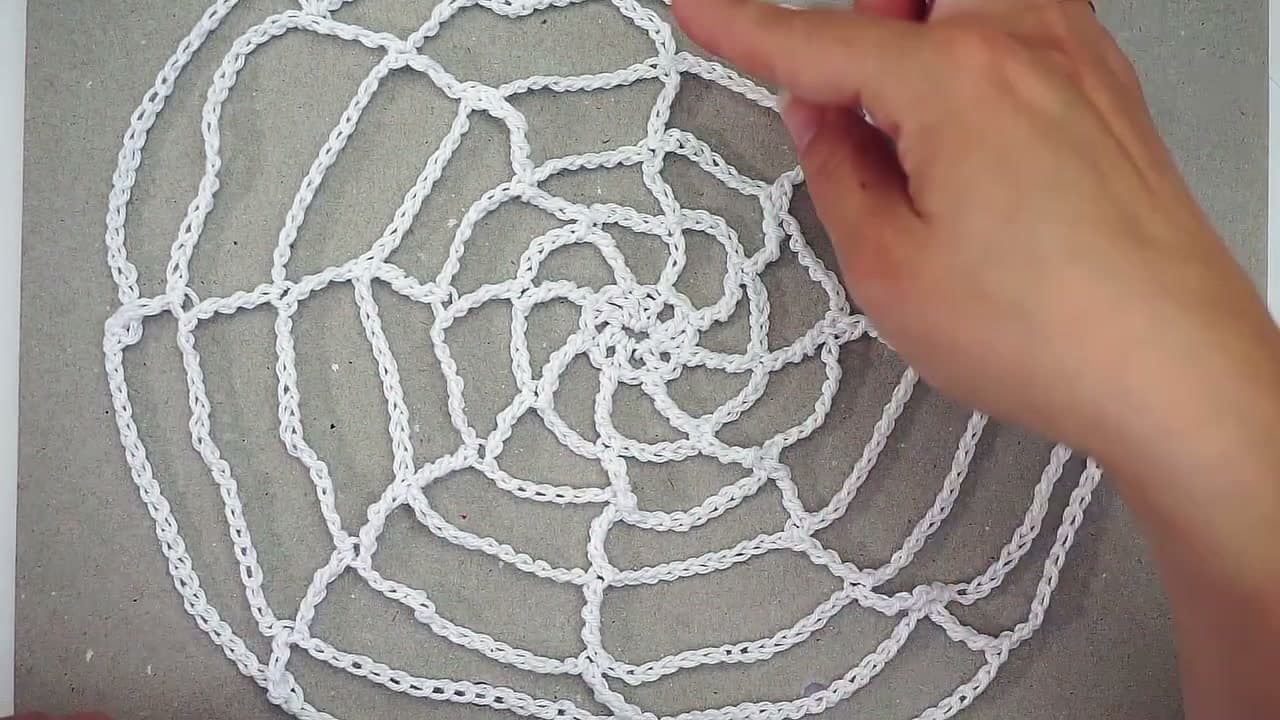
Tip
Cotton holds the shape better than soft acrylic. If you use a fuzzy yarn like wool, your stitches will blur and the radial spokes lose definition. Stick to cotton or a smooth acrylic.