How to Draw Flowers

CraftsEasy12:577 steps
Also in:Painting

By CraftingStepByStepPublished Updated

Based on a video by Jennifer M. Beaupre.

Drawing realistic flowers feels like an advanced skill, but every flower is just a few simple shapes layered up with the right shadows. Jennifer Beaupre walks through six different flowers in this tutorial, each one teaching a slightly different shape language - circles for the daisy and cosmos, soft curves for the calla lily, fluttery edges for the tulip and daffodil, and bulby teardrops for the snowdrop.

The technique is the same for all six. Sketch the rough outline in pencil first, ignoring small mistakes. Outline with a 03 fine liner. Erase the pencil. Then go back in with a 01 fine liner and add contour lines, shadow strokes, and cross-hatching to bring it to life. The cross-hatching is what makes the difference between a flat sketch and a flower that looks like it could be in a botanical book.

Plan on about an hour to work through all six. Each flower takes 6-10 minutes including the inking and shading. You don't have to do them in order - skip ahead to whichever flower you want to draw most, or just pick one and repeat it across the page.

Step-by-Step Guide

1

Step 1: Set up your page

0:22
Step 1: Step 1: Set up your page

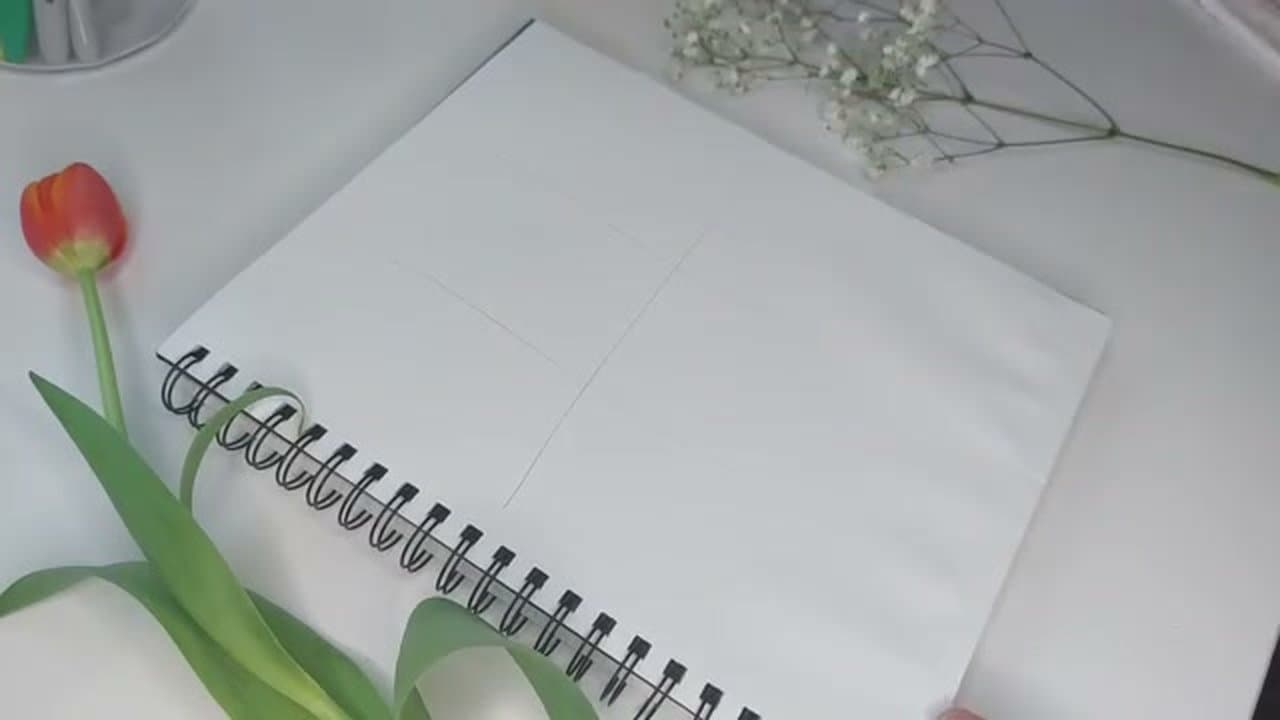
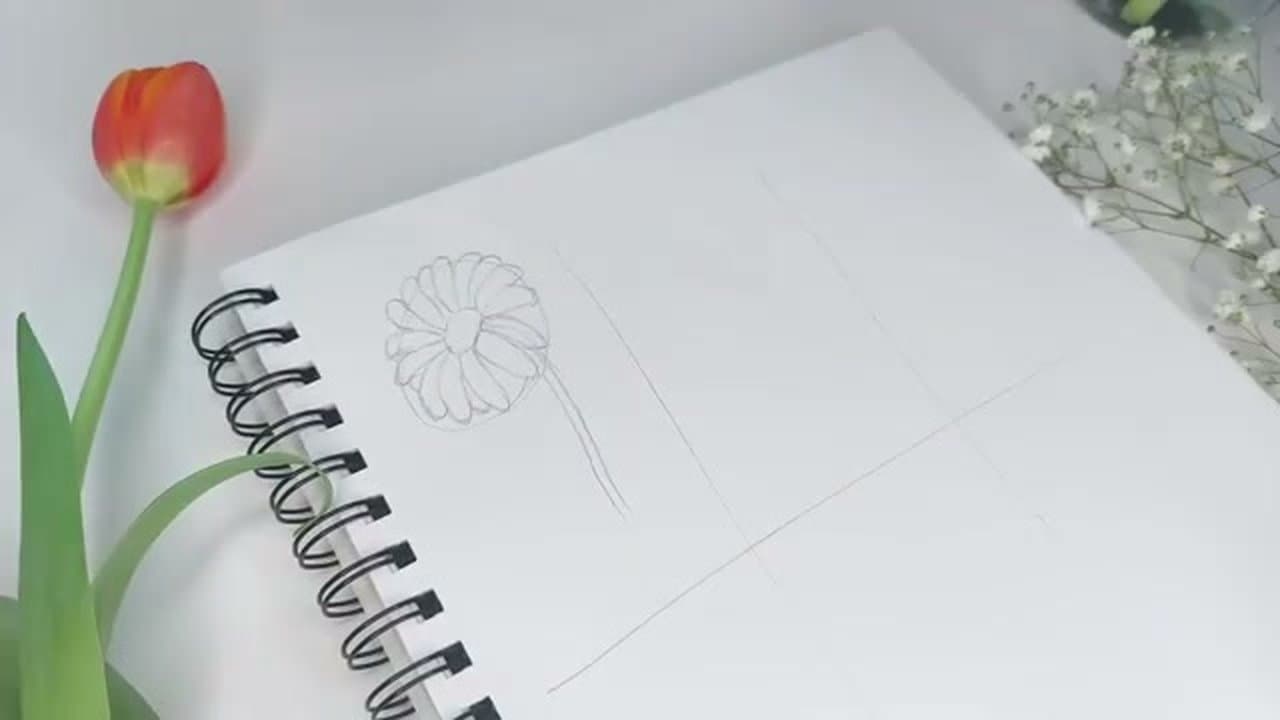
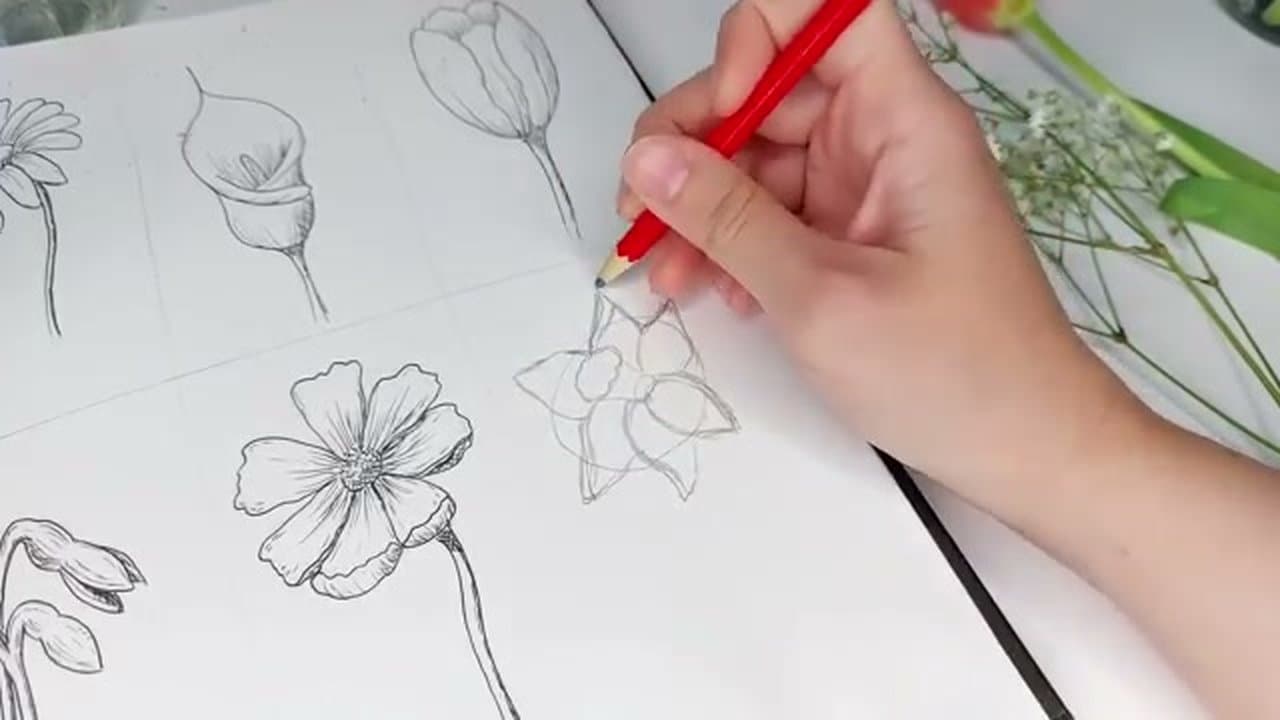
Section your sketchbook page into six equal boxes with light pencil lines - two columns and three rows works well. This keeps each flower confined to its own space so the page looks tidy at the end.

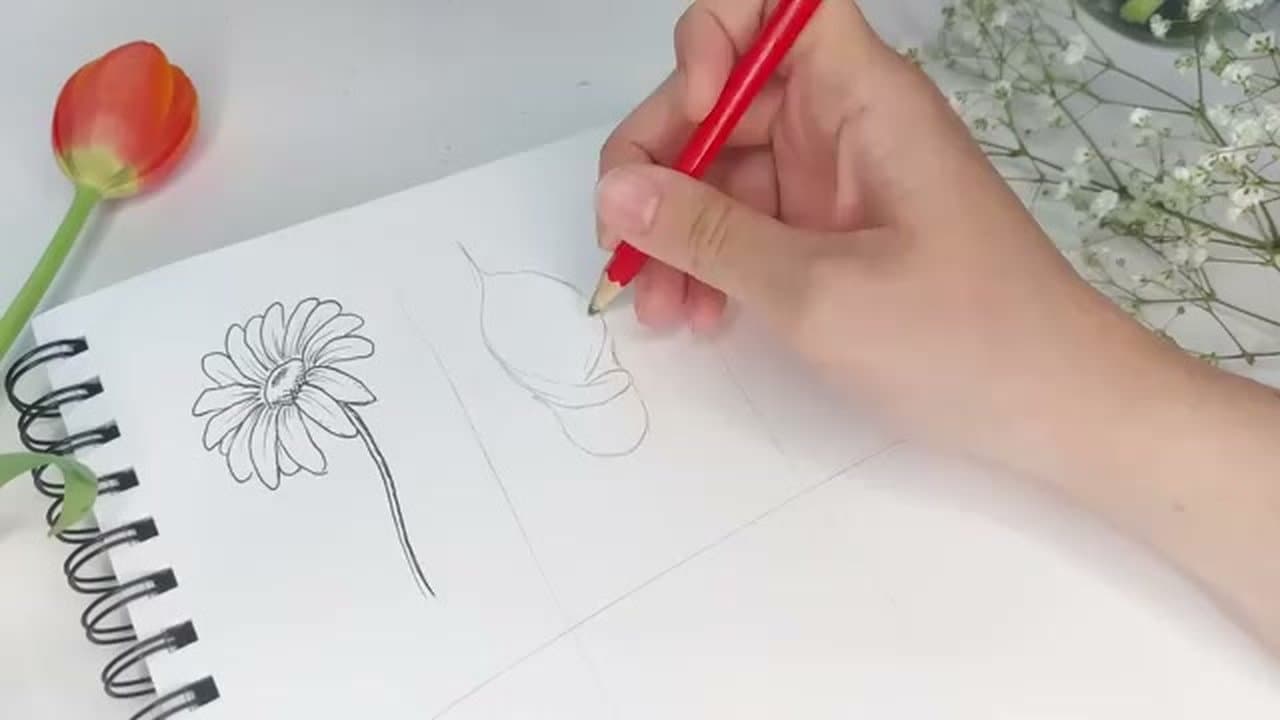
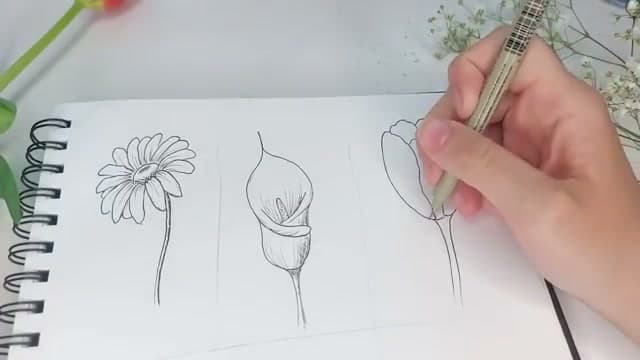
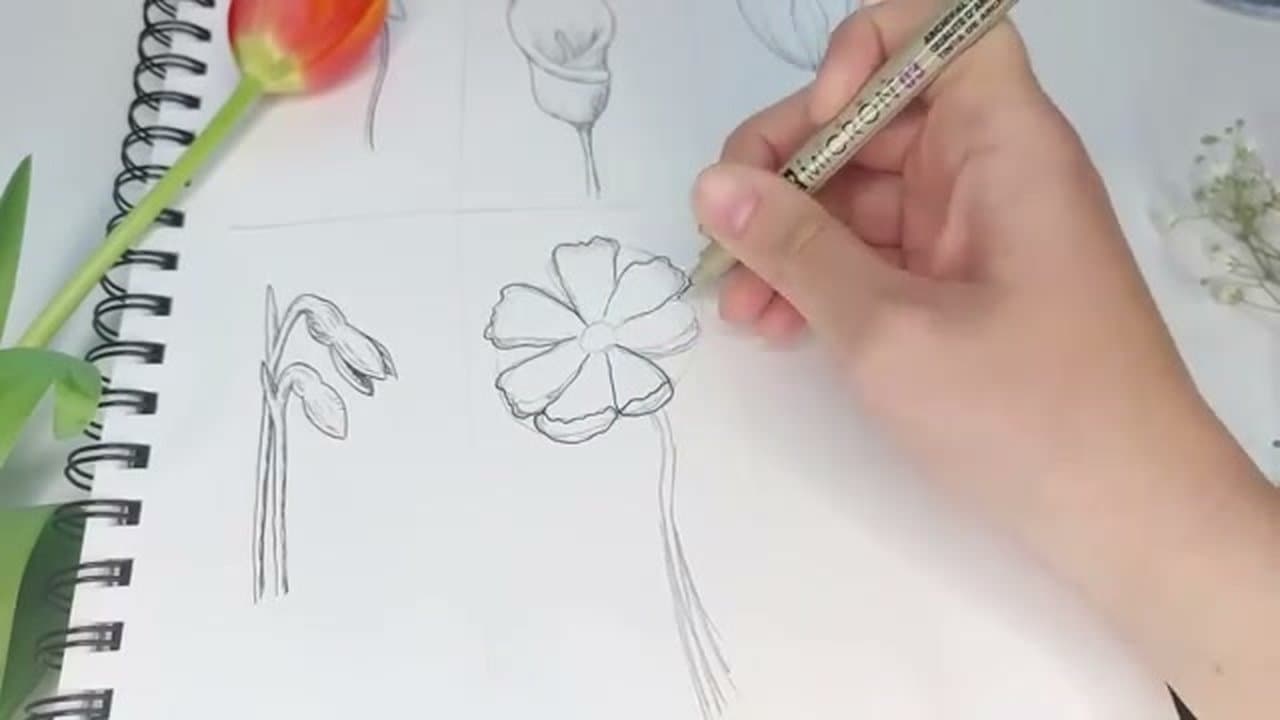
Have a pencil, eraser, and at least two fine liner pens ready. A 03 fine liner is for outlining, and a 01 is for the smaller shadow strokes that come later.

Tip

If you only own one fine liner, use it - the size difference matters less than the artist makes it sound. Just press lighter for the shadow lines and harder for the outlines.

Products used in this step

Sakura Pigma Micron Fine Liner Set
Strathmore Sketch Paper Pad
Faber-Castell Drawing Pencils
2

Step 2: Draw a daisy

1:05
Step 2: Step 2: Draw a daisy

Start with one big circle for the outer flower and a smaller circle in the middle for the florets. Add petals around the outer circle - the daisy is forgiving, so anywhere from 10 to 20 petals will look right. Don't worry about exact symmetry.

Outline with the 03 fine liner, then erase the pencil. Use the 01 to add a contour line down the middle of each petal and cross-hatching in the floret center. Those small lines are what make the flower feel real instead of cartoonish.

3

Step 3: Draw a calla lily

2:10
Step 3: Step 3: Draw a calla lily

Make the calla lily shape soft and loose - two long curving arms that wrap around each other above a curved bell shape. Add a thin pistol straight up the center.

Outline with the fine liner, then add contour lines around the bottom of the flower for the bell shape. The right side of the flower gets shadow lines and a touch of cross-hatching to suggest it curves away from the light. Add darkness behind the pistol too - it deepens the throat of the flower.

4

Step 4: Draw a tulip

4:00
Step 4: Step 4: Draw a tulip

Start with a rough rectangle outline. Place two main petals on the outside, then build inner and back petals between them. Round out the corners and keep the petal edges fluttery and slightly wiggly - hard curved lines look stiff and unnatural.

Outline with the fine liner, then add a single line down the center of each petal. Add small shadow strokes near the base of each petal and a few cross-hatch marks underneath the flower for ground shadow.

Tip

If your tulip looks too symmetrical, that's a sign you outlined too carefully. Real tulips lean and tip - a slight asymmetry makes the drawing more believable.

5

Step 5: Draw snowdrops

6:40
Step 5: Step 5: Draw snowdrops

Start with bulby circles, then elongate each into three teardrop petals - only three are visible per flower. Draw two snowdrops if you want, one fully open and one barely open. Add a quick angled stem and a single grass blade poking out near it.

Snowdrops are very curved and bulbous. Contour around the petal edges to emphasize the volume, and use light cross-hatching underneath to suggest weight without overworking the drawing. Less is more here - the flower looks delicate when you stop early.

6

Step 6: Draw a cosmos

8:00
Step 6: Step 6: Draw a cosmos

Make a big outer circle and a smaller inner one for the pistol. Add exactly seven tapered petals - cosmos look wrong with a different count. Keep the petal edges wiggly and let a few petals flip upward for a more realistic curl.

Outline everything except the top of the pistol - leave that part open. Add darkness in the middle with cross-hatching, then shadow lines near each petal base and along the inner edges. The open top of the pistol is what makes the cosmos look three-dimensional rather than flat.

7

Step 7: Draw a daffodil

10:40
Step 7: Step 7: Draw a daffodil

Start with three circles - a large outer one for the petal spread, a middle fluttery one for the trumpet rim, and a small one for the trumpet base. Connect the two smaller circles into a trumpet shape, then add six petals around the outer circle in a star pattern.

Outline with the fine liner using a wiggly line on the trumpet rim - that ruffled edge is signature daffodil. Add depth with shadow lines inside the trumpet and at the base of each petal. Lines clustered at the petal base make the flower look like it has weight and dimension.

Products Used

Sakura Pigma Micron Fine Liner SetStrathmore Sketch Paper PadFaber-Castell Drawing Pencils
☐ The Checklist

How to Draw Flowers

Tools
4
Materials
1
Steps
7
Video
13 min

Your Guide

Jennifer M. Beaupre

As an Amazon Associate we earn from qualifying purchases. Links on this page may be affiliate links - clicking them and buying doesn't change your price, but helps support ShowMeStepByStep.

Tags

Related Tutorials