1
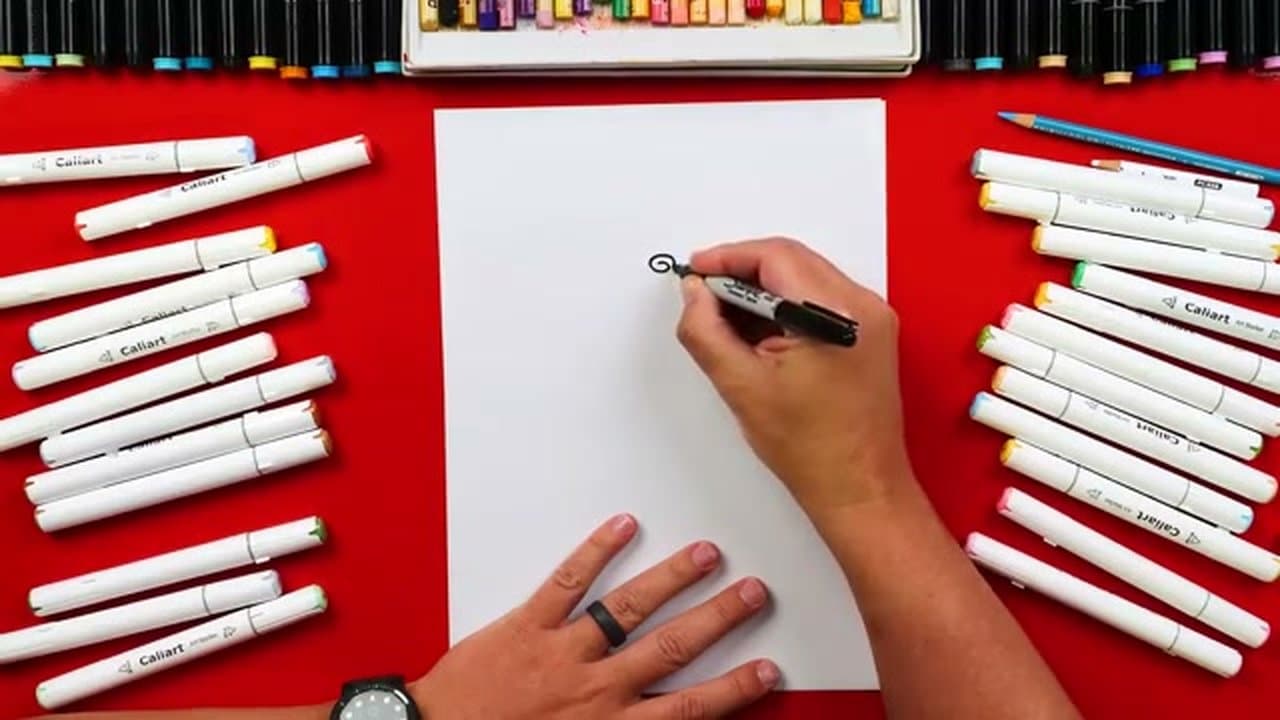
Step 1: Gather your supplies
0:22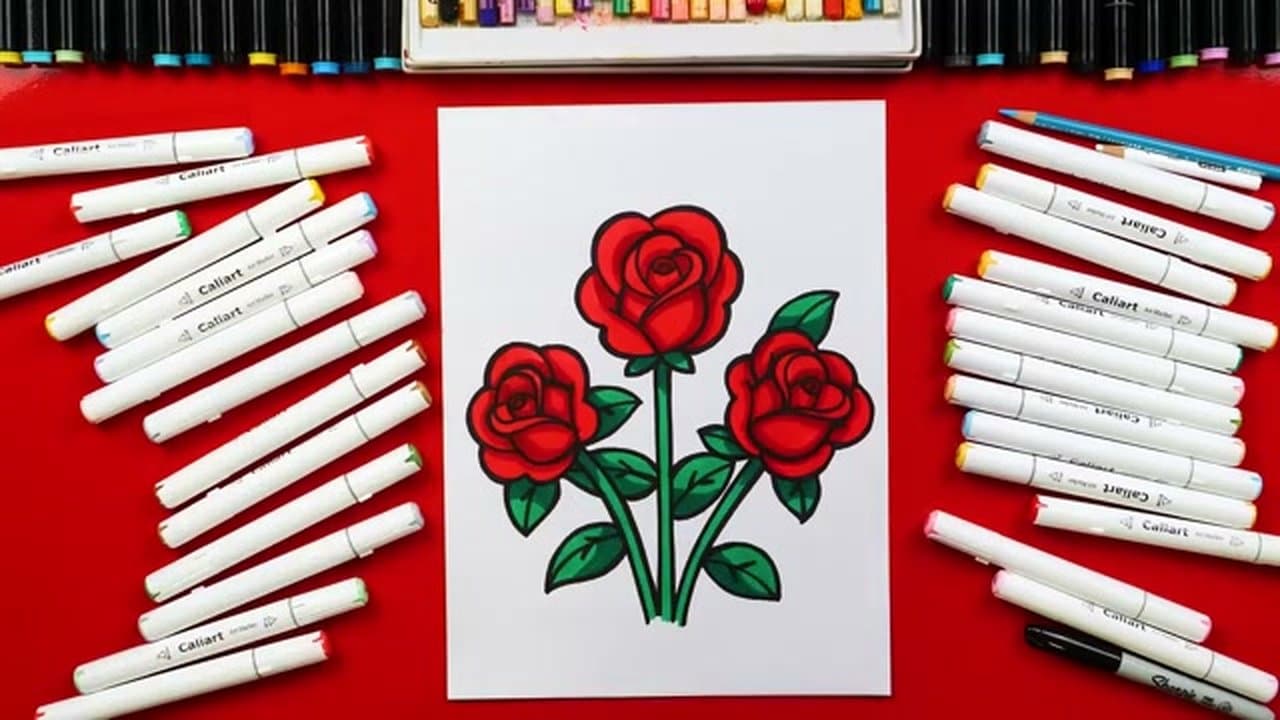
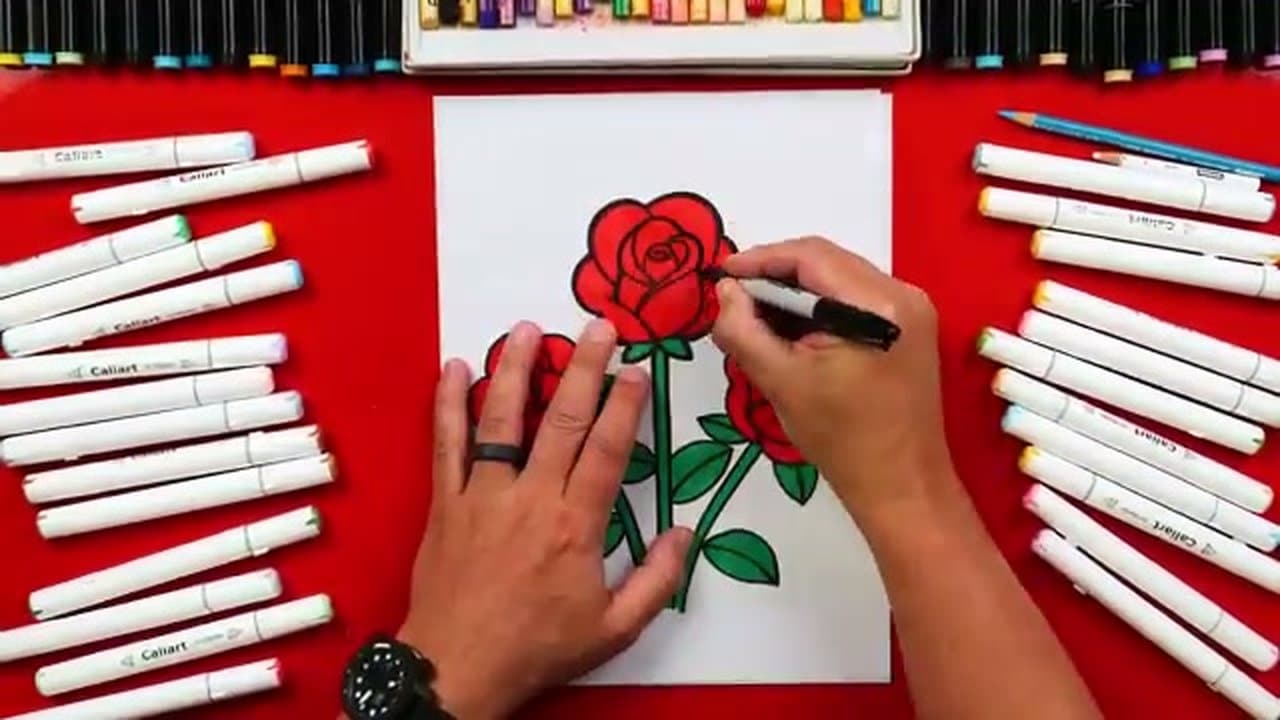
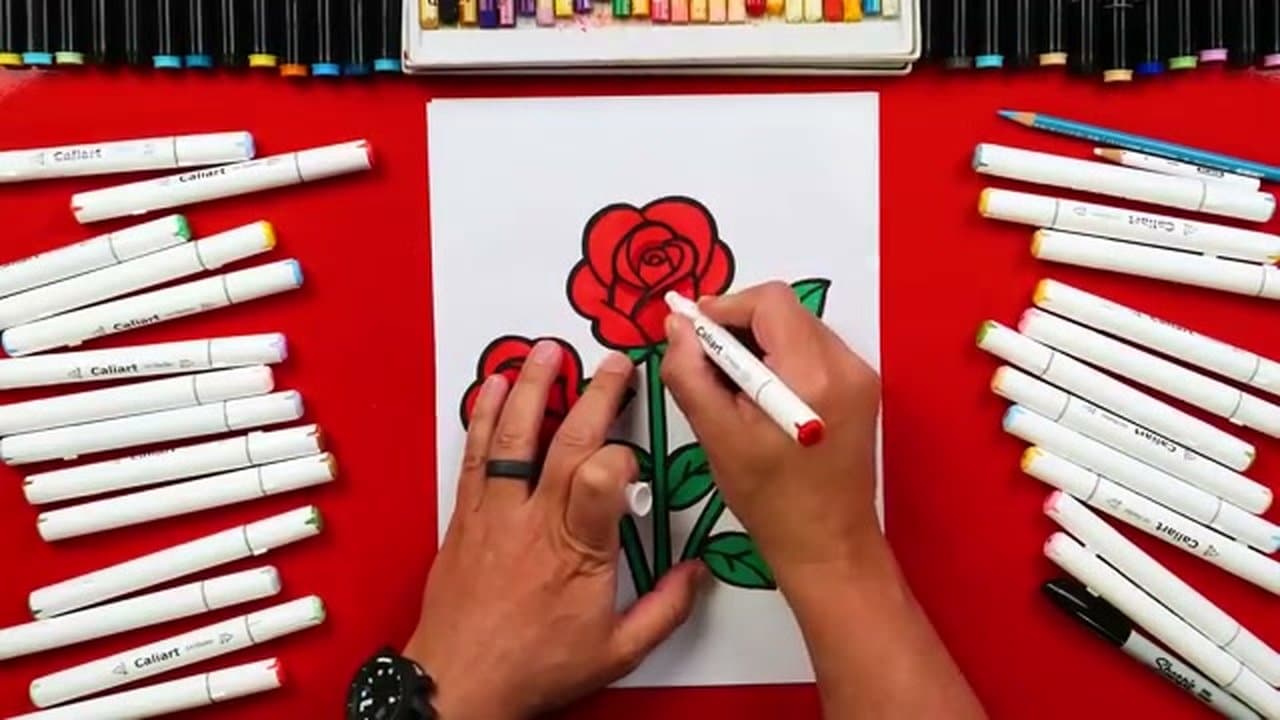
Pull out a pad of marker paper and a small set of markers - any colors you like, plus at least one red, one green, and a darker version of each for shading. A black fine-tip marker is handy for outlining. A pencil is optional but useful if you want to sketch the rough shape first before committing in marker.
Marker paper matters more than you'd guess. Regular printer paper bleeds through and dulls your markers fast. A pad of marker paper keeps colors crisp and protects whatever surface you're working on.
Tip
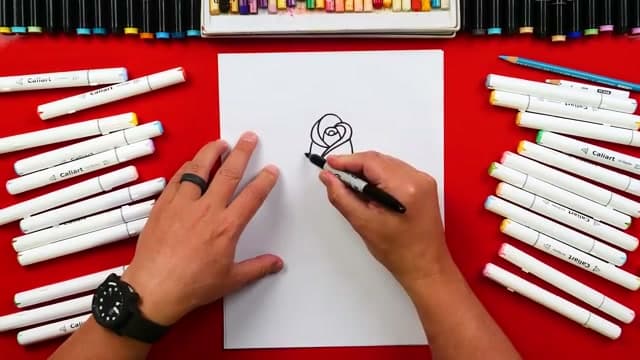
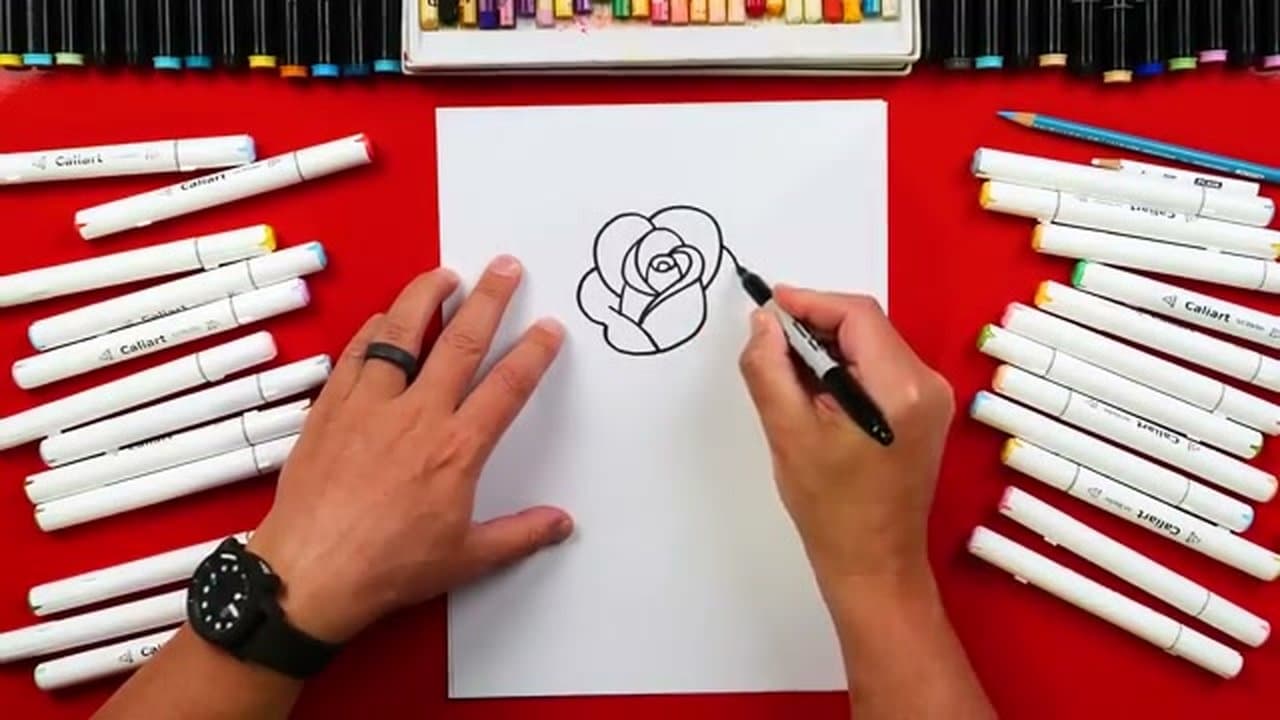
If you don't have markers, this technique works just as well with colored pencils, watercolor, or even a single black pen. The shape comes from the linework - the color is just the finishing touch.