How to Make Giant Paper Flowers for a Wedding Backdrop

Paper CraftsEasy4:266 stepsBrowse more →

By CraftingStepByStepPublished

Based on a video by Smile Mercantile.

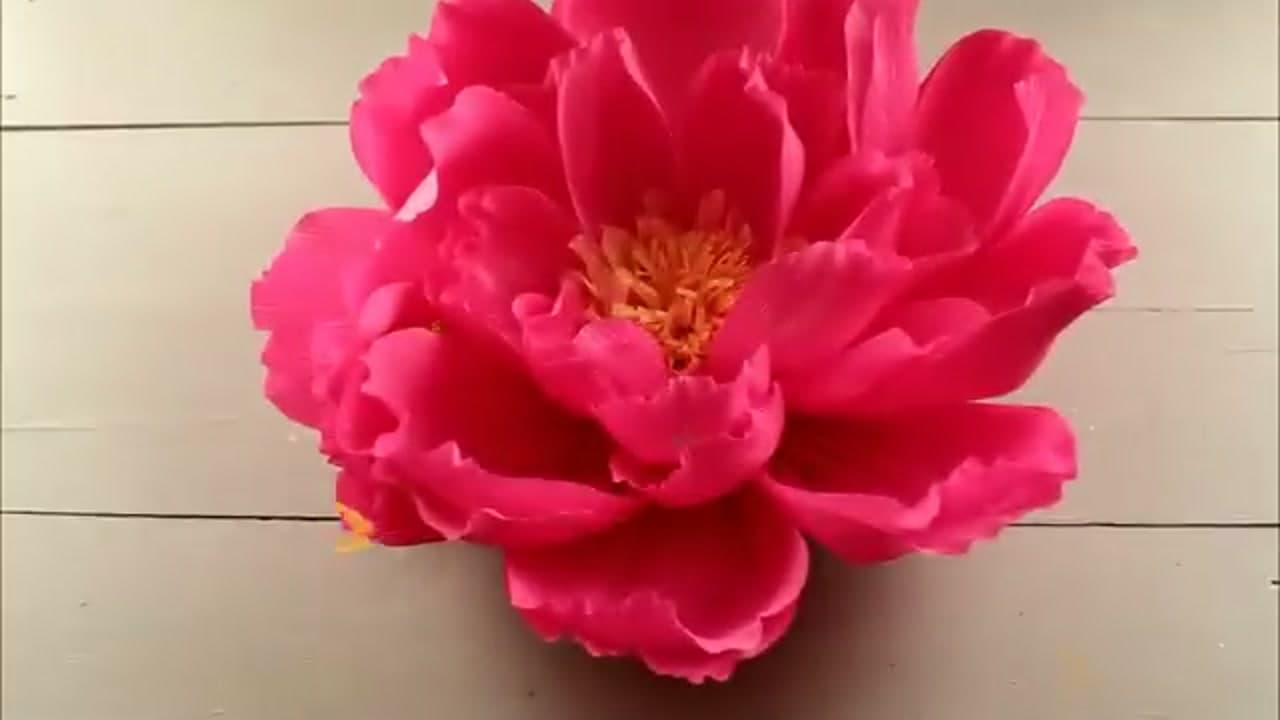
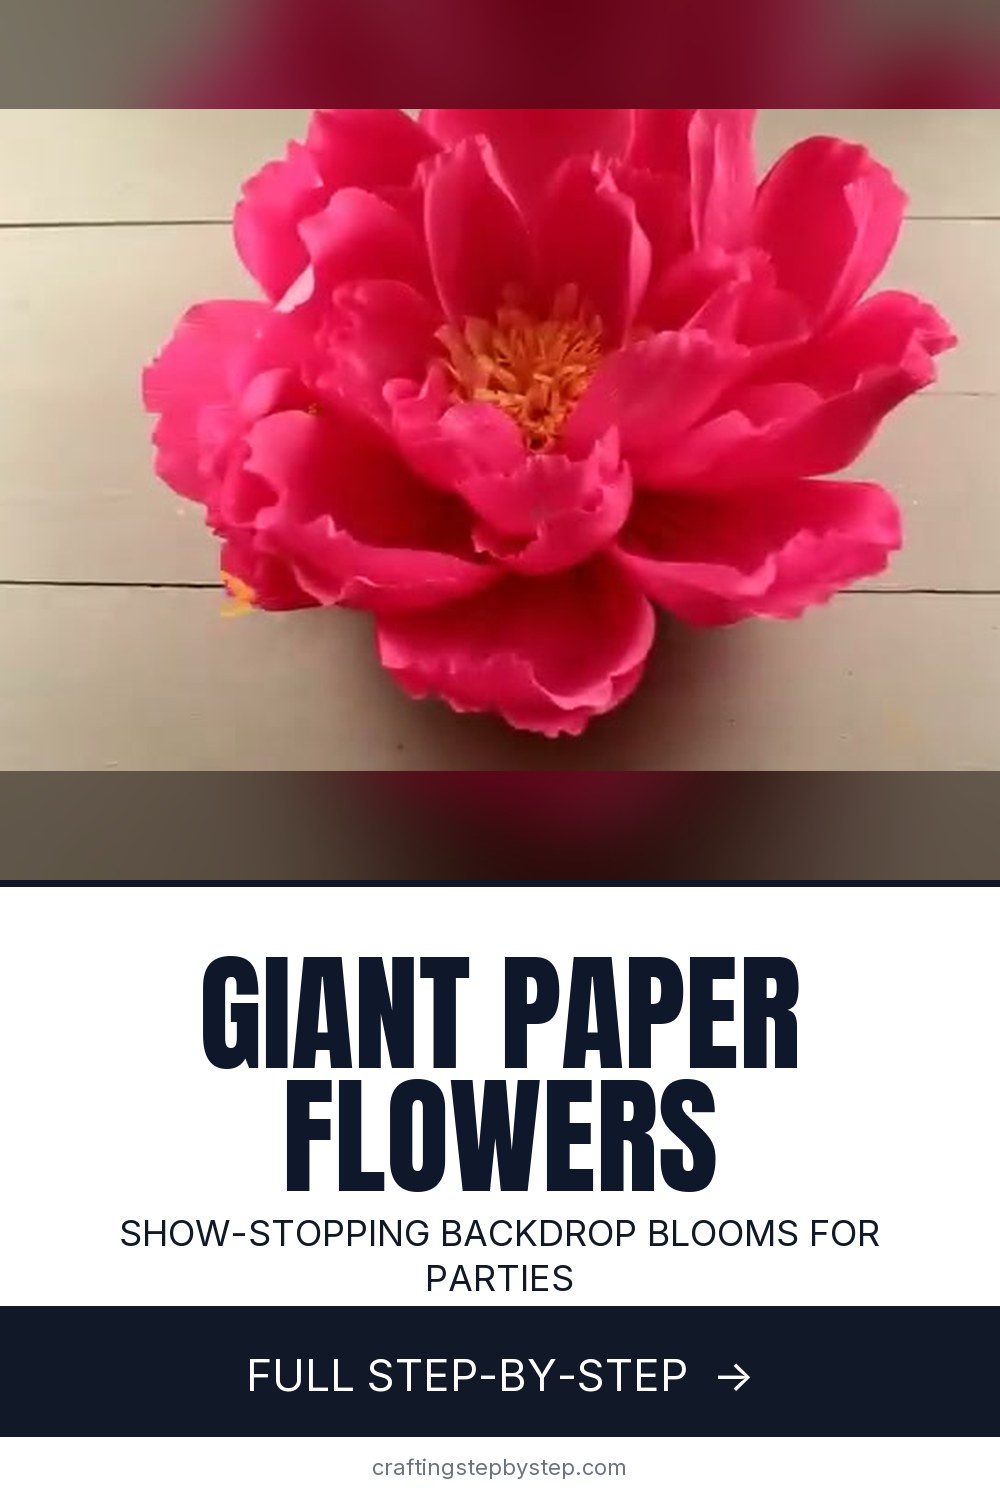
A wall of giant paper flowers is one of those backdrops that looks like it cost a fortune and actually costs almost nothing. This one is a single 18-inch crepe paper peony with a flat paper-plate back, so it hangs flush against a wall. Make one as a statement piece or make a dozen and cluster them into a full flower wall for a wedding or party. The method comes from Smile Mercantile, whose no-fuss approach keeps a big project from feeling overwhelming.

The whole flower is petals cut from folded crepe paper, cupped by hand, and hot glued in layers from the outside in. A rolled paper fringe forms the center. There is no template to trace if you don't want one - you eyeball the petal shape and let the crepe do the work. Take your time on the petal cupping, since that curve is what turns a flat pile of paper into something that reads as a real bloom from across the room.

If you want smaller blooms to fill in the gaps between the giants, the same folding trick scales down. Try our guide to how to make paper flowers for standard-size stems, or go softer and fluffier with how to make tissue paper flowers. Mix all three sizes on one wall and the backdrop gets real depth.

Step-by-Step Guide

6 steps · about 4 minutes.Check off each step as you go and your progress saves automatically.

1

Step 1: Cut the Petals from Folded Crepe Paper

0:24
Step 1: Step 1: Cut the Petals from Folded Crepe Paper

Fold a length of crepe paper in half and cut a rounded petal shape with the fold running along the bottom. Cutting through the fold gives you two matching petals at once, and stacking a few layers first lets you knock out a whole batch in one go.

You need two sizes. Cut a big pile of large outer petals and a second pile of smaller inner ones. A giant flower eats petals, so cut more than you think you need before you pick up the glue gun.

Tip

Watch this step Sketch one petal shape on cardstock and cut it out as a reusable template. Trace around it so every petal matches instead of drifting bigger as you go.

2

Step 2: Stretch and Cup Each Petal

0:48
Step 2: Step 2: Stretch and Cup Each Petal

Take a petal and gently pull it open from the middle, stretching the crepe so it bows into a cupped shape. Work slowly - crepe paper stretches but it also tears if you yank it. You want a soft curve, not a rip.

That cup is the single most important move in the whole flower. It gives each petal a natural bowl and stops the finished bloom from looking flat and papery. Cup every petal before it goes anywhere near the glue.

Tip

Watch this step Put your thumbs in the center and pull outward with even pressure. Stretching from the edges instead tends to leave a floppy petal with no shape.

Products used in this step

3

Step 3: Glue the Outer Petals to a Paper Plate

1:12
Step 3: Step 3: Glue the Outer Petals to a Paper Plate

Run a bead of hot glue along the base of a large petal and press it onto a paper plate, a couple of inches in from the rim. Work all the way around the plate, overlapping each petal slightly over the last so there are no gaps showing the plate underneath.

The plate is doing double duty here. It anchors every petal in one place and it gives you the flat back that later wires or tapes flush to a wall. Keep the glue on the petal base only so the tips stay loose and can flare out.

Tip

Watch this step A high-temp glue gun grabs crepe paper faster than a low-temp one, so the petal stays put instead of peeling back up while the glue cools.

4

Step 4: Layer Petals Toward the Center

2:04
Step 4: Step 4: Layer Petals Toward the Center

Keep going with more rings of petals inside the first, reaching for the smaller petals as you move toward the middle. Glue each new ring a little higher and more upright than the one before it so the flower builds up instead of staying flat.

This is where a pile of petals turns into a peony. The overlapping layers give the bloom its depth, and that depth is what makes it read as a real flower from across a room. Stagger the petals so no two seams line up.

Tip

Watch this step Stand back every few petals and look at the flower straight on. It is much easier to fix a thin spot now than after the center goes in.

5

Step 5: Make and Add the Fringed Center

3:36
Step 5: Step 5: Make and Add the Fringed Center

Grab a contrasting color for the center. Fold a long strip of crepe paper over on itself a few times, then snip thin cuts about two-thirds of the way through one edge to make a fringe. Keep the cuts close together so the fringe reads full.

Unfold the strip and roll it up tight into a fluffy plug. Rough up the fringe ends with your fingers, then hot glue the bundle into the middle of the flower. That fringed pom is what sells the whole thing as a peony.

Tip

Watch this step Do not cut all the way through the strip or the fringe falls apart. Leave a solid uncut band along the bottom to hold it together when you roll it.

6

Step 6: Fluff, Finish, and Mount the Backdrop

4:19
Step 6: Step 6: Fluff, Finish, and Mount the Backdrop

Go around the outside and stretch the petal edges to ruffle them, evening out the shape and hiding any glue lines. The finished bloom lands around 18 inches across with a flat plate back that sits close to the wall.

To hang it, run floral wire through the plate or press mounting tape onto the back. One flower makes a photo-corner statement. Build six or eight in a few colors and cluster them tight for a full wedding or party backdrop.

Tip

Watch this step Command strips hold these to a painted wall without leaving marks, which matters if you are decorating a rented venue. Space the flowers so their petals just touch for a fuller wall.

Products Used

☐ The Checklist

How to Make Giant Paper Flowers for a Wedding Backdrop

Tools
5
Materials
6
Steps
6
Video
4 min

Your Guide

Smile Mercantile

As an Amazon Associate we earn from qualifying purchases. Links on this page may be affiliate links - clicking them and buying doesn't change your price, but helps support ShowMeStepByStep.

Sunday How-To

New paper crafts tutorials, every Sunday

One short email with the week's best step-by-step guides. Free, no spam, unsubscribe anytime.

Did this work for you?

What's next

Related collections

Curated theme pages that include this tutorial.

Weekly Digest

Liked this paper crafts tutorial?

Pick the categories you want to hear about. Weekly digest of new step-by-step tutorials. No spam, easy unsubscribe.

Send me tutorials about

We only email about new tutorials. Easy unsubscribe anytime.