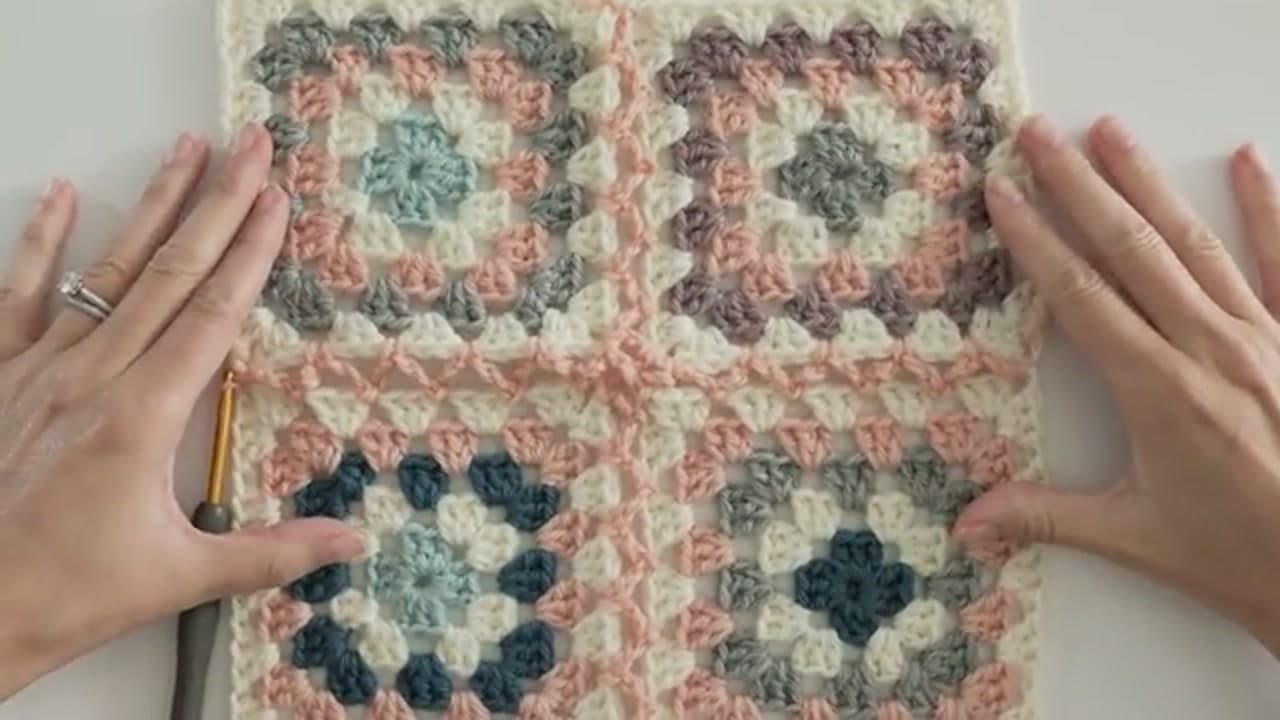
You have a pile of finished granny squares. Now what? Krista from B.Hooked Crochet walks through five different ways to seam them together, and each one gives a slightly different look.
Some joins lie completely flat. Others add a raised ridge or a bit of open lacy texture. By the end you will know which join suits a blanket, a pillow, or a bag, and you can mix and match on future projects.
All you need is your squares, a hook, a tapestry needle, and some yarn.
Which join should you use?
Every join trades speed against how much the seam shows. Here is how the common ones stack up.
| Join | Finish | Speed | Seam visibility |
|---|
| Whip stitch (needle) | Flat | Slow | Low, small bars on top |
| Invisible seam (needle) | Flattest | Slow | Almost none |
| Slip stitch | Low ridge | Fast | Medium |
| Single crochet | Raised ridge | Fast | High, a design line |
| Join-as-you-go | Flat or lacy | Fastest overall | Low |
Join-as-you-go is not shown in the video. You attach each new square to its neighbor while working its final round, so there is no separate seaming session at the end. It saves hours on a big blanket, but you have to commit to the layout before you start.
Lay out the squares before you join
Spread every square on the floor or a bed in the final grid. Step back, take a phone photo, and look at it in black and white. That shows you any spot where two dark squares clump together. Swap until the colors feel spread out, then stack each row in order with a safety pin or a paper tag on the top square.
Decide the joining order too. Most people join squares into rows, then join the rows together. Long seams across the whole width keep corners lined up better than working square by square.
Block first so the edges match
Squares from different days rarely come out the same size. Your tension shifts. Pin each one to the same measurement on a foam mat, mist or steam it, and let it dry. Blocked squares have straight edges, and the stitches line up along every side, which makes the join go quickly.
Joining with a contrast color
A dark or neutral join, like black, cream or grey, frames every square and pulls a scrappy mix of colors together. It works best with the single crochet or slip stitch join, where the seam sits on top as a deliberate line. If you want the squares to read as one field of color, use the color of their last round instead.
Common mistakes
- Puckering. The seam is tighter than the squares. Go up a hook size for the join, or ease off your pull with the needle.
- Corners that do not meet. Match corner to corner before you start each seam and put a stitch marker in both. If the stitch counts differ, block again before you force it.
- Pulling too tight. Needle joins are the worst for this. Tug each stitch until it lies level with the fabric, no further.
- Skipping stitches. Work one join stitch into every edge stitch, plus the corner chain spaces, or the seam will ripple.
Before and after the join
Need squares first? Start with how to crochet a granny square, then turn the panel into a full crochet blanket.
Related techniques: change colors, fasten off, and decrease.