1
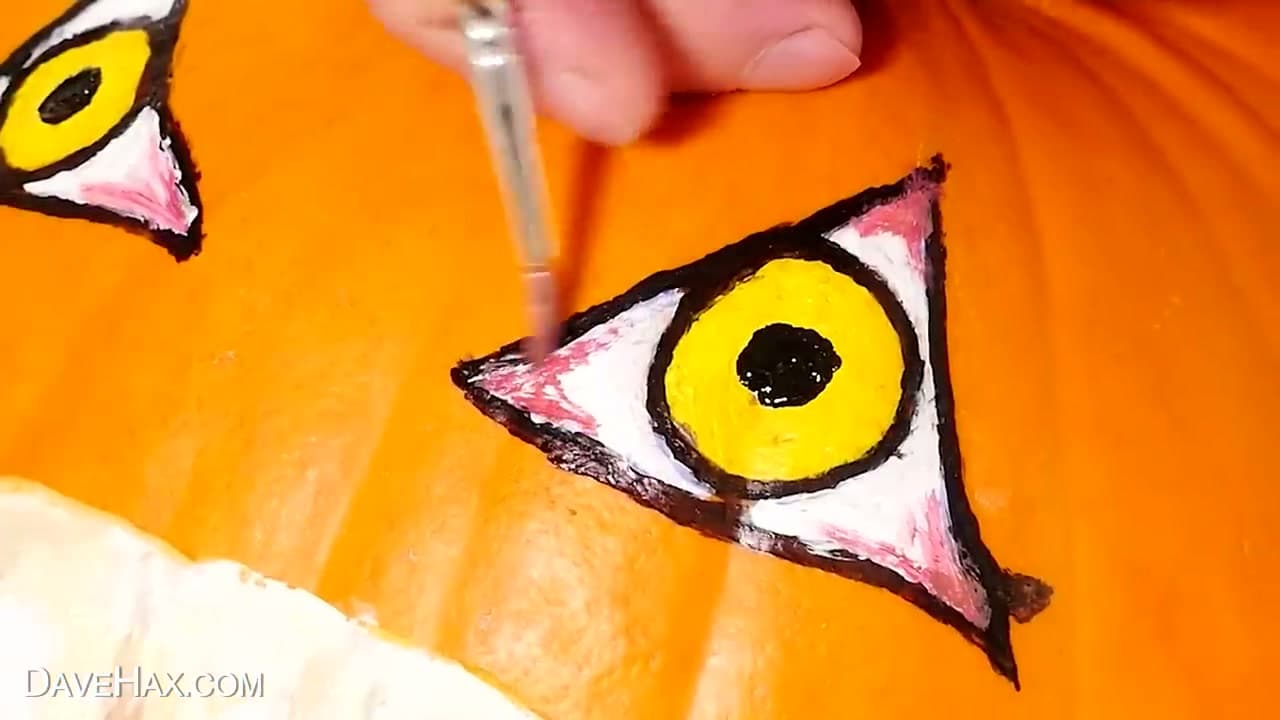
Step 1: Gather Your Paints and a Clean Pumpkin
0:22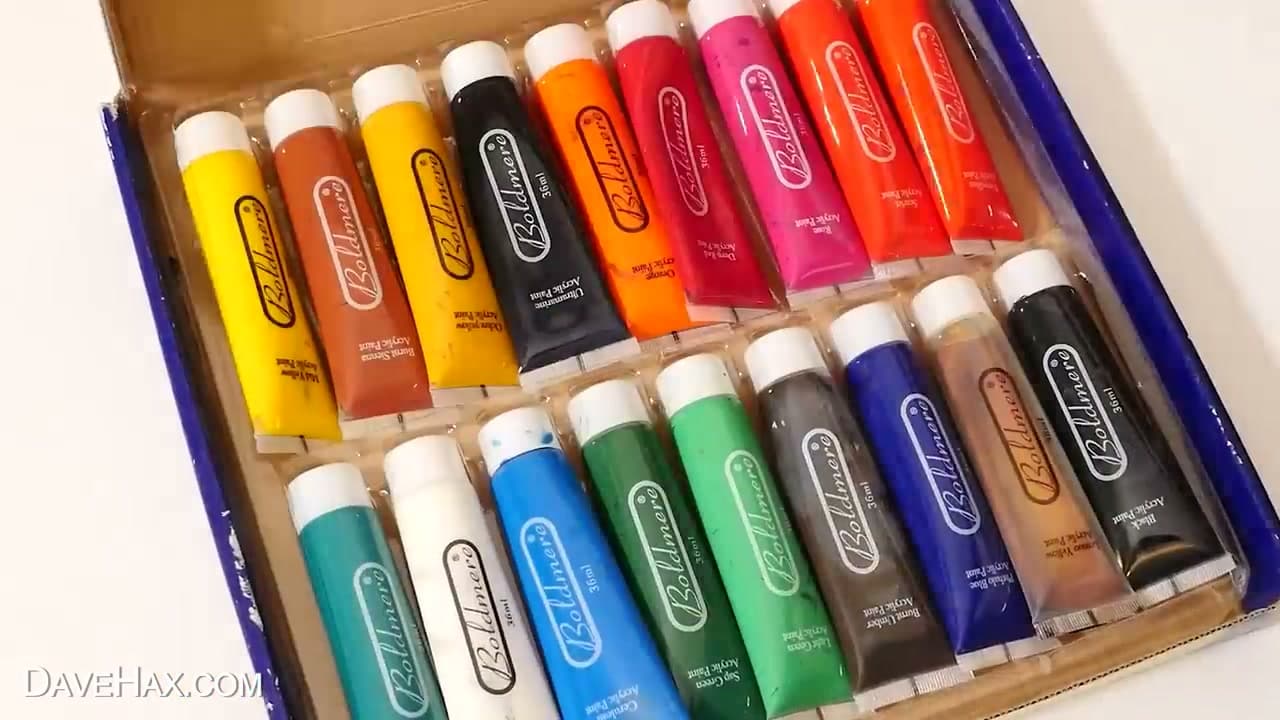
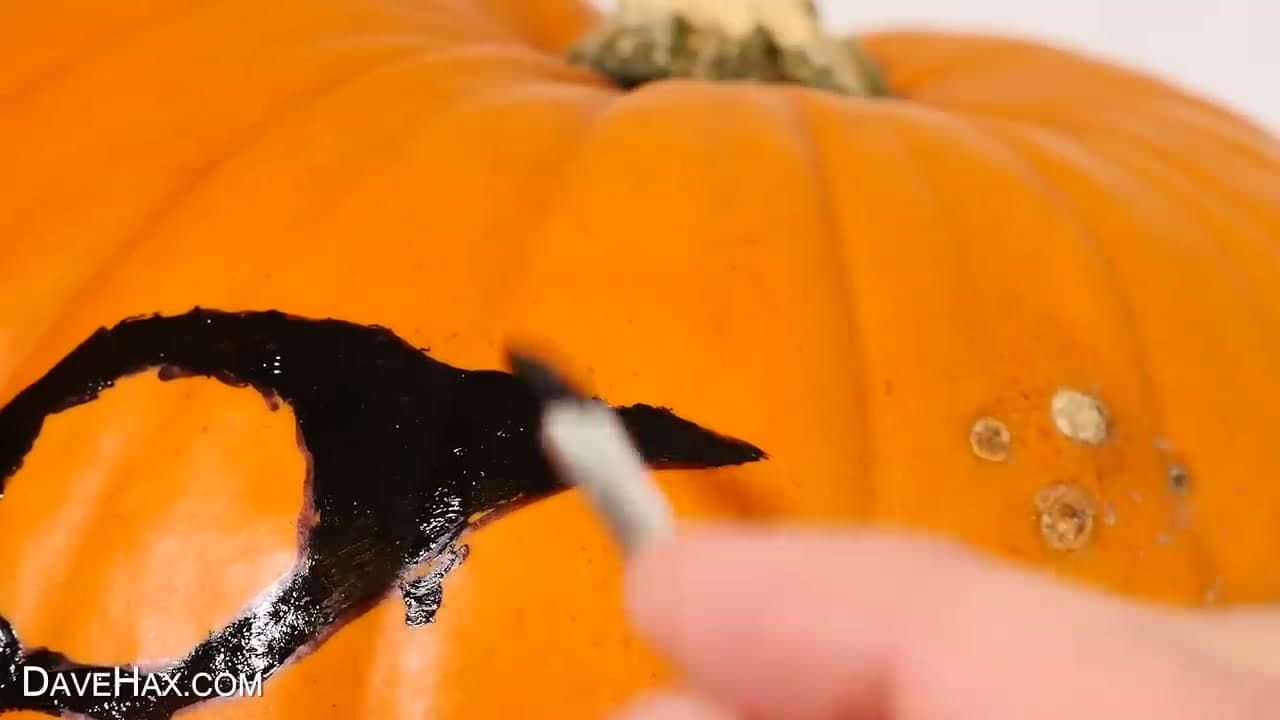
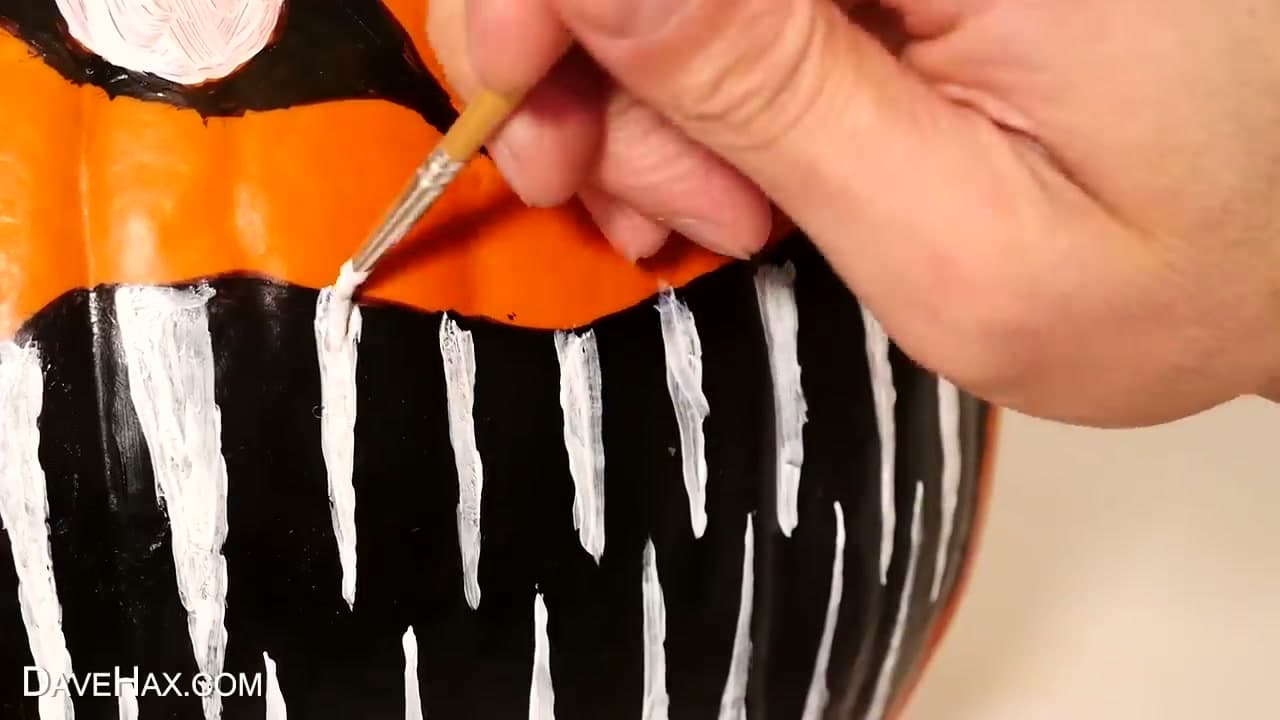
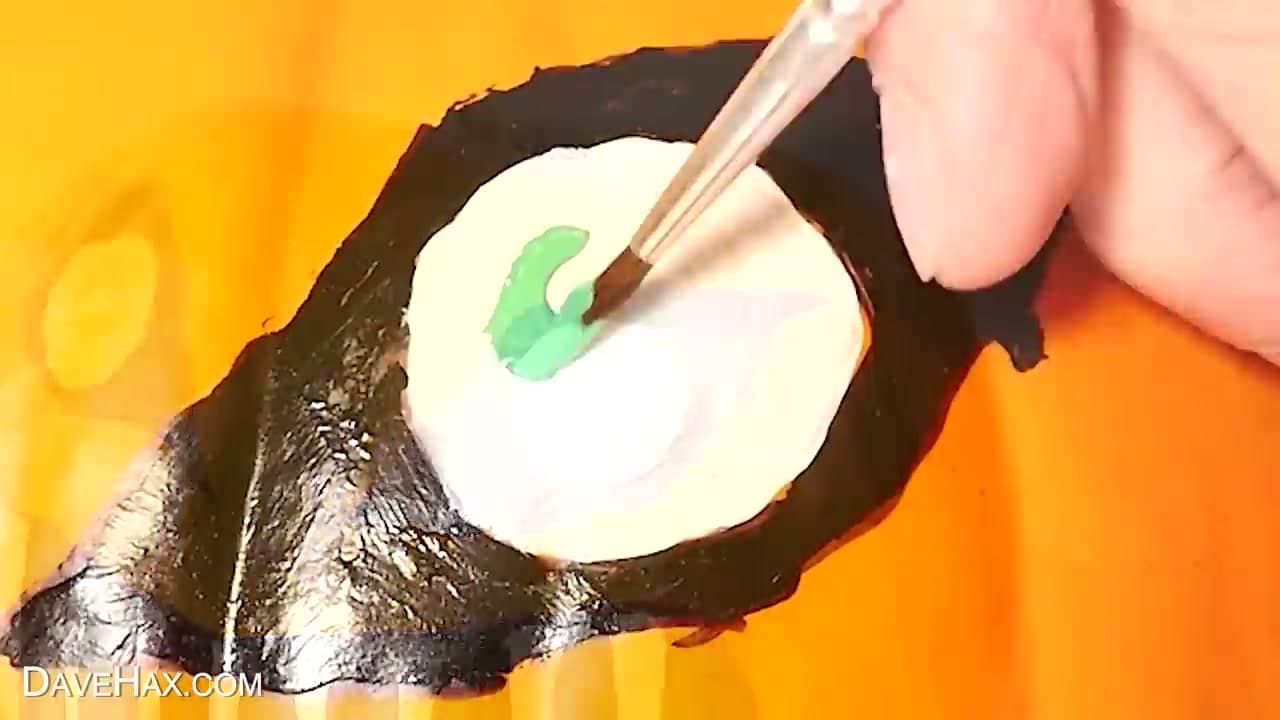
You need an actual paint - not a marker. Acrylic craft paint works perfectly on the pumpkin's waxy skin, dries in about ten minutes, and is easy to touch up. A small starter set with black, white, orange, green, and yellow is plenty for almost any Halloween face. Skip watercolour - it beads up on the pumpkin and never quite covers.
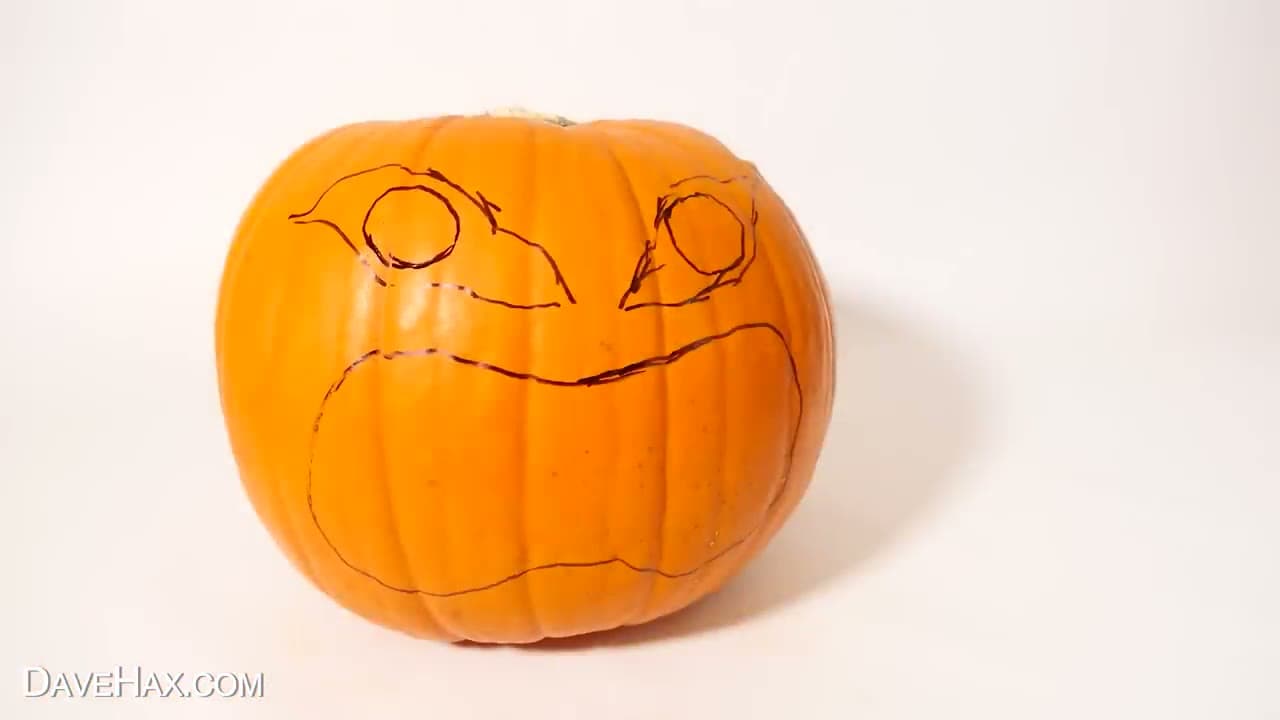
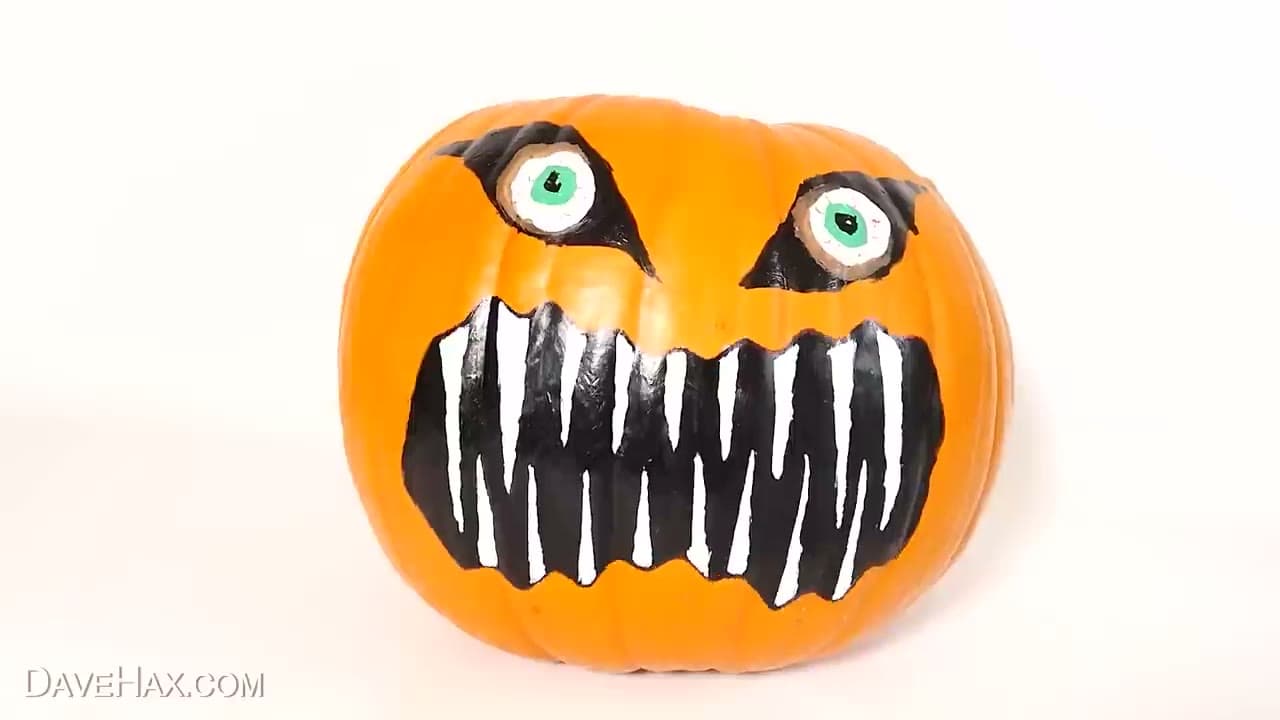
Pick a pumpkin with a clean, dry, smooth-ish side facing you. Wipe any dirt off with a damp paper towel and let it air-dry before you paint. Faux pumpkins from the craft store work just as well and last forever if you want a decoration you can reuse next October.
Tip
Squeeze a little of each colour onto a paper plate as a palette. That keeps the tubes clean and gives you somewhere to load the brush.