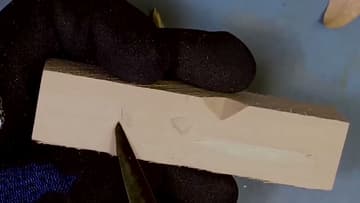
How to Whittle: 7 Basic Cuts Every Beginner Must Master
Source: Carving is Fun • Full tutorial: www.craftingstepbystep.com/woodworking-crafts/how-to-whittle
- Difficulty
- Easy
- Hands-on time
- About 30 minutes
- Cost
- About $5 to $10
Tools
- Whittling knife
- Cut-resistant glove
- Thumb guard
Materials
- Basswood blocks (best beginner wood)
Steps
1. The Rough Cut
The simplest cut - just push the blade through the wood. You used this one as a kid.
2. The Push Cut
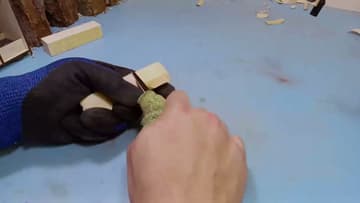
The controlled version of a rough cut. Hold the knife in your dominant hand and rest the blade on the wood.
3. The Sweeping Cut
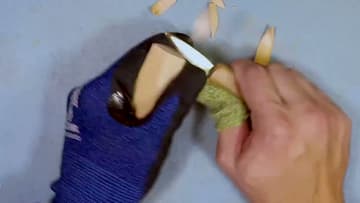
Push the blade down into the wood at an angle, then sweep forward and rotate the blade up to lift out a curved chip. The motion creates a J-shape in the wood.
4. The Stop Cut
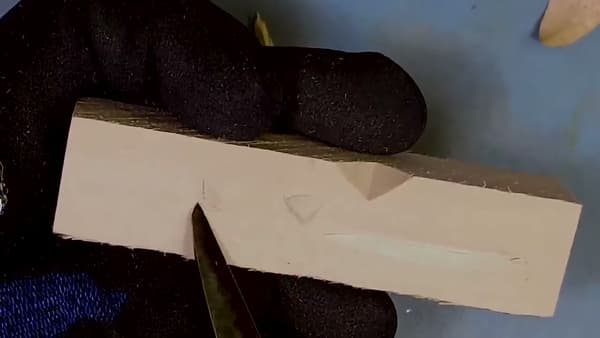
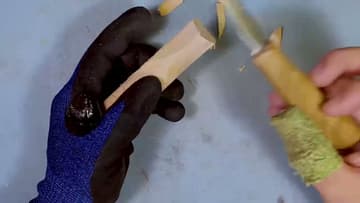
Push the blade straight into the wood (perpendicular to the surface) to make a small wedge. The stop cut sits there and waits.
5. The Paring Cut
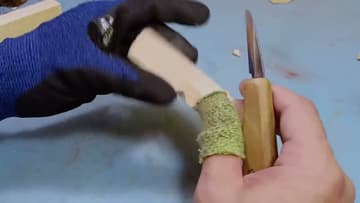
The paring cut is the only cut where the blade comes toward you - controlled and safe when done right. Brace your knife-hand thumb against the wood (out of the blade's exit path), place the blade where you want to cut, and squeeze your hand closed.
6. The V-Cut
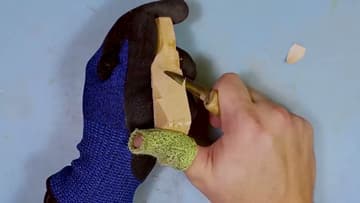
Two angled stop cuts meeting at a point form a V-shaped wedge. Cut down at one angle, then mirror the cut from the other side - the chip pops out and leaves a clean V-trench.
7. The Pyramid (Stab) Cut
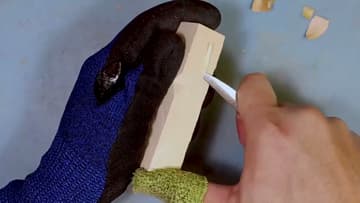
Drive the blade straight into the wood three or more times in a polygonal pattern. The cuts intersect and lift out a chip in the shape of an inverted pyramid.
Tip: Use basswood blocks while you're learning - it's the softest common carving wood, cuts predictably, and forgives mistakes.