How to Use a Router
Source: 731 Woodworks • Full tutorial: www.craftingstepbystep.com/woodworking-crafts/how-to-use-a-router
- Difficulty
- Medium
- Hands-on time
- About 25 minutes
Tools
- fixed-base router
- plunge-base router
- trim router (palm router)
- router bit set
- router edge guide
- router collet wrench
- router table
- safety glasses
- hearing protection
- push stick
- scrap board for test cuts
- tape measure
Materials
- wood project piece
- scrap wood for test cuts
Steps
1. Pick the Right Router for the Work
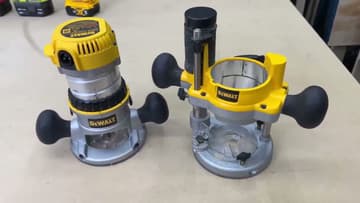
There are two router styles. A fixed-base router locks the bit at one depth and stays there - perfect for edge profiles like roundovers and chamfers.
Tip: Already on a battery platform?
2. Set Up the Plunge Depth Before You Cut
A plunge router's depth stop is the system that keeps you from going too deep. Set the bit just kissing the surface of your wood, lock the depth-stop pin on the side, and turn the three-position turret to its highest setting.
Tip: Shallow passes are the difference between a clean groove and a splintered mess.
3. Install the Bit and Tighten the Collet
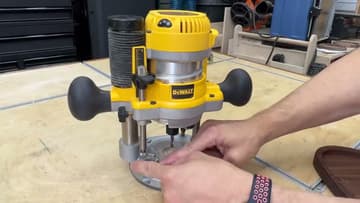
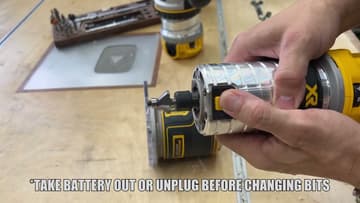
Unplug the router or pull the battery before you change a bit. Slide the bit into the collet leaving about a quarter to a half inch of shank exposed - don't bottom it out, that can damage the bit when it's tightened.
Tip: The on-screen text in this clip is the rule: take the battery out or unplug the router before swapping bits.
4. Adjust the Bit Height for Edge Profiles
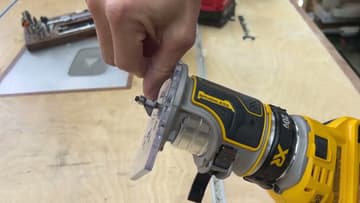
For roundovers and chamfers, height matters as much as direction. Most fixed-base routers adjust with a twisting ring at the base or a gear-driven thumb knob.
Tip: 1/8-inch and 3/8-inch roundover bits feel similar in the package but give very different results. The 1/8 is a soft 'broken' edge - barely there.
5. Learn the Five Bits Every Beginner Needs
Five bits will handle 90% of what you build in your first year of woodworking. A 45-degree chamfer bit cuts a clean angled edge.
Tip: Buy carbide-tipped bits, not high-speed steel. Carbide stays sharp 5 to 10 times longer in hardwood and won't burn when you slow down.
6. Route in the Correct Direction (Push Cut, Not Climb Cut)
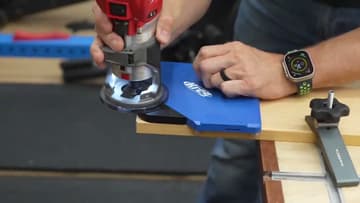
A router bit cuts the same way a table saw blade cuts - by spinning into the wood as you feed the wood into the teeth. Look down at the router from above and the bit spins clockwise.
Tip: The first time you start a cut, you'll feel the router try to walk sideways. That's the bit grabbing the wood.
7. Add the Edge Guide for Grooves and Parallel Cuts
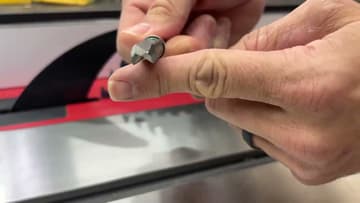
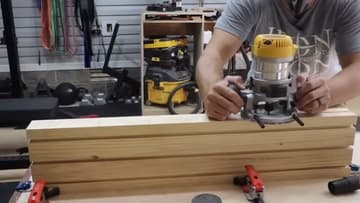
An edge guide is two rods that thread into the router base and ride against the side of the workpiece. It keeps the bit a fixed distance from the edge for the entire length of the cut - no clamping a fence to the board, no fighting to keep the router parallel.
Tip: The edge guide rides best on a clean, straight edge. If your board has a wavy edge from rough lumber, joint it flat first or clamp a sacrificial straightedge along the side.
8. Decide If You Need a Router Table
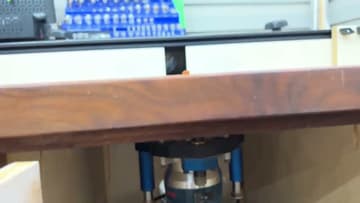
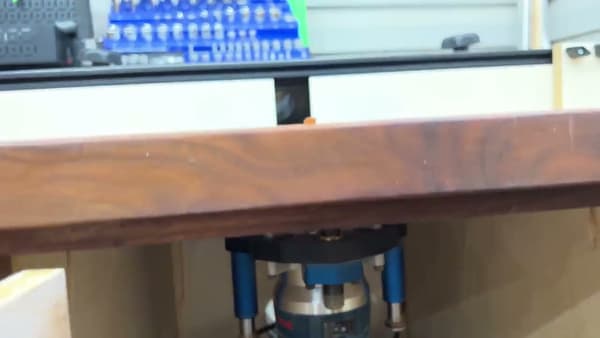
A router table flips the workflow upside down. You mount the router under a flat work surface, the bit sticks up through a hole, and you move the wood instead of moving the router.
Tip: You don't have to buy a fancy router table.