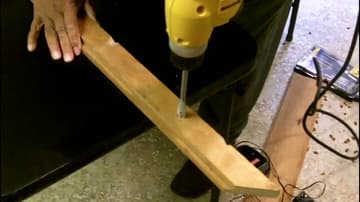
How to Use a Drill
Source: seejanedrill • Full tutorial: www.craftingstepbystep.com/woodworking-crafts/how-to-use-a-drill
- Difficulty
- Easy
- Hands-on time
- About 15 minutes
Tools
- cordless drill
- corded drill
- drill bit set
- spade bit
- Phillips driver bit
- safety glasses
- tape measure
Steps
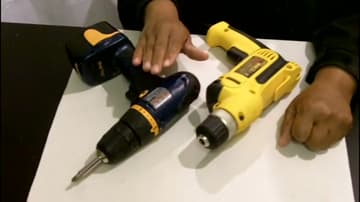
1. Meet the Two Drill Types
There are two drills worth knowing. The cordless drill is battery-powered, light enough to reach for one-handed, and the one you'll grab for 90% of jobs around the house.
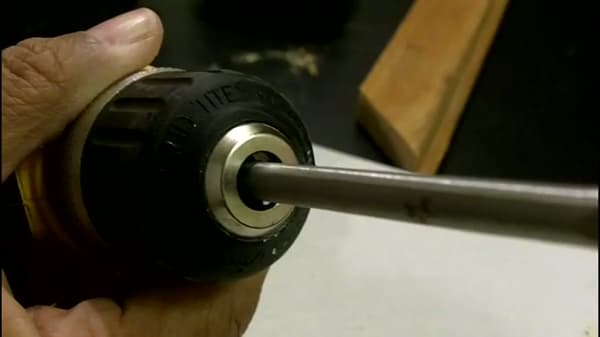
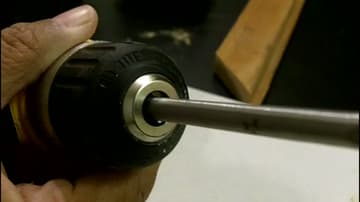
Tip: Look at the drill in the right hand of the photo - the silver collar at the front of the chuck. That's the manual tightening ring on a corded drill.
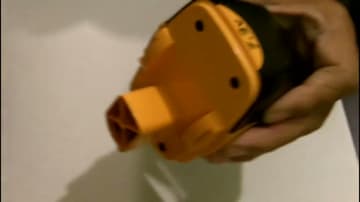
2. Charge the Battery on a Cordless
The battery slides into the bottom of the drill's grip. To charge it, press the release tab and pull the battery straight down out of the drill.
Tip: Store batteries indoors at room temperature. Lithium cells lose capacity fast in a hot garage in August or a cold shed in January.
3. Find the Chuck and Direction Button
The chuck is the round metal cylinder at the front of the drill. It's the part that grips the bit, and it's the part you'll touch every time you swap one out.
Tip: If you forget which way is which, look down at the chuck while you pull the trigger gently. If it's spinning to your right (clockwise), it's tightening.
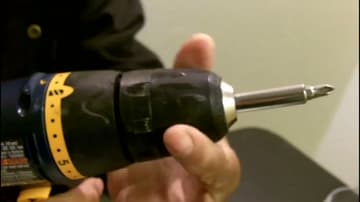
4. Loosen the Chuck to Remove a Bit
Push the direction button to the loosen side (drill will spin counter-clockwise from your view). Wrap your hand firmly around the chuck and squeeze the trigger gently.
Tip: Pulse the trigger - tap, tap - instead of holding it down full speed. You only need the chuck to spin a little to release the bit. Full speed launches the bit across the room.
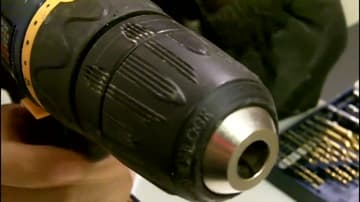
5. Install a Small Drill Bit
Look straight into the open chuck. You'll see three metal arms angled inward - those are the jaws.
Tip: For really tiny bits (like 1/16-inch), open the chuck wider than you think you need before you drop the bit in.
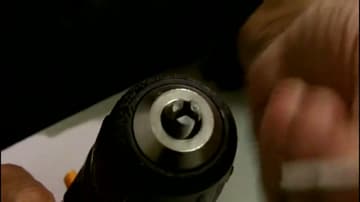
6. Install a Wider Spade Bit
A spade bit is the flat paddle-shaped bit you use for big holes - 1/2 inch and up, for running cable, plumbing, or making a hole big enough for a finger. Because the shank is wider than a twist bit, the chuck jaws are open further when you insert it.
Tip: Spade bits cut aggressively. Start the hole at the slowest trigger speed until the tip bites, then ramp up.
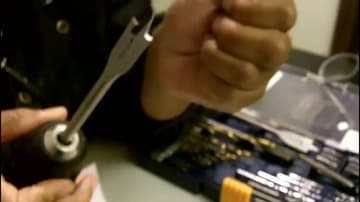
7. Tighten the Chuck on a Corded Drill
Corded drills carry a lot more power than cordless. If you try to tighten the chuck with the trigger like you would on a cordless, the chuck will grab your hand instead of the bit - exactly what you don't want.
Tip: Some heavier corded drills come with a chuck key - a little T-shaped tool that goes into a hole on the side of the chuck. Same idea, just a mechanical advantage.
8. Drill Your First Hole
Put on your safety glasses. Mark the spot you want to drill with a pencil.
Tip: Drilling into something you don't want to punch through the back of? Wrap a piece of painter's tape around the bit at the depth you want to stop.