How to Use a Circular Saw
Source: Steve Ramsey - Woodworking for Mere Mortals • Full tutorial: www.craftingstepbystep.com/woodworking-crafts/how-to-use-a-circular-saw
- Difficulty
- Medium
- Hands-on time
- About 20 minutes
Tools
- circular saw
- speed square
- tape measure
- pencil
- sawhorses
- safety glasses
- hearing protection
Materials
- plywood or lumber for practice
Steps
1. Get to know your circular saw
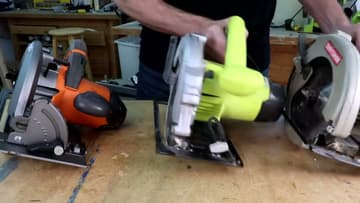
Learn the main parts before you flip the switch. A circular saw has two handles for two-handed control, with the trigger on the rear handle.
Tip: Look for a 7-1/4 inch corded saw for your first one. It's the most common size, the blades are cheap and widely available, and you'll never run out of battery mid-cut.
2. Pick the right blade for the job
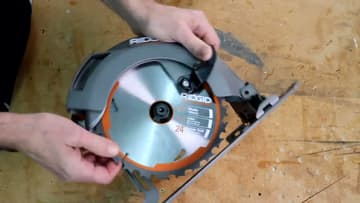
Most 7-1/4 inch saws ship with a 24-tooth carbide-tipped combination blade, and that handles almost everything you'll throw at it - framing lumber, plywood breakdown, deck boards. Use a finer cross-cut or plywood blade (up to 140 teeth) when you need clean edges on plywood or finished lumber and want to keep...
Tip: Look for the rotation arrow printed on the blade and match it to the arrow on the saw's guard.
3. Set the cut depth
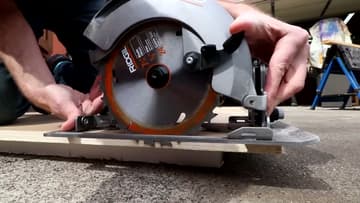
Unlock the depth lever on the side of the saw and rest the saw next to your board. Adjust so the blade pokes just barely below the bottom of the wood, then lock the lever back down.
Tip: Hold the saw next to the edge of your workpiece with the blade alongside the wood, not on top of it.
4. Mark your cut line
Measure twice with your tape, then draw a clean pencil line where the cut needs to be. For rough framing or breaking plywood down into smaller manageable pieces, a freehand pencil line is plenty.
Tip: Use a marking knife instead of a pencil if you need accuracy down to a 32nd of an inch. The blade catches the knife groove and tracks cleaner than a 1/16th-inch-wide pencil line.
5. Support the workpiece
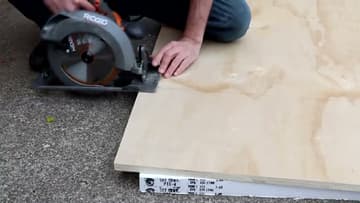
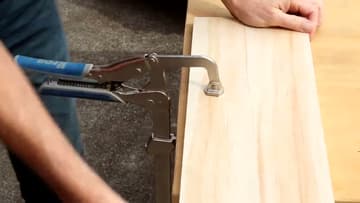
Clamp your board to a pair of sawhorses, but only clamp the keeper side - not the off-cut. If both halves are pinned down, the wood can collapse inward at the end of the cut and bind the blade.
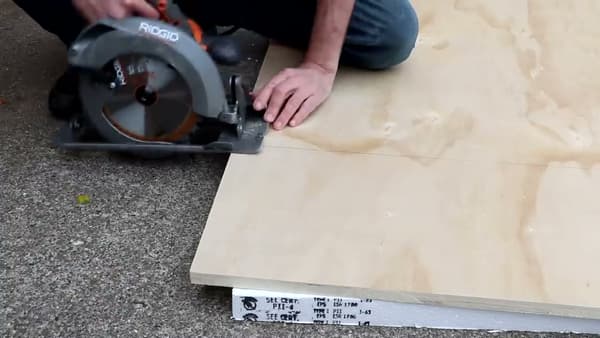
Tip: The foam-on-the-ground trick is a game changer for breaking down full 4x8 sheets of plywood in a garage. You don't even need clamps because the weight of the sheet keeps it put.
6. Wear your safety gear
Put on safety glasses every single time. A circular saw throws chips and sawdust right back toward your face, and you only get one pair of eyes.
Tip: Don't wear gloves when running a circular saw. If a glove finger gets pulled into the blade, your hand goes with it.
7. Start the saw and feed it into the wood
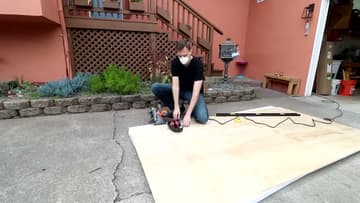
Rest the front of the base plate flat on the wood with the blade clear of the edge - the blade should not be touching the wood when you pull the trigger. Squeeze the trigger, let the blade come up to full speed for a half-second, then feed the saw forward into the cut.
Tip: Never lift the blade guard manually unless you have to (like for plunge cuts). It retracts on its own when the saw hits wood. Lifting it exposes a live blade for no good reason.
8. Push steady and finish the cut
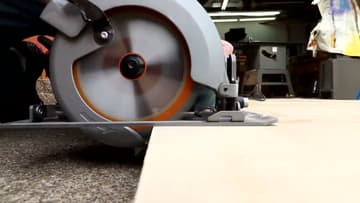
Move at a steady pace. Too slow and the wood burns and the motor bogs.
Tip: If the saw ever binds mid-cut, release the trigger first - don't try to muscle through.
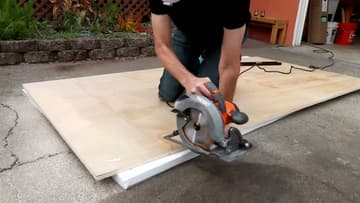
9. Use a guide for straight, accurate cuts
Freehand cuts are fine for rough work, but to get table-saw-clean results you need a guide. Clamp anything straight to your work piece - a factory-cut plywood edge, a long level, or a store-bought saw guide.
Tip: Measure the distance from the edge of the saw base plate to the blade, then offset your guide by that exact amount from your cut line.