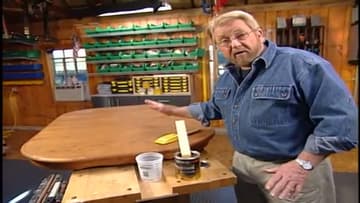
How to Refinish a Wood Table - 7 Steps
Source: HouseCalls • Full tutorial: www.craftingstepbystep.com/woodworking-crafts/how-to-refinish-a-table
- Difficulty
- Medium
- Hands-on time
- About 4 hours
- Wait time
- 24 hours
- Cost
- About $30 to $60
- Makes
- 1 refinished table
Tools
- Wide natural-bristle disposable brushes
- Wide putty knife (corners rounded)
- Finishing sander or sanding block
- Medium-fine and fine steel wool
- Yellow chemical-resistant gloves
- Respirator or dust mask
- Clean rags and paper towels
Materials
- Paste paint stripper
- Liquid paint stripper
- Lacquer thinner
- 220-grit sandpaper
- Wood stain (matching color)
- Polyurethane top coat (semi-gloss)
Steps
1. Apply Paste Paint Stripper
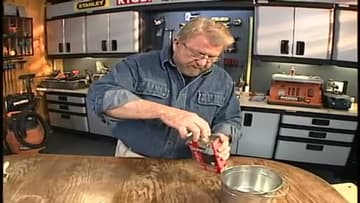
Brush a thick paste paint stripper across the table top with a wide natural-bristle disposable brush. Don't overbrush - the active chemicals are gases, and every stroke lets more escape into the air.
Tip: Wear yellow chemical-resistant gloves and work outside or in a garage with the doors open. The fumes are no joke.
2. Scrape Off the Old Finish
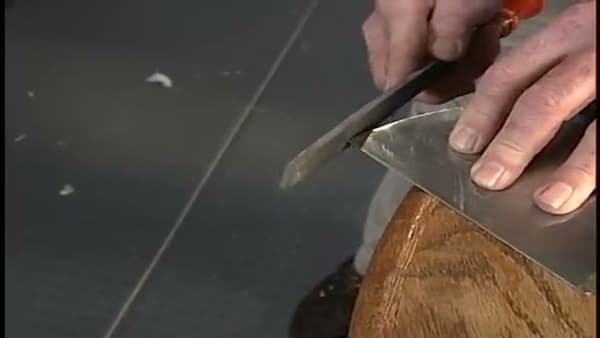
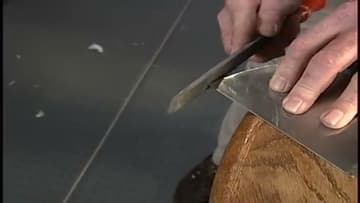
Wait until the finish bubbles and lifts away from the wood, usually 5-10 minutes. Then drag a wide putty knife at a shallow angle to scoop the loosened finish off in one pass.
Tip: Set a small box next to your work surface to scrape the residue into. Saves a lot of cleanup compared to dropping it on newspaper.
3. Apply Liquid Stripper for Residue
The paste pulls off most of the finish but leaves residue in the wood grain. Brush a liquid stripper liberally across the surface to dissolve what's left.
Tip: Always sand or scrub with the grain, not against it. Cross-grain scratches show up under the new stain and ruin the look.
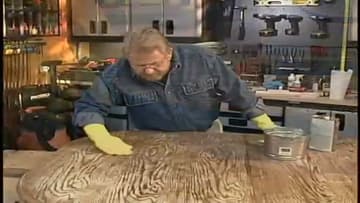
4. Wash With Lacquer Thinner
Strippers leave wax behind. New finish won't bond to wax, so this step is critical even though it feels redundant.
Tip: This is the step most people skip and the reason most refinishing jobs peel within a year. Do it.
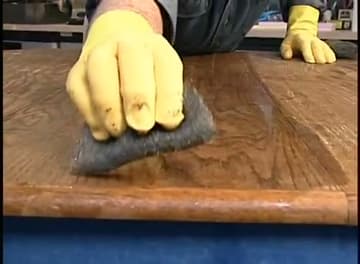
5. Sand Lightly With 220 Grit
Use a finishing sander with 220-grit paper. This is light scuff sanding, not heavy material removal.
Tip: Wear a dust mask. Wood dust at 220 grit is fine enough to settle deep into your lungs.
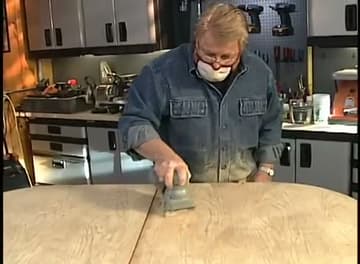
6. Mix and Apply Stain
Test stain colors on a scrap board first to match the base of your table. Ron mixes Special Walnut (his base color) with a small amount of Ipswich Pine to lighten it.
Tip: If the table base color is hard to match, try one of the gel stains. They sit on top of the wood instead of soaking in, which gives you more control.
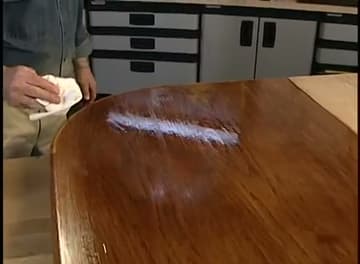
7. Apply Polyurethane Top Coat
Stir the polyurethane thoroughly - the flattening agent settles to the bottom of the can and gives you uneven sheen if you don't mix it. Use a high-quality natural-bristle brush.
Tip: Don't skimp on the brush. A premium natural-bristle brush is the difference between a glassy finish and a streaky one. Cheap brushes also drop bristles into the finish.